
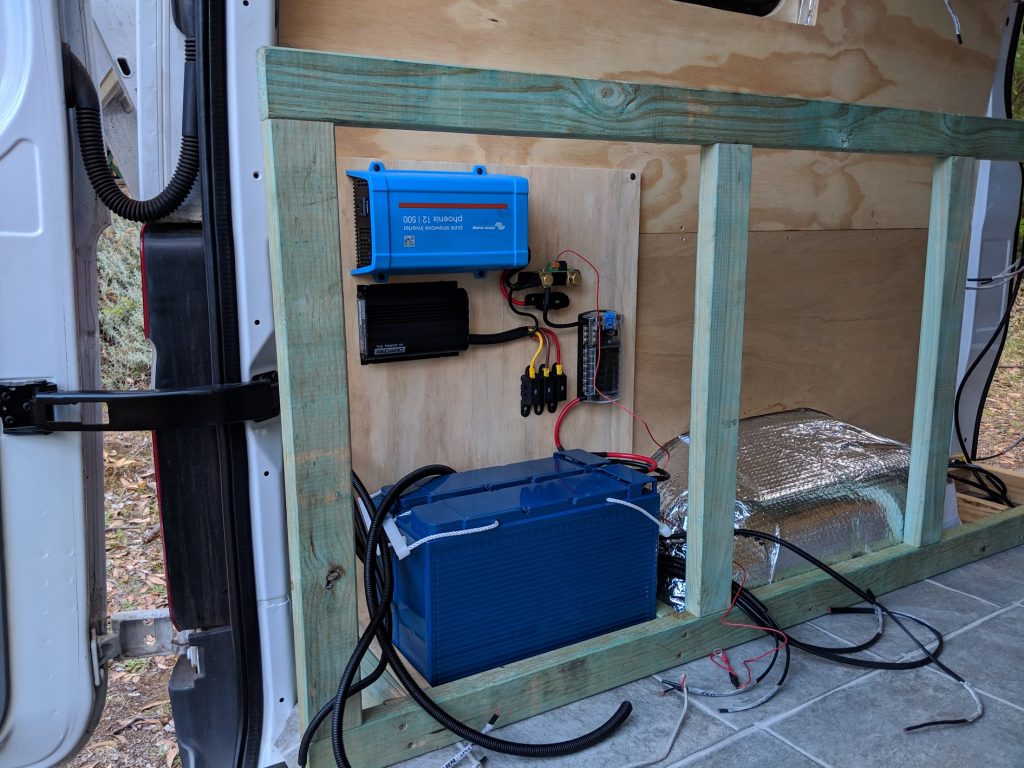
I know, very boring first picture. Things are moving forward with the van build, the electrical side is taking shape with the batteries installed and some of the major wiring done. Strange to think that as I update with this new blog post the van is in having the 240V electrics done while the last time I made a post the van was having some of the 12V electrics installed, and I’m sitting in the same cafe, my blogging cafe.

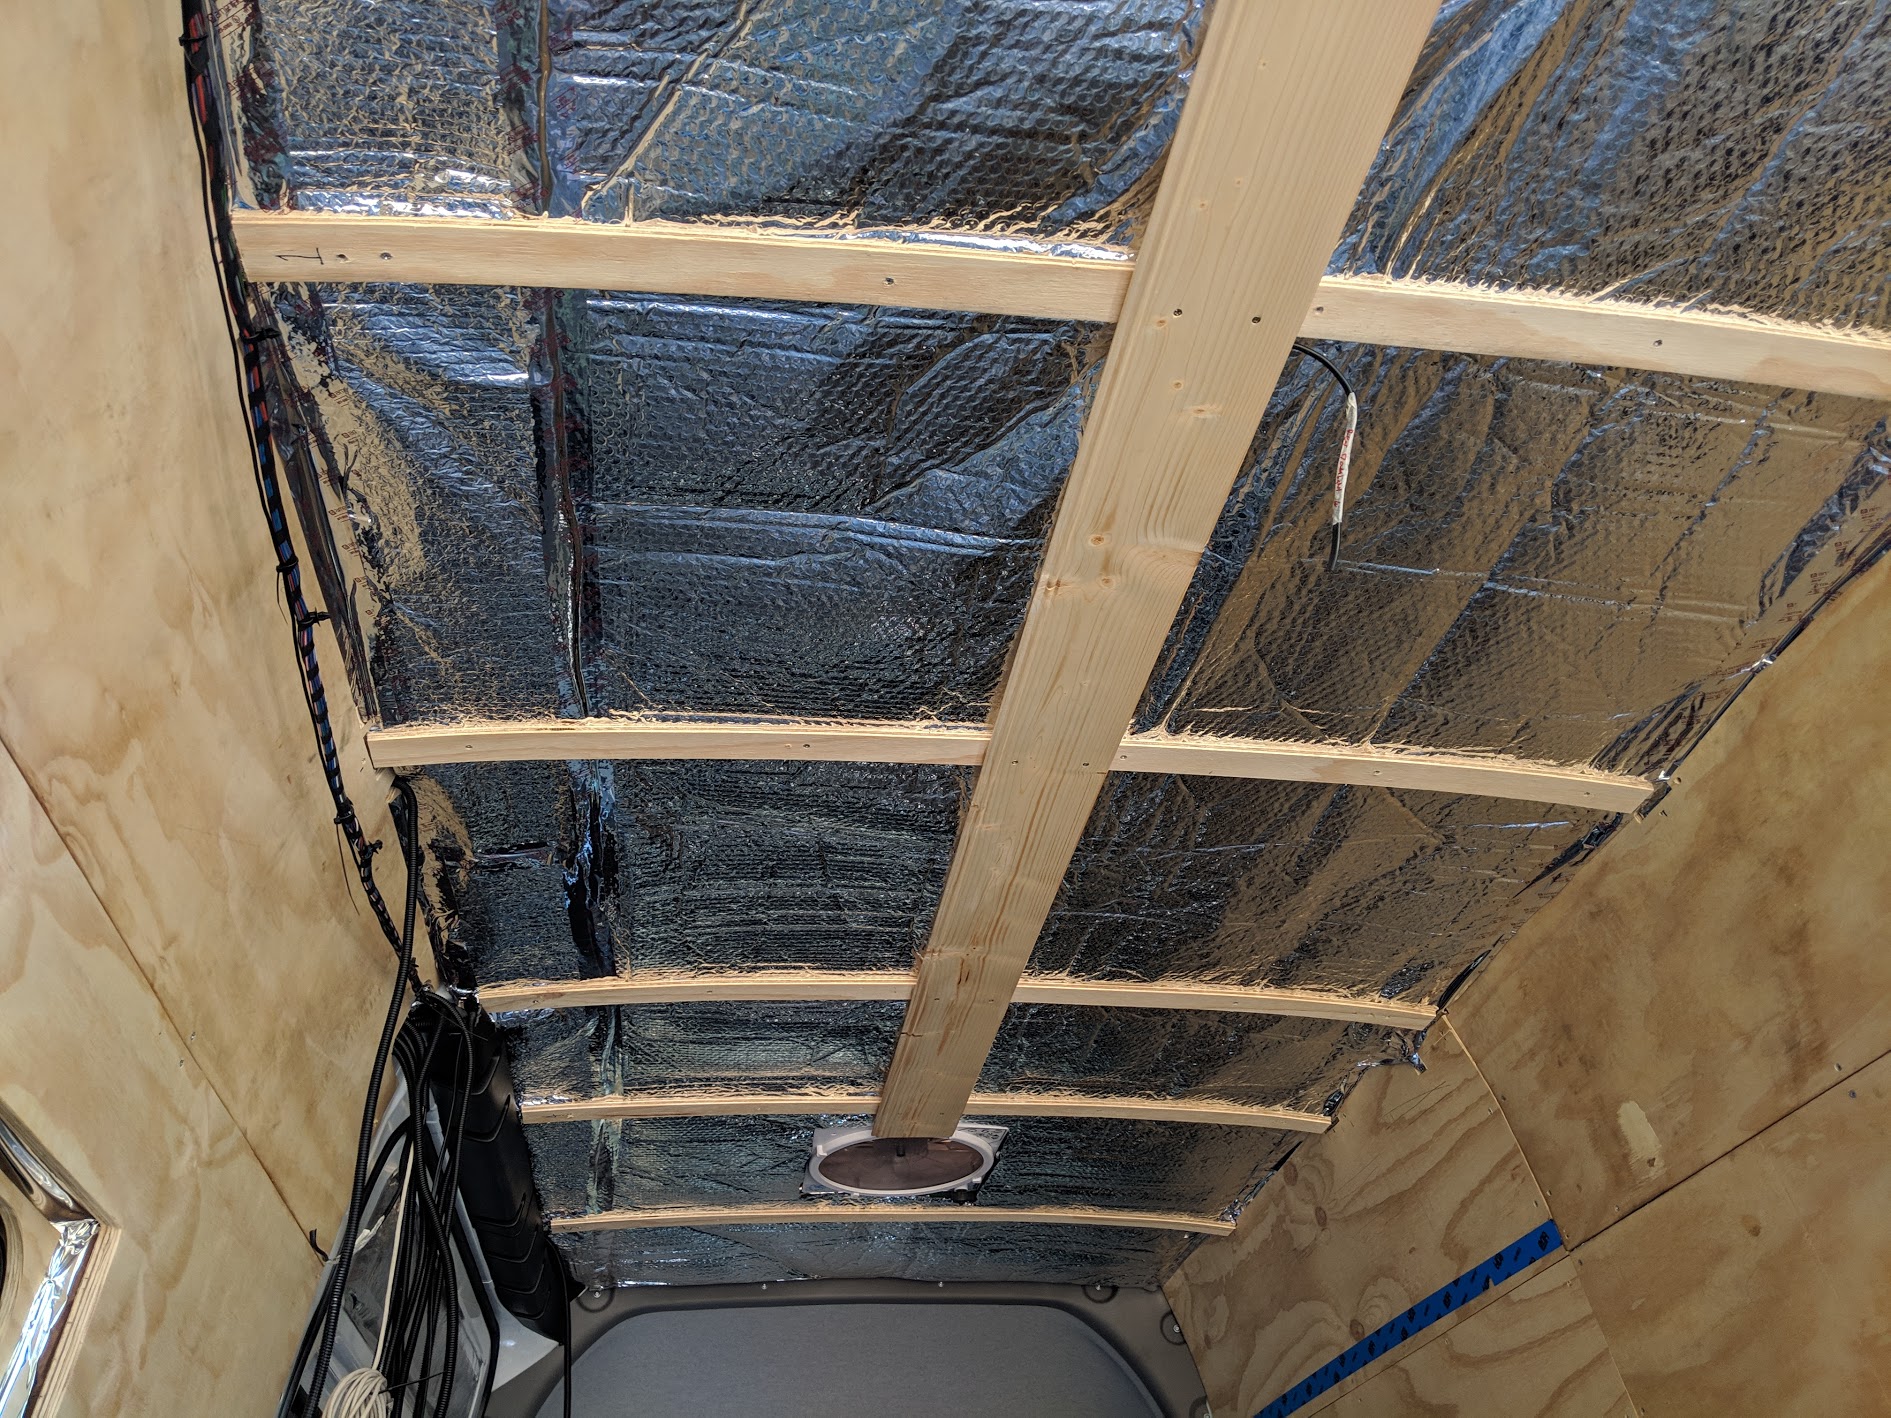
Next step was to line the inside of the ceiling with the silver bubble wrap and install some wooden battens where the steel roof beams are. These wooden battens are just 12mm plywood strips screwed into the steel. Though once I got to this stage I had a gnawing feeling that something wasn’t quite right.

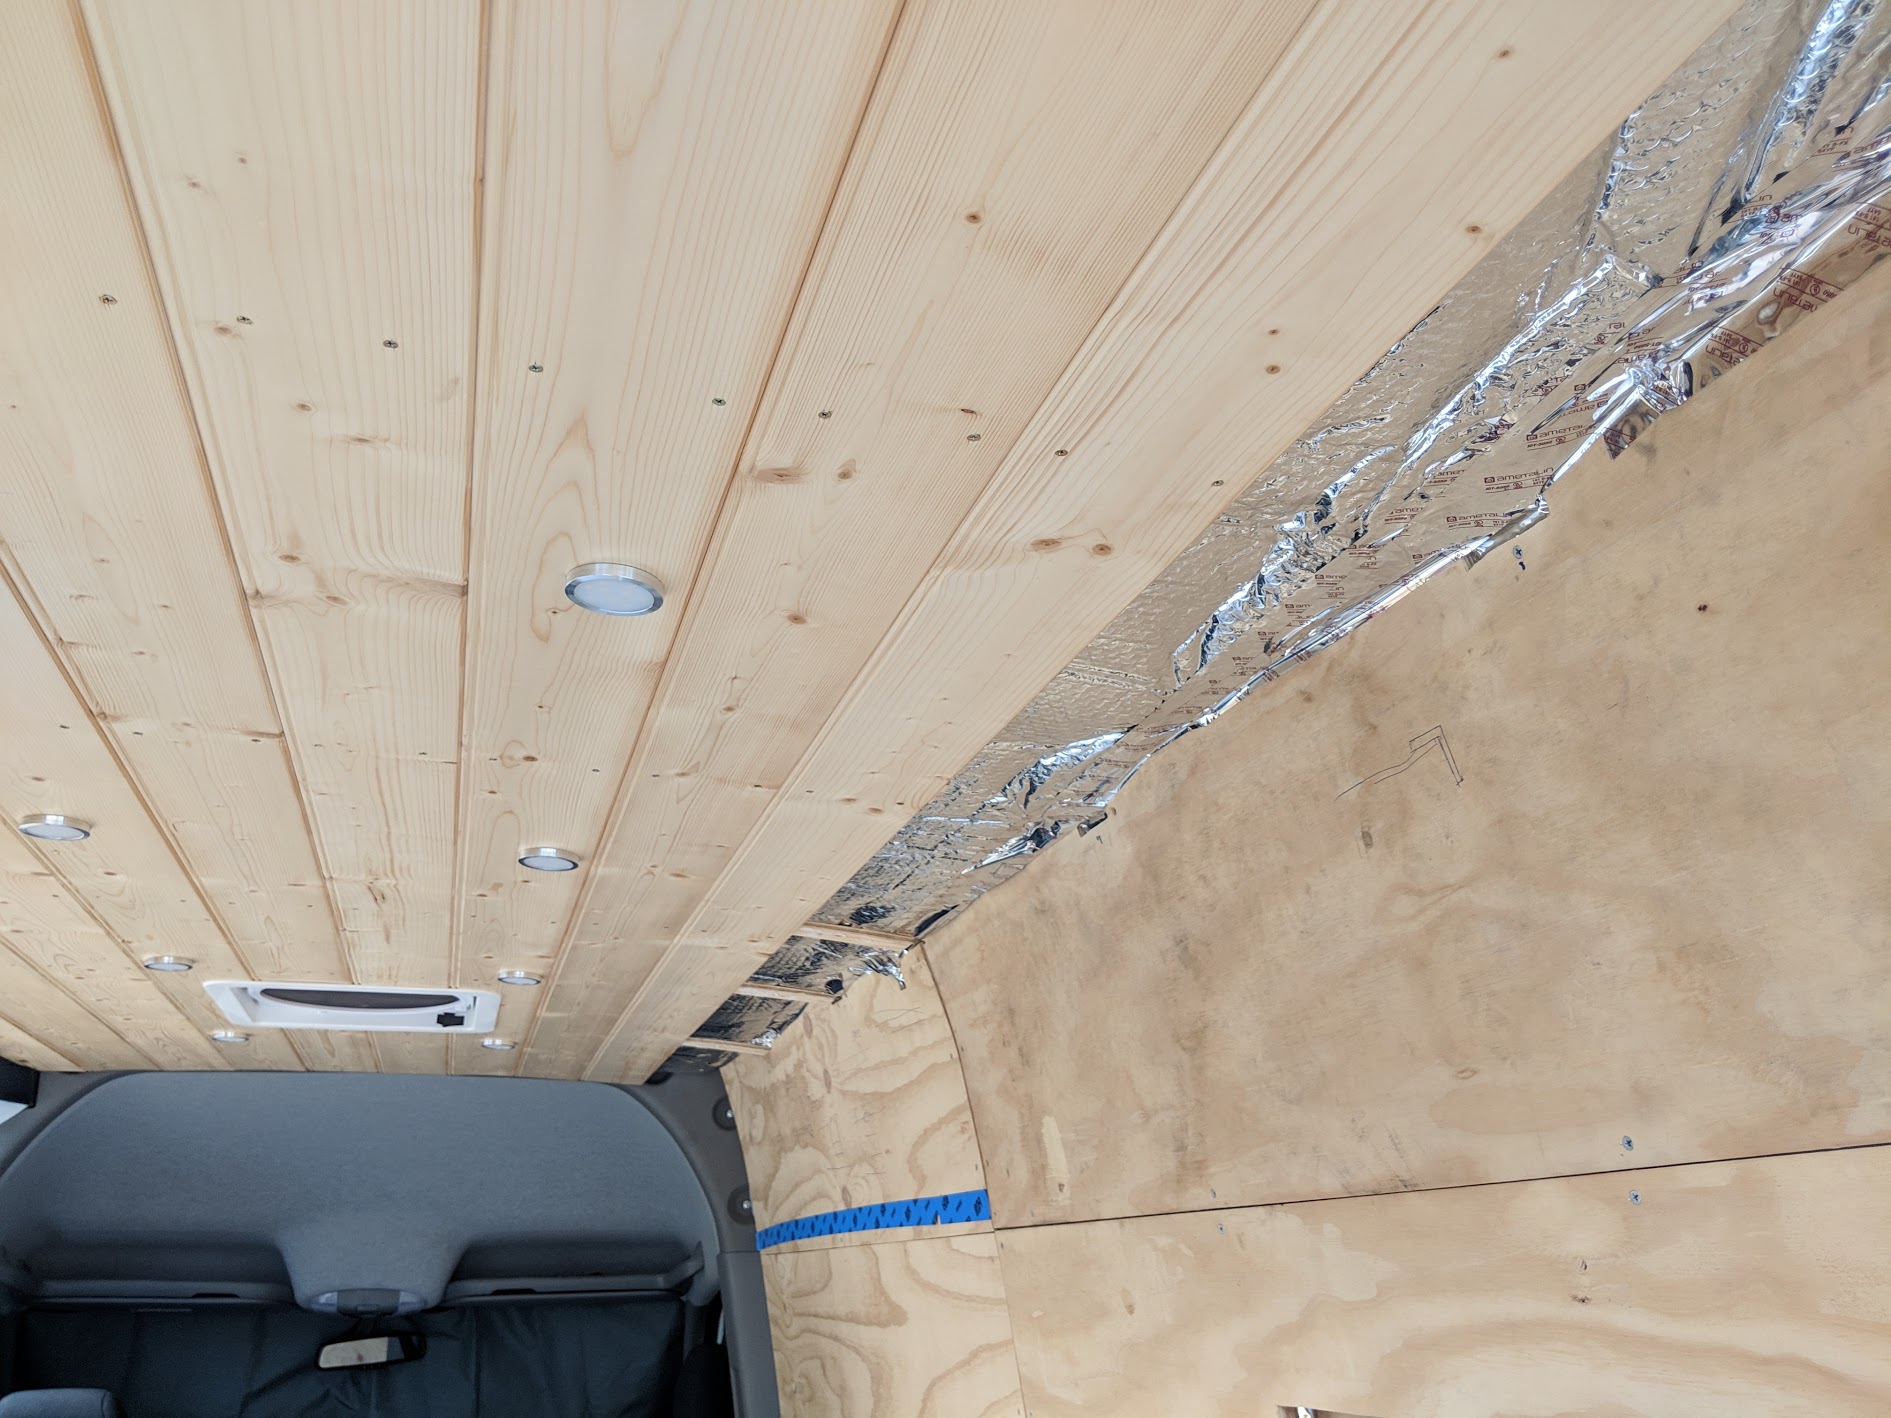
Ahh yes, the vent fan! Now it was time to start on the ceiling lining. I’d contemplated a few different options but settled on the tongue and groove pine lining for ease of installation, looks, weight and price
In with the first piece, this had to be straight and right in the centre of the roof because all the rest would be radiating out from it on either side. 12mm ply battens and 10mm pine panel with some 20mm screws and a good squirt of sika at each batten.
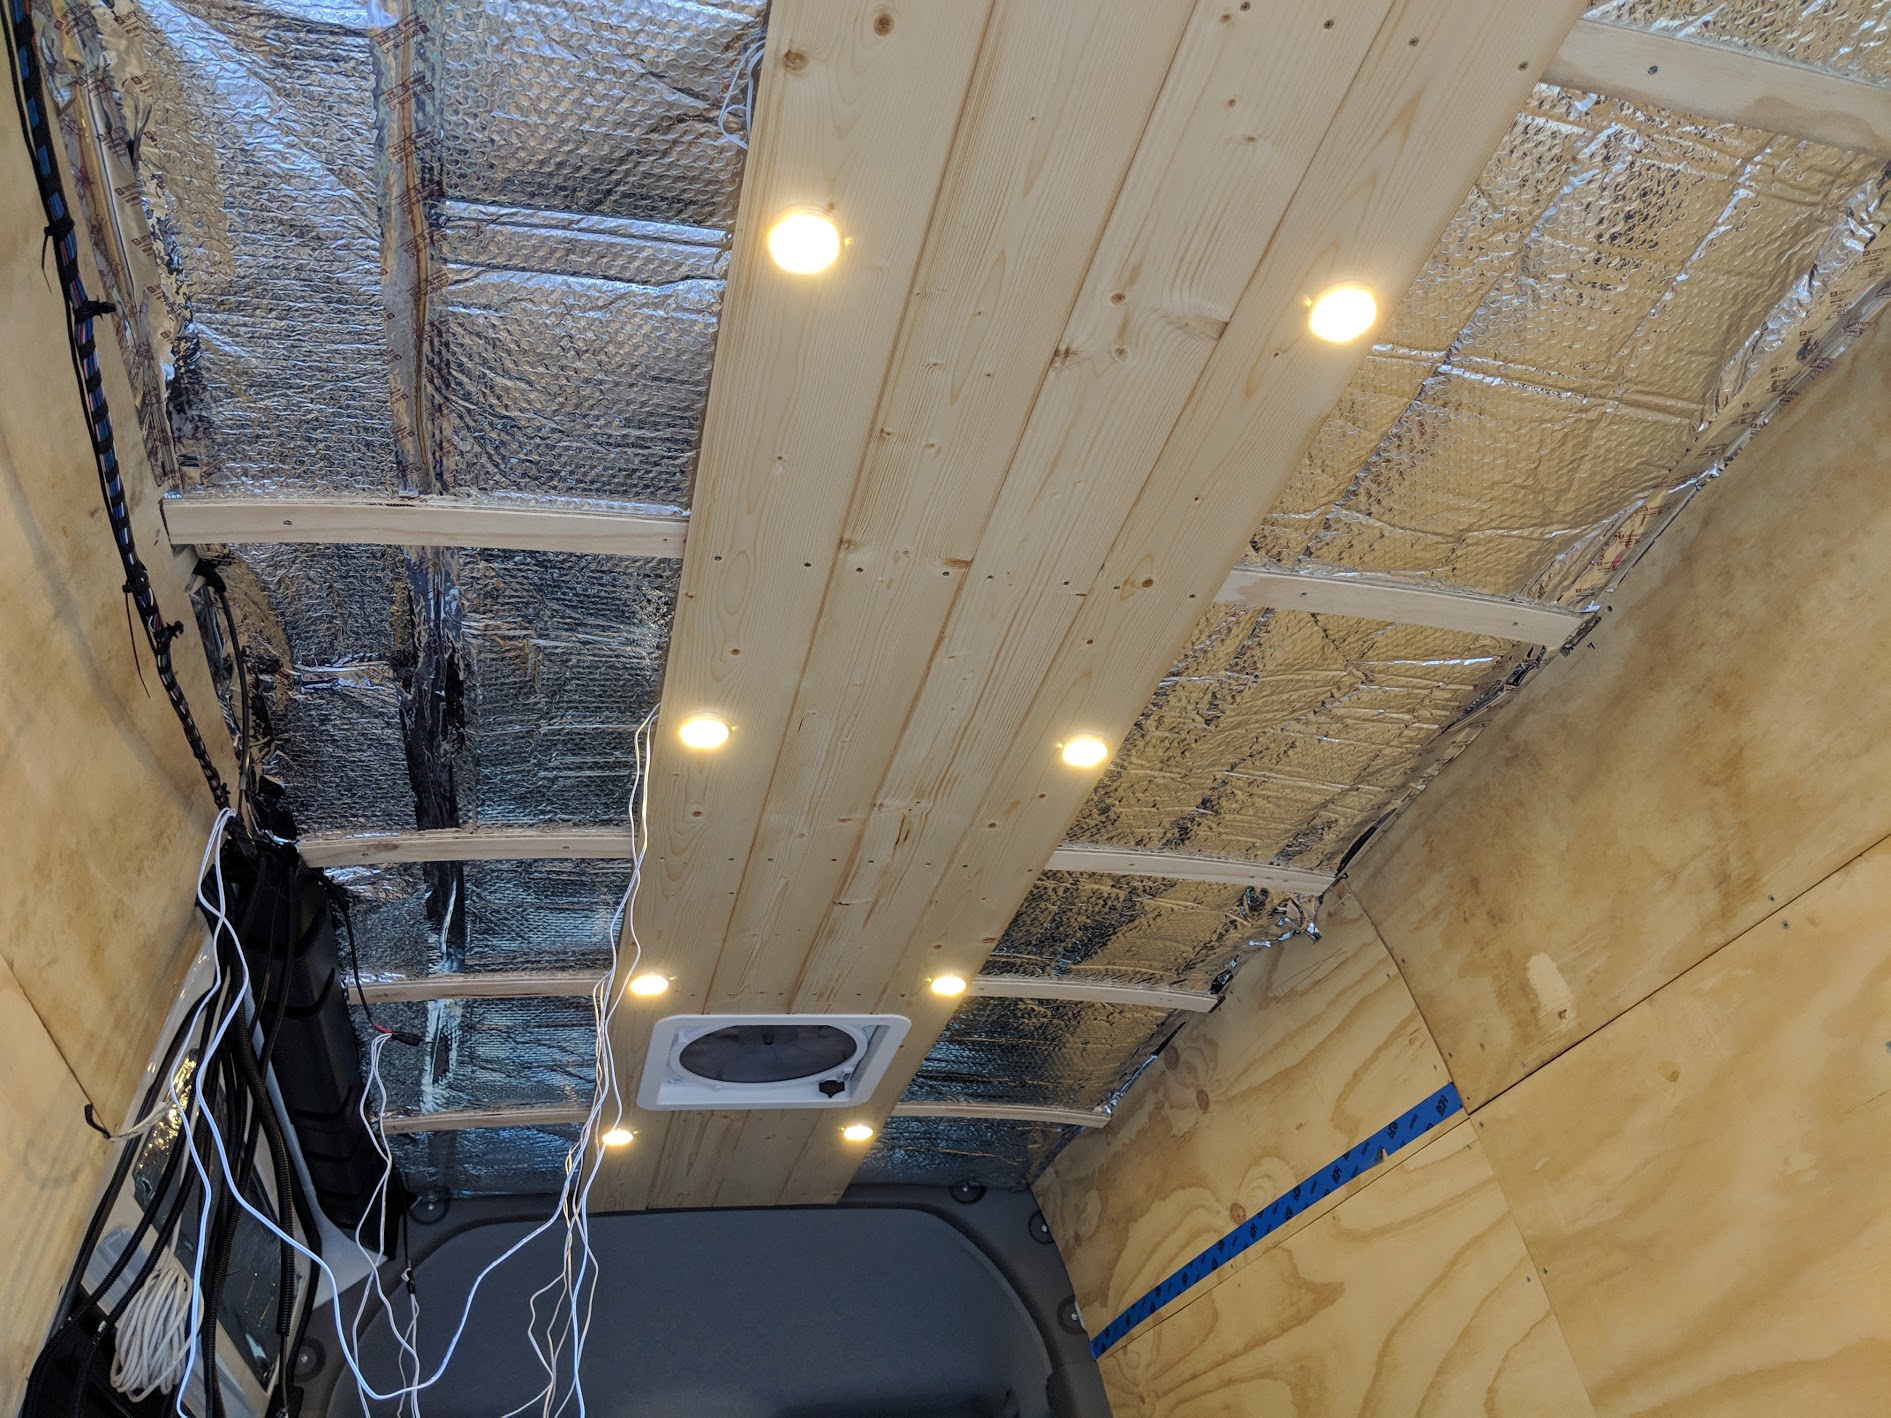
Also time to install the main lighting in the van. You have to either install the lighting at this stage or at least run all of your wiring under the paneling. Wow, they all work, yay. Although shortly after turning them on added the switch and dimmer into the circuit and discovered the lights are NOT dimmable. Damn, I thought they were, still, they can wait, as long as they work, dimming is a luxury.
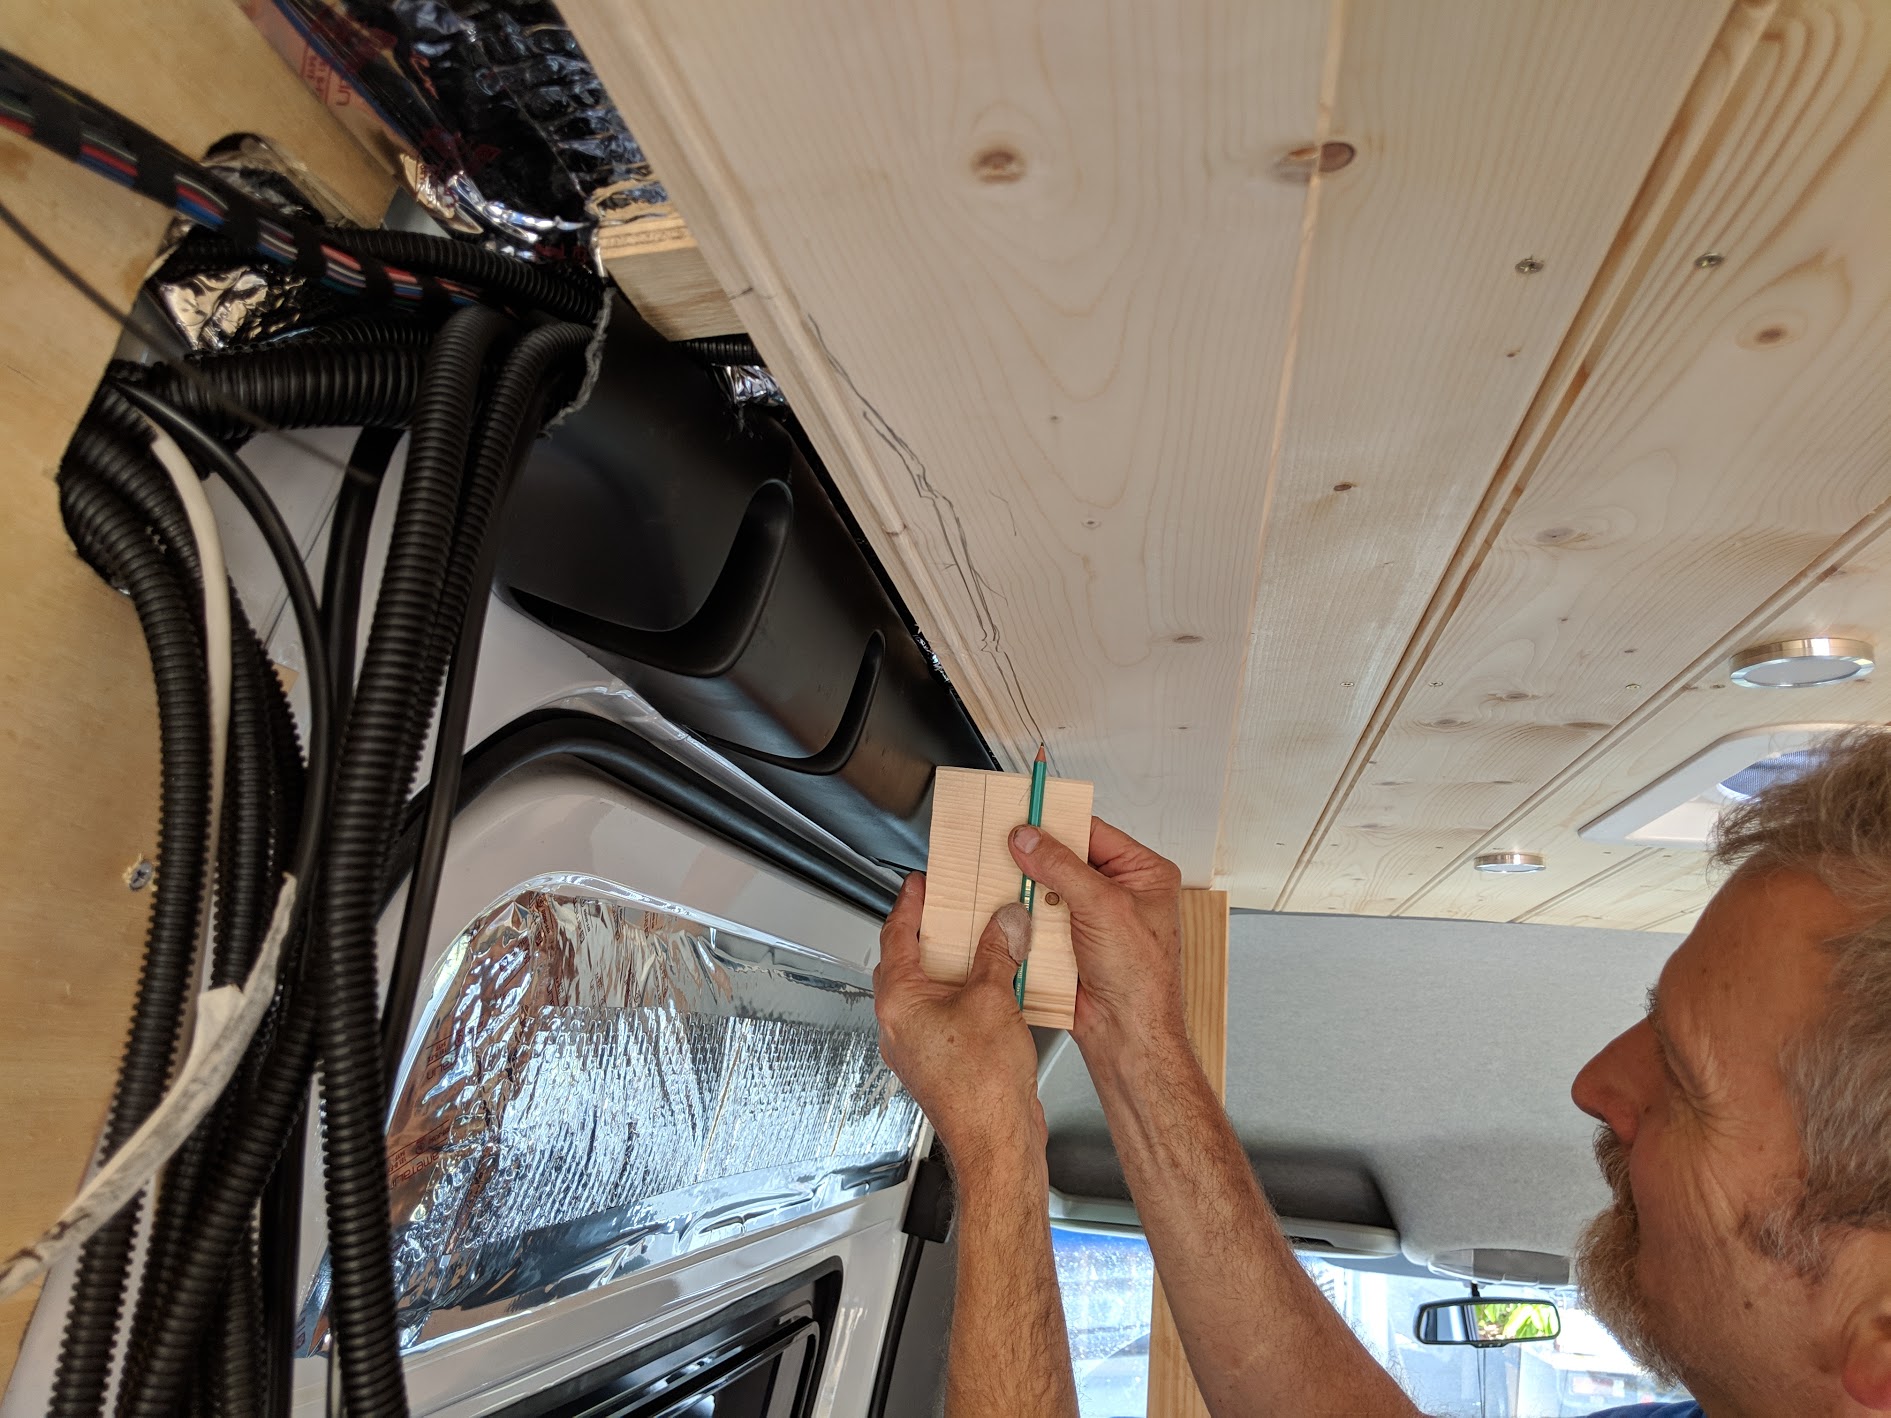
While the drivers side was nice and simple with the final board leaving perhaps a 20mm gap to the side wall, the passenger side was tricky, this cable cover required a finicky cut where we had to scribe the profile onto the board.

Got there in the end, the gaps on either side were going to be covered by the overhead cabinets anyway. The finish on the boards was was fairly good, as I installed each board I gave it a light sand and then a couple of quick coats of Danish oil.
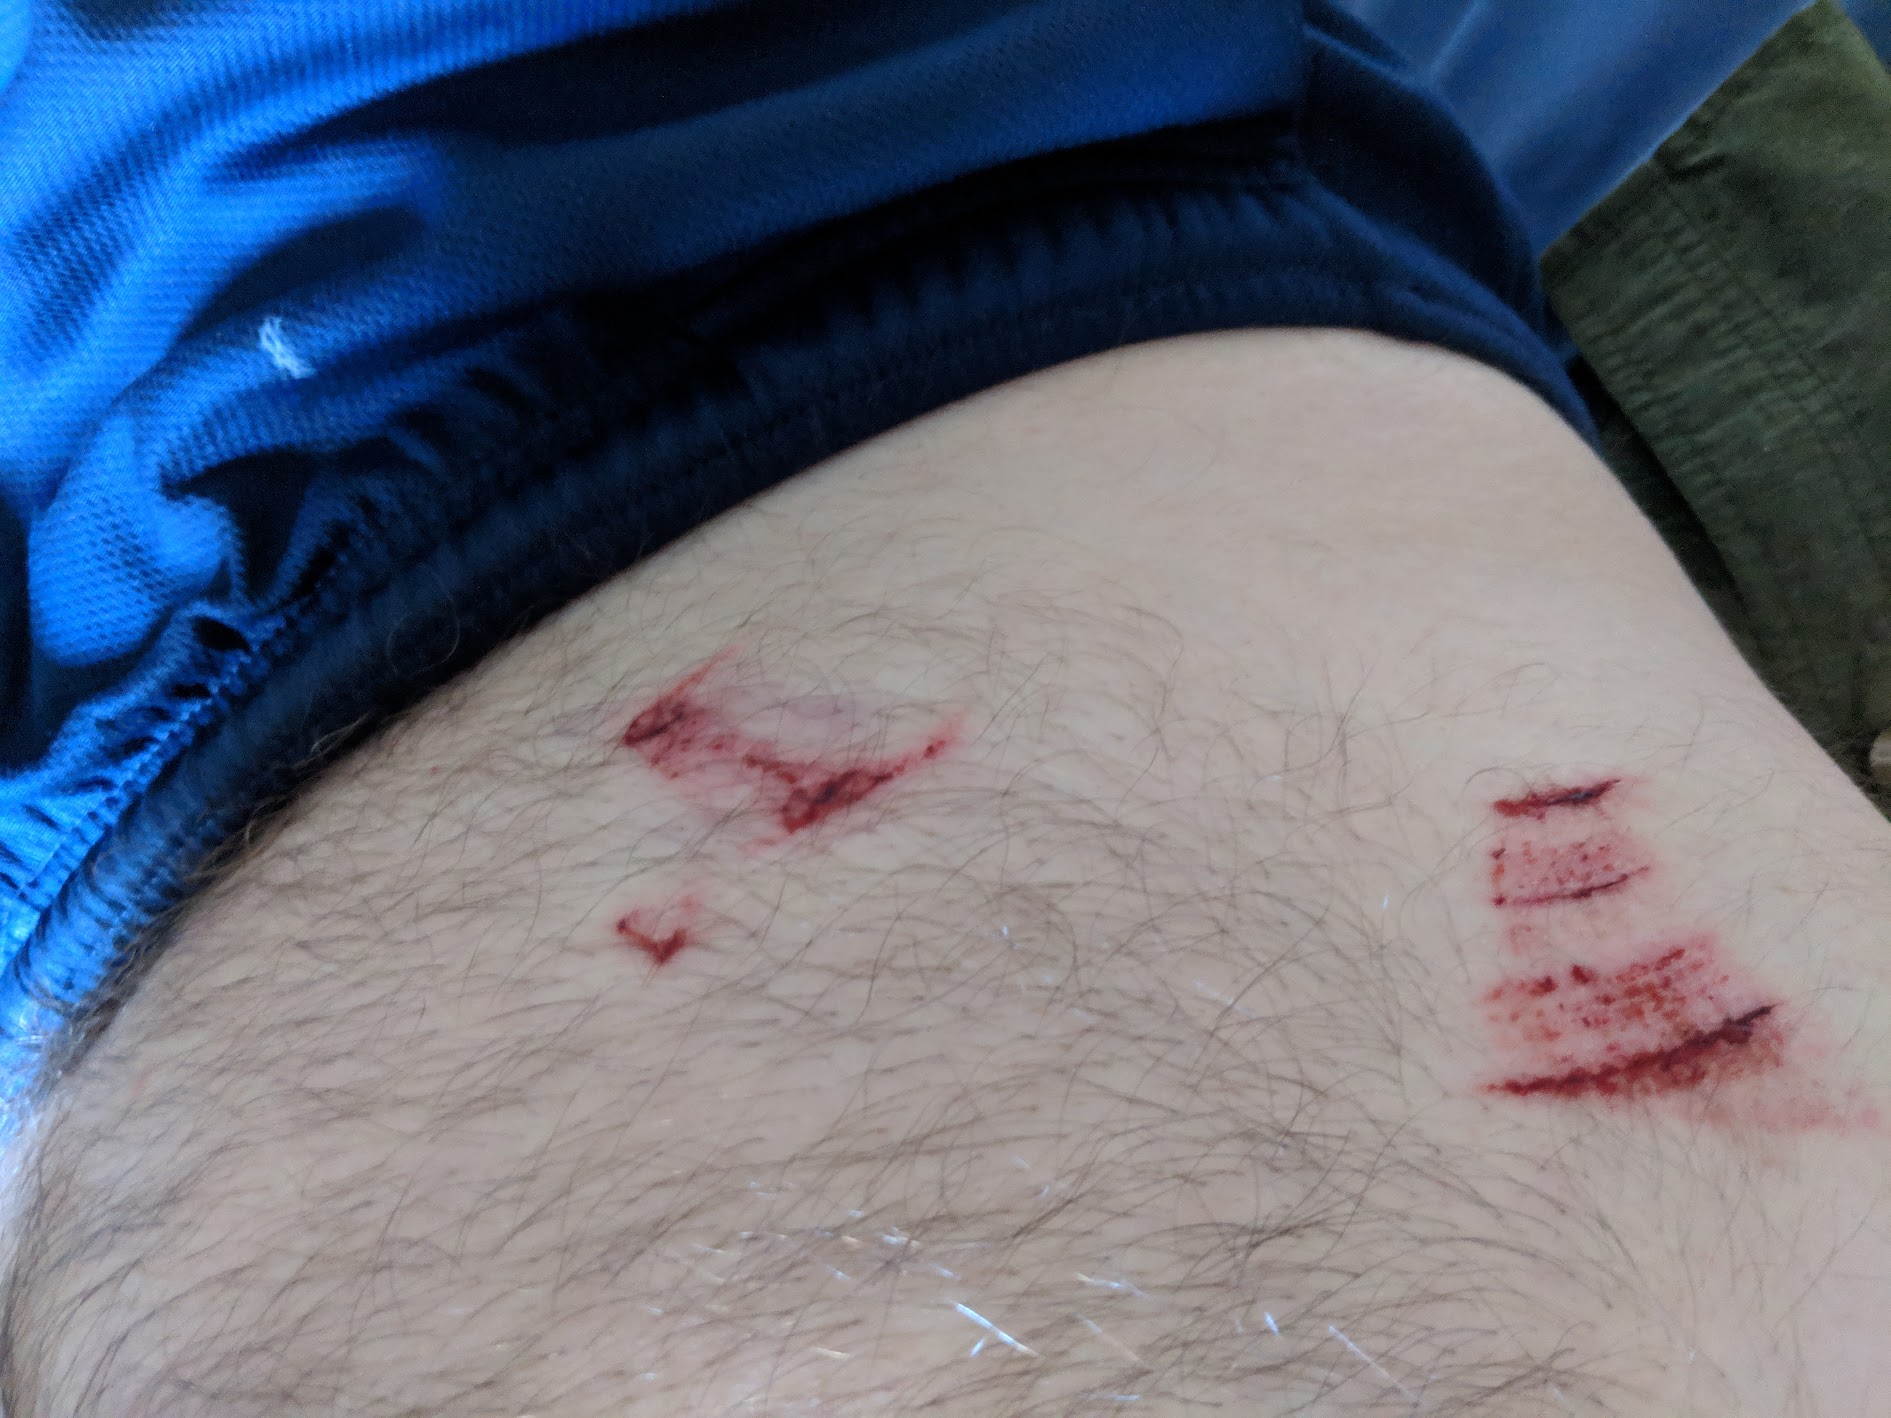
Now a bit of a safety warning. I was striping some 70×35 timber in half on an old table saw when the front edge of it lifted slightly, twisting a little it caught the circular saw blade ripping the piece of wood apart it shot both bits back at me, whacking me in the stomach. I was being careful, had hearing and eye protection on, had a pushing stick to feed the wood through. It was just one of those things, I should have had another pushing stick, one to push it through and the other to hold the front edge down.
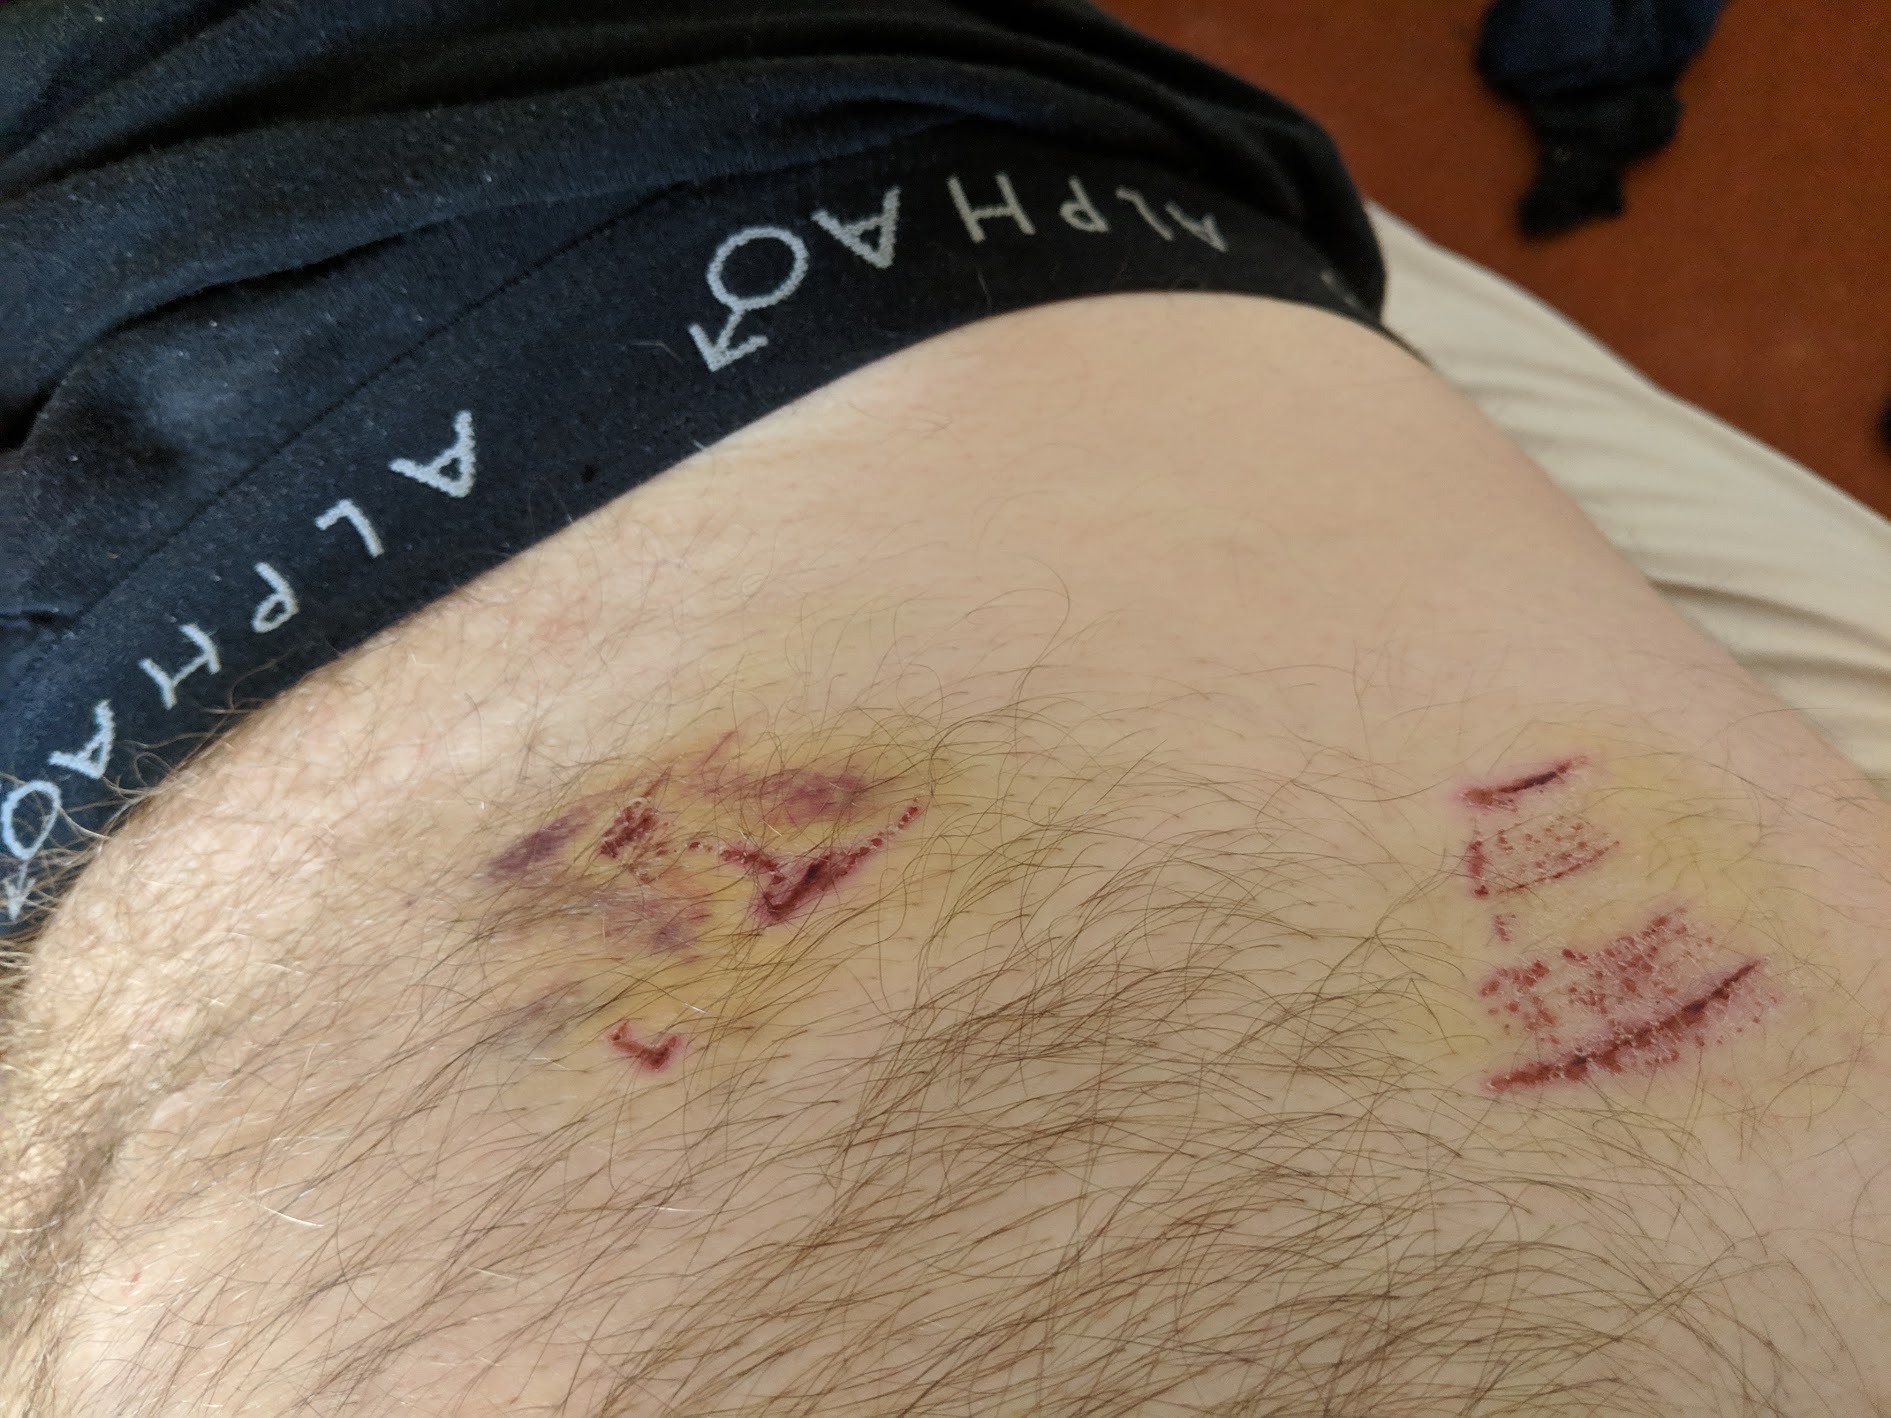
A few days later and the bruising is more noticeable, There are big lumps I can feel deep inside, damn that wood hit hard. As I type this it’s 5 weeks later and I still have a small mark and slight lump. It was a good lesson, no permanent damage, no bits lost, just a good scare and some pain for a while.
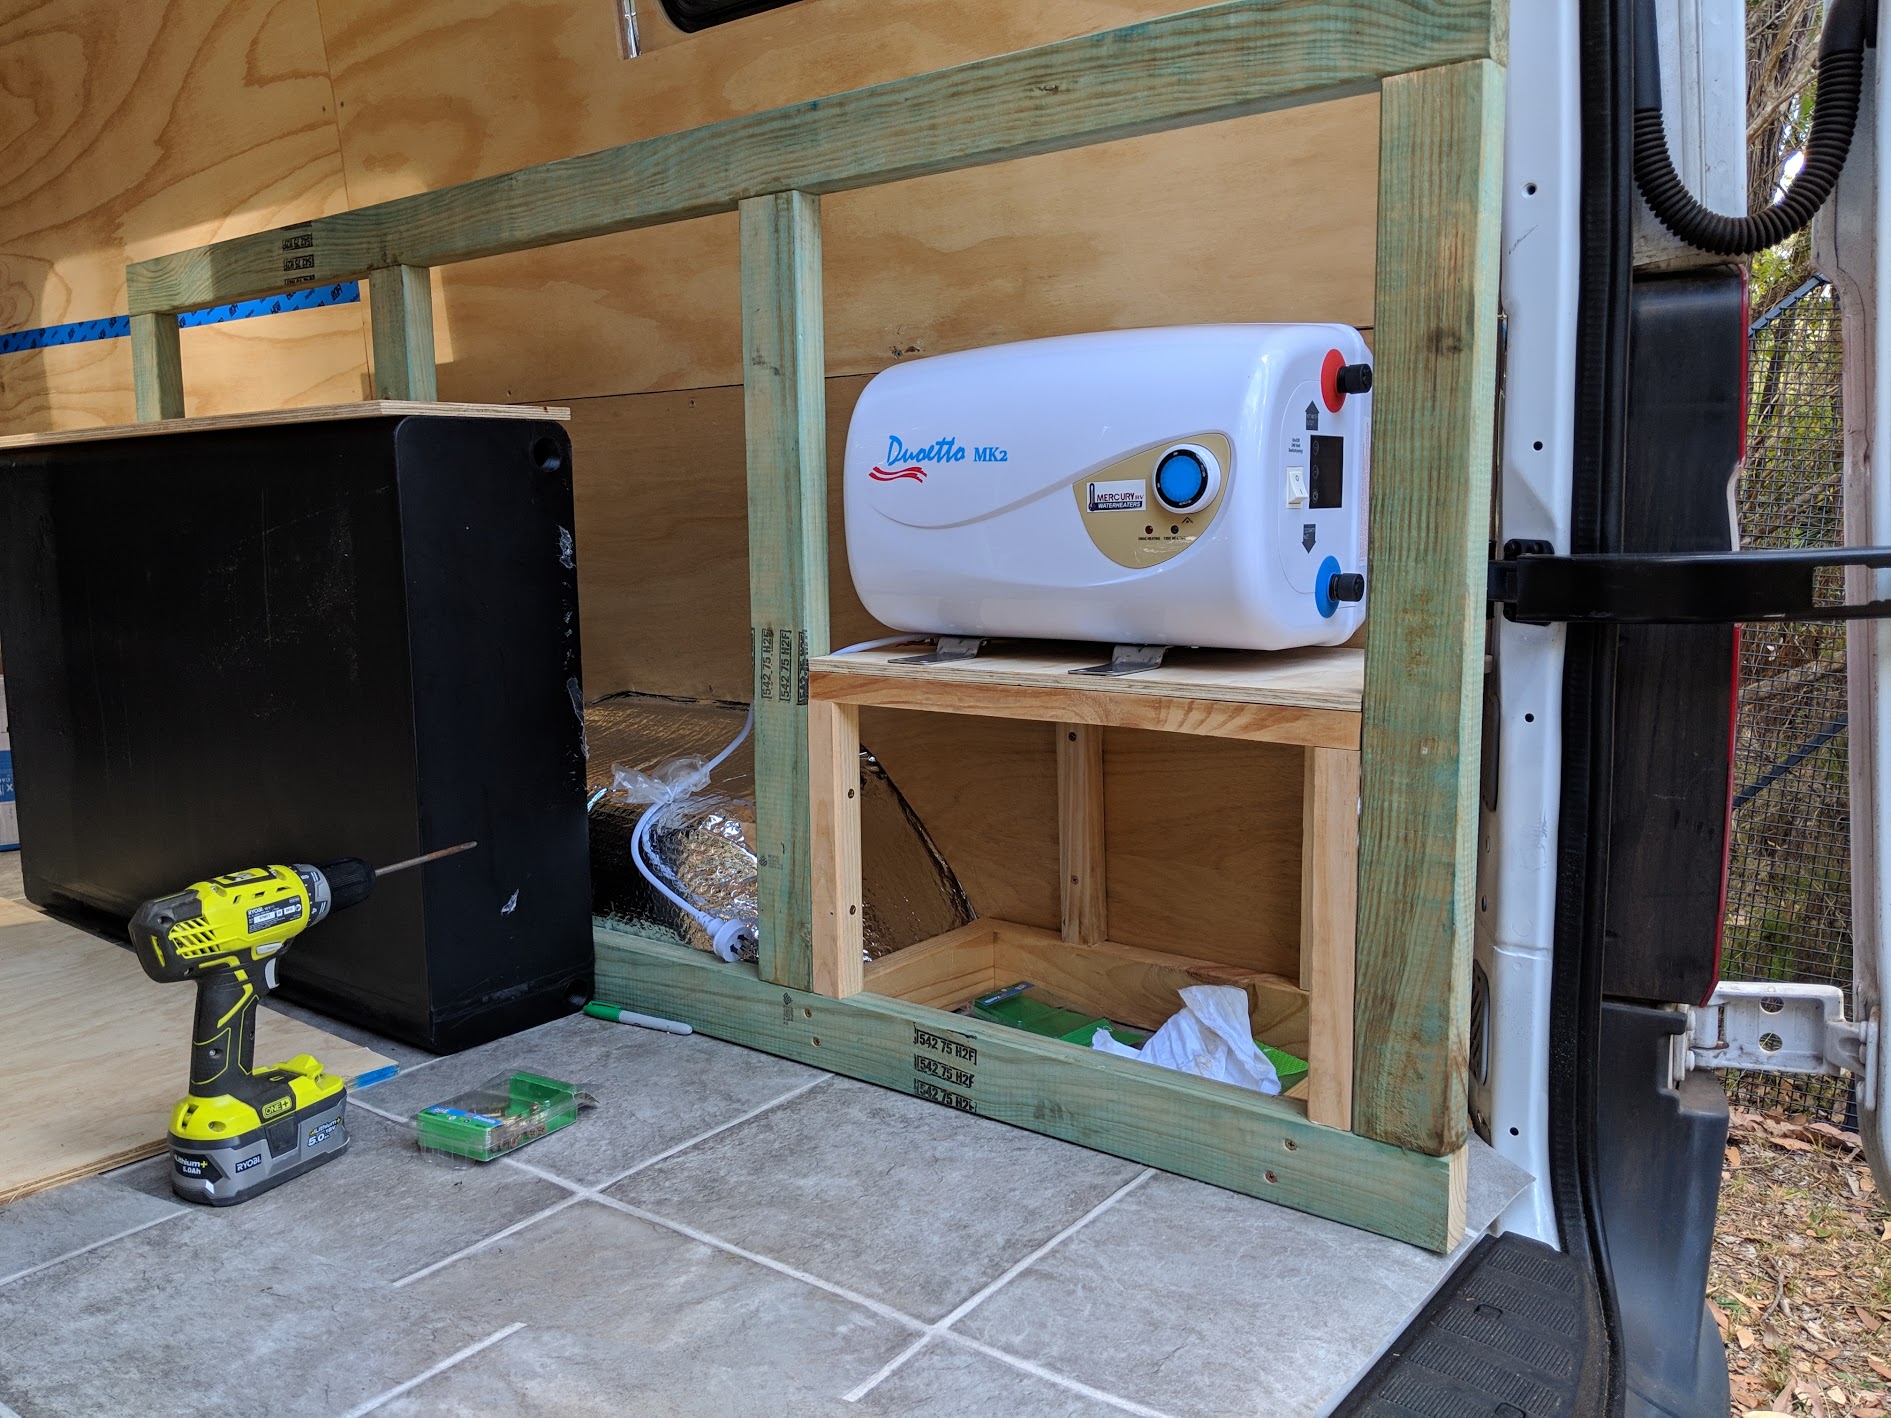
Back onto the business side of things, I’d found a good place for the water heater to go, leaving a space underneath in case I decided to increase the battery capacity, I could easily double my battery capacity if I found reason to. This water heater is 12V/240V with a 10L capacity. It will be a serious battery drainer, but useful to turn on while driving somewhere, then I can arrive with hot water.

A little more shelving to make use of the space above and around the wheel arch. Some of this space will be inaccessible once the water tank is fitted in place. There’s a small removable lid under the bin so that I can access this little spot later from above. The bin was an issue, hard to find a bin small enough to fit into the little space I wanted it to go. In the end I discovered that a “sanitary bin” was an ideal fit, it cost 3 times as much as a standard kitchen bin but was well made and a perfect fit.
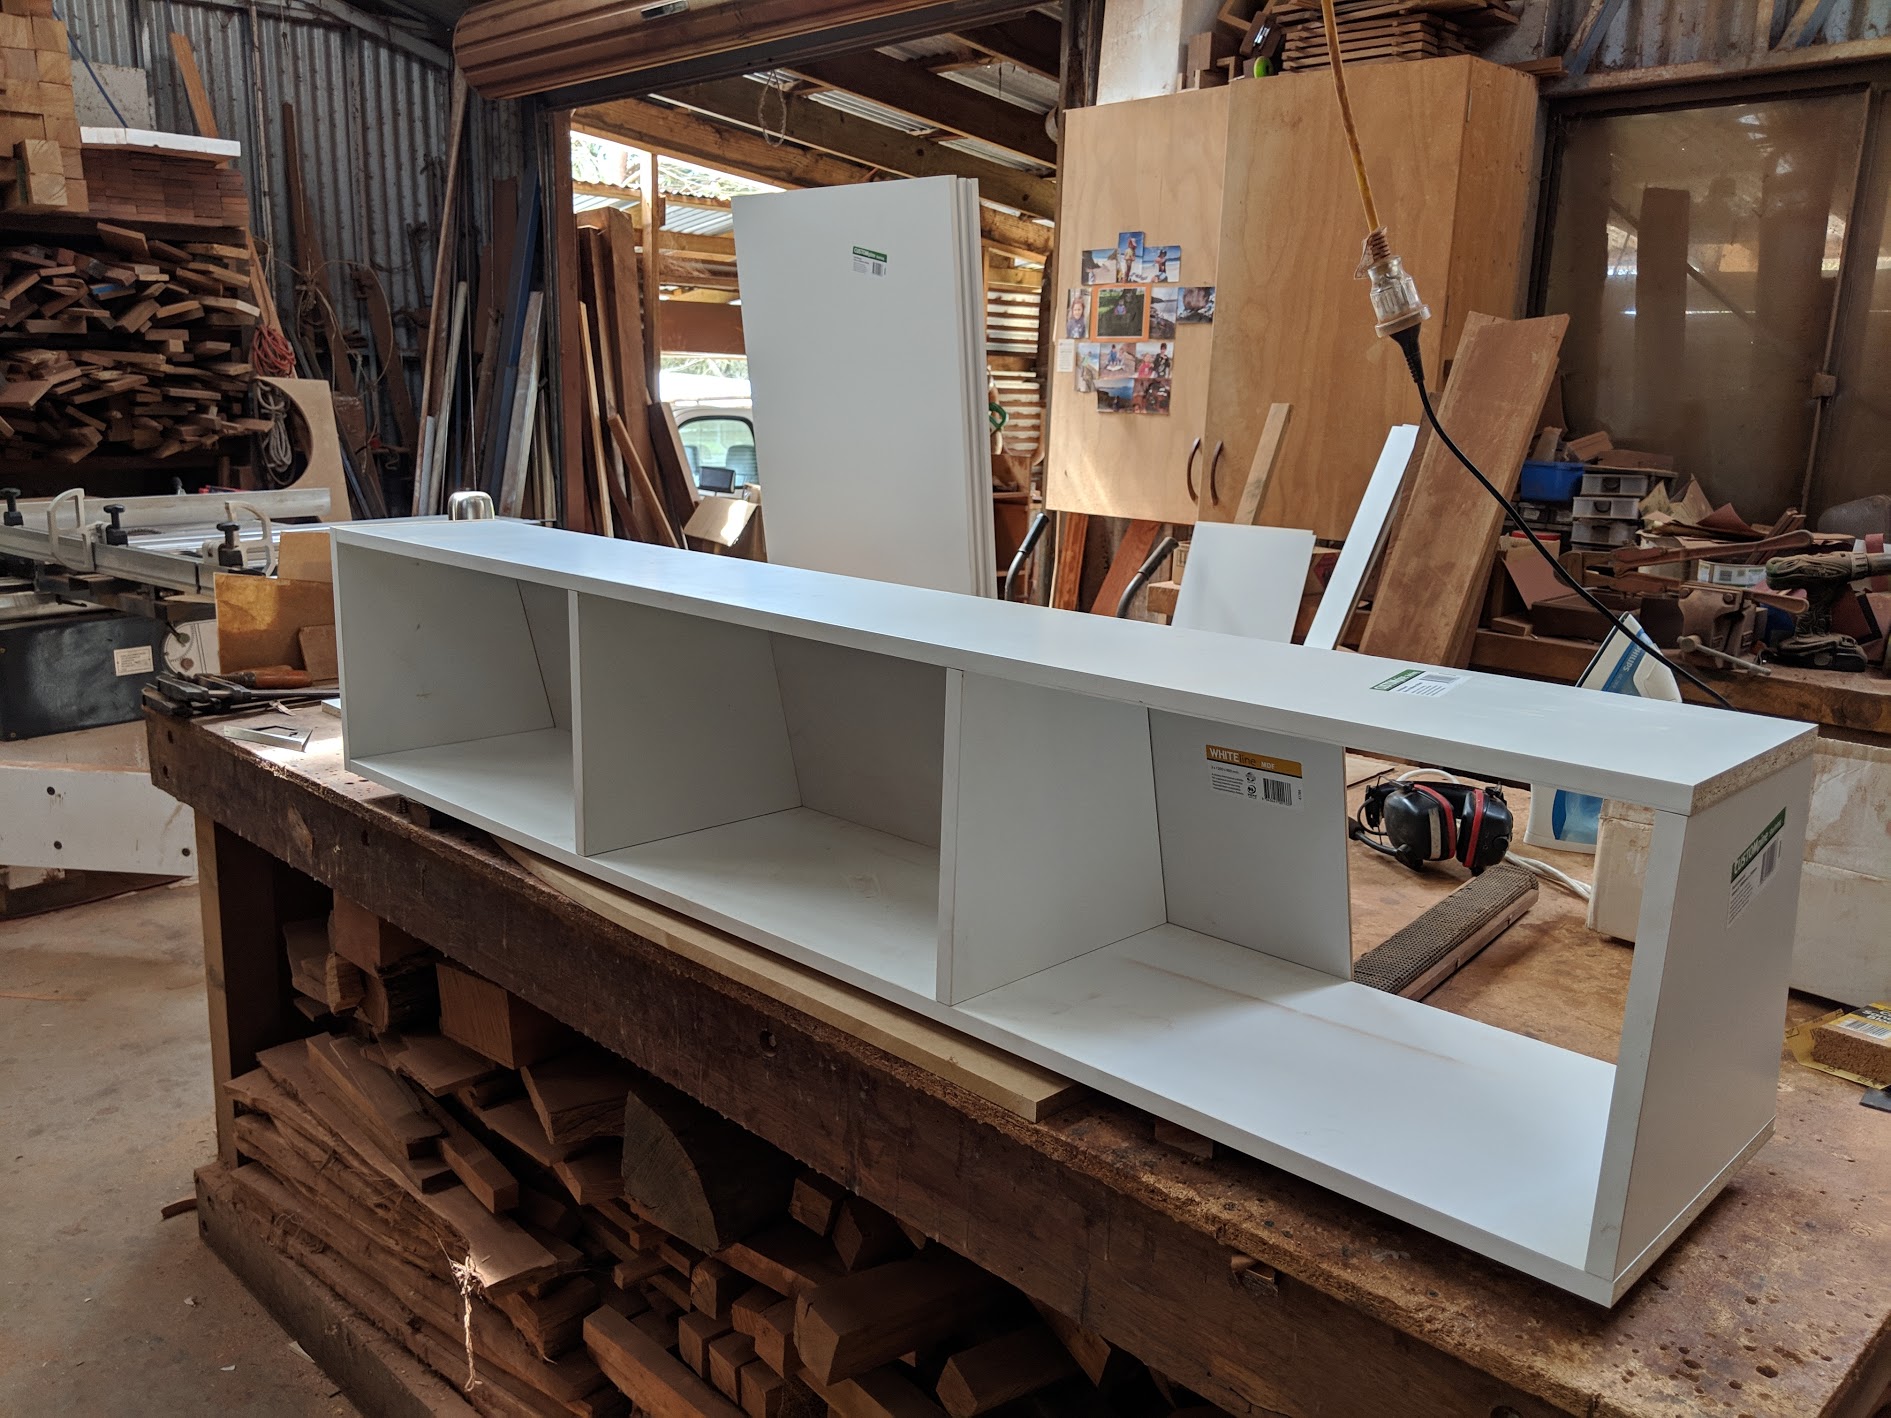
Time to start working on the overhead cabinets. OK, this wasn’t my work, far to neat, this is one of the bits I was getting done by Matt the cabinet maker, nice, neat, clean work.
And the harsh reality of undoing the work you’ve done. I had to remove one of my ceiling panels as this allowed the cabinet to fit up higher and better into the space available. It was hard to get this panel off so I feel very confident in my ceiling staying put.
He also made the carcass of the kitchen cabinet while I was onto the skinny pine cabinet that would fit down the side of the bed.
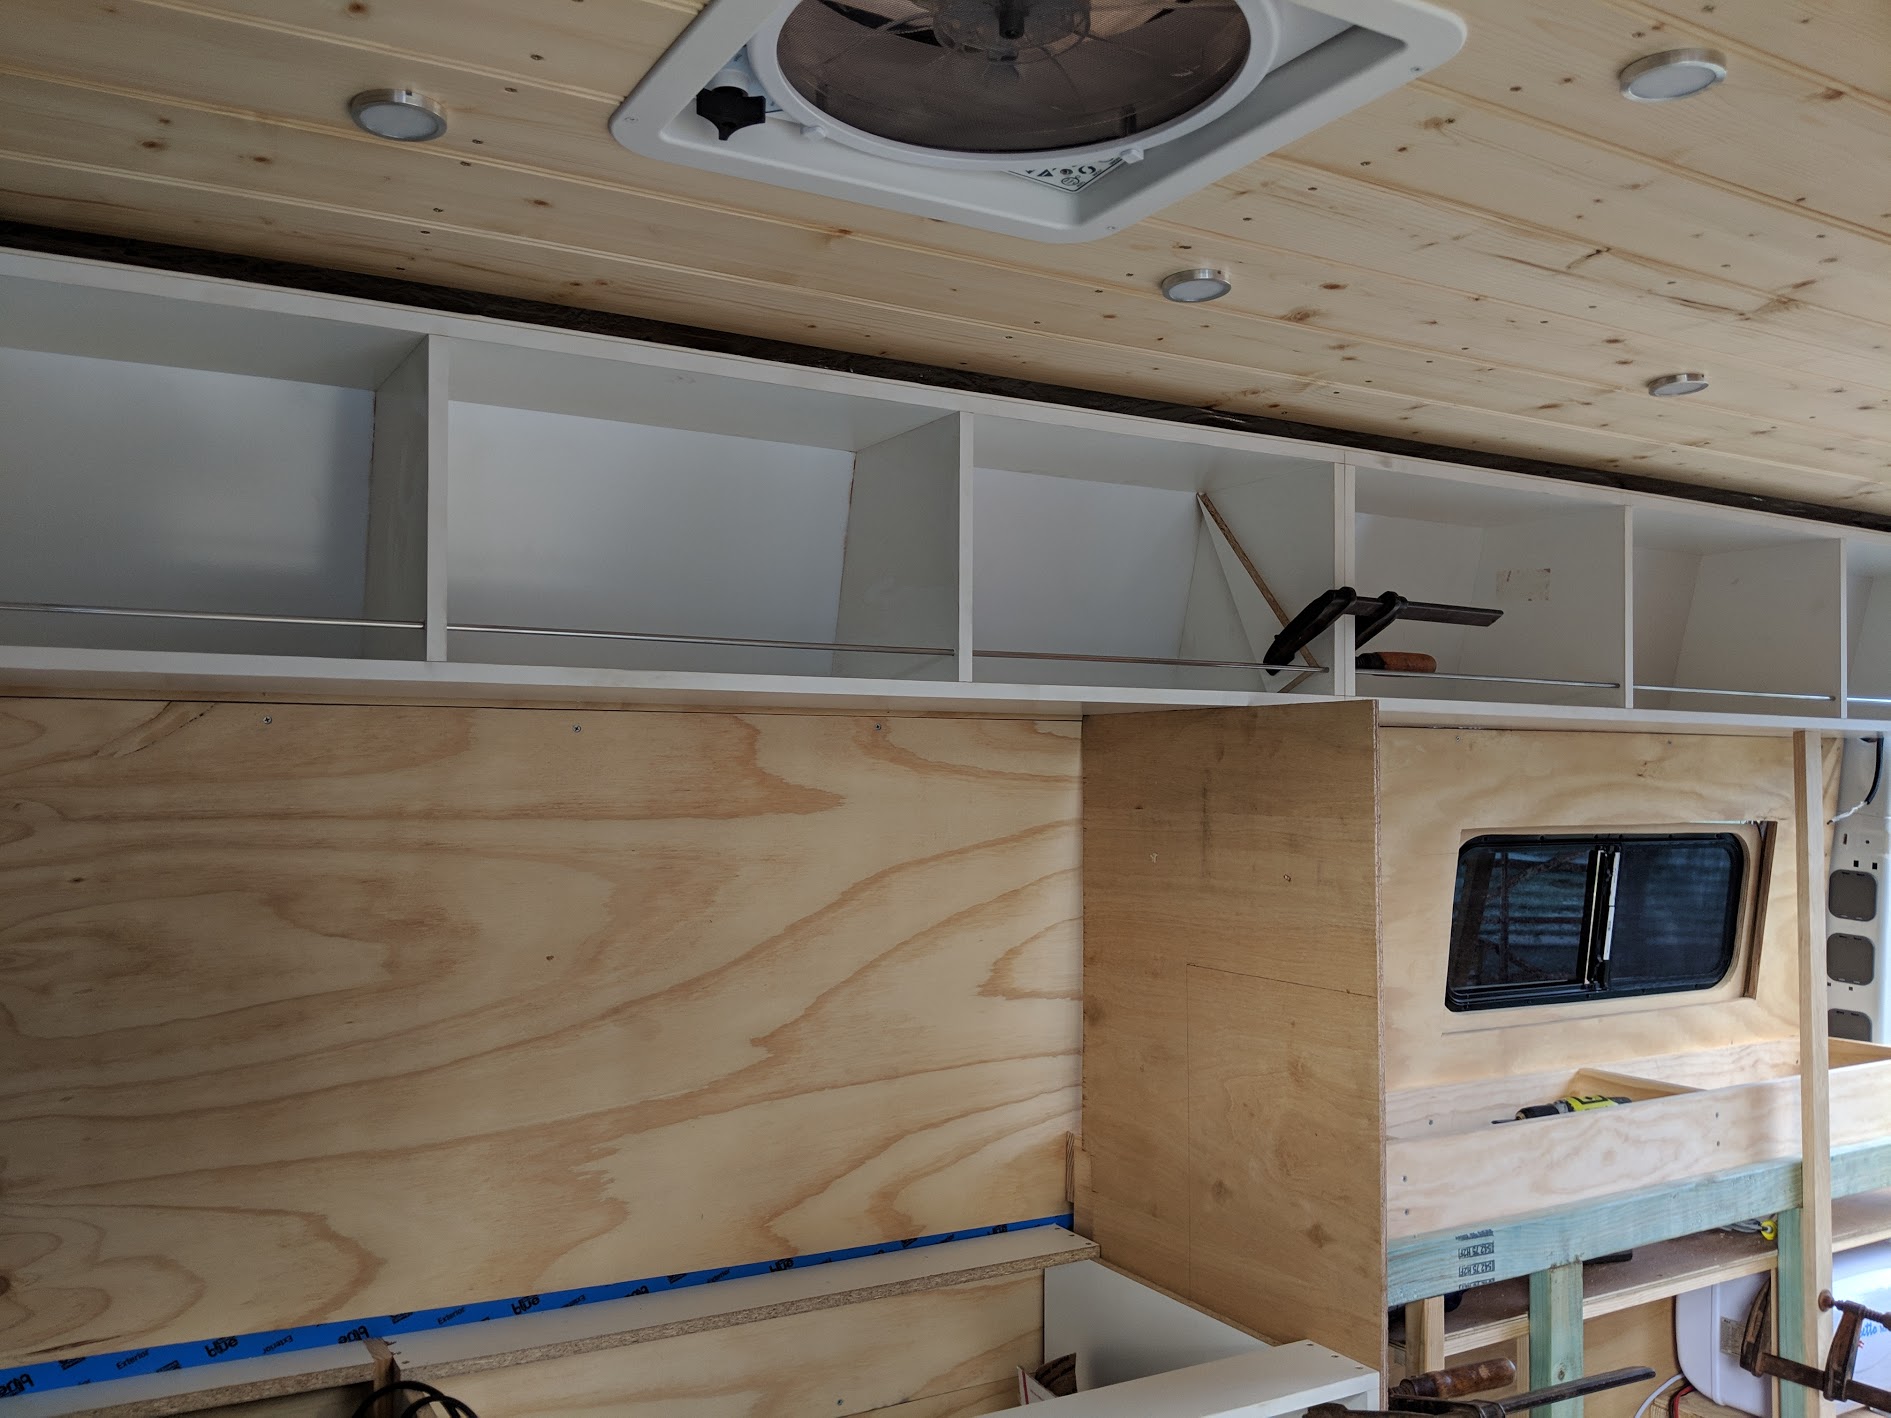
The overhead cabinet was a good fit, a little too tight in a couple of spots, we needed to take a bit off some back corners to get it into the final position. I decided on installing a rod at the front of the cabinet for a couple of reasons. I hadn’t decided exactly what I was going to use for my door hinges and stays yet, the plan was to have the top cupboards with no visible fittings or catches when closed. Adding a small physical barrier meant that items wouldn’t bang against the door and the stainless steel rod polished up looks pretty good. I was planning on using catches on the drawers below to keep them firmly in place while travelling and liked the idea of stainless catches.
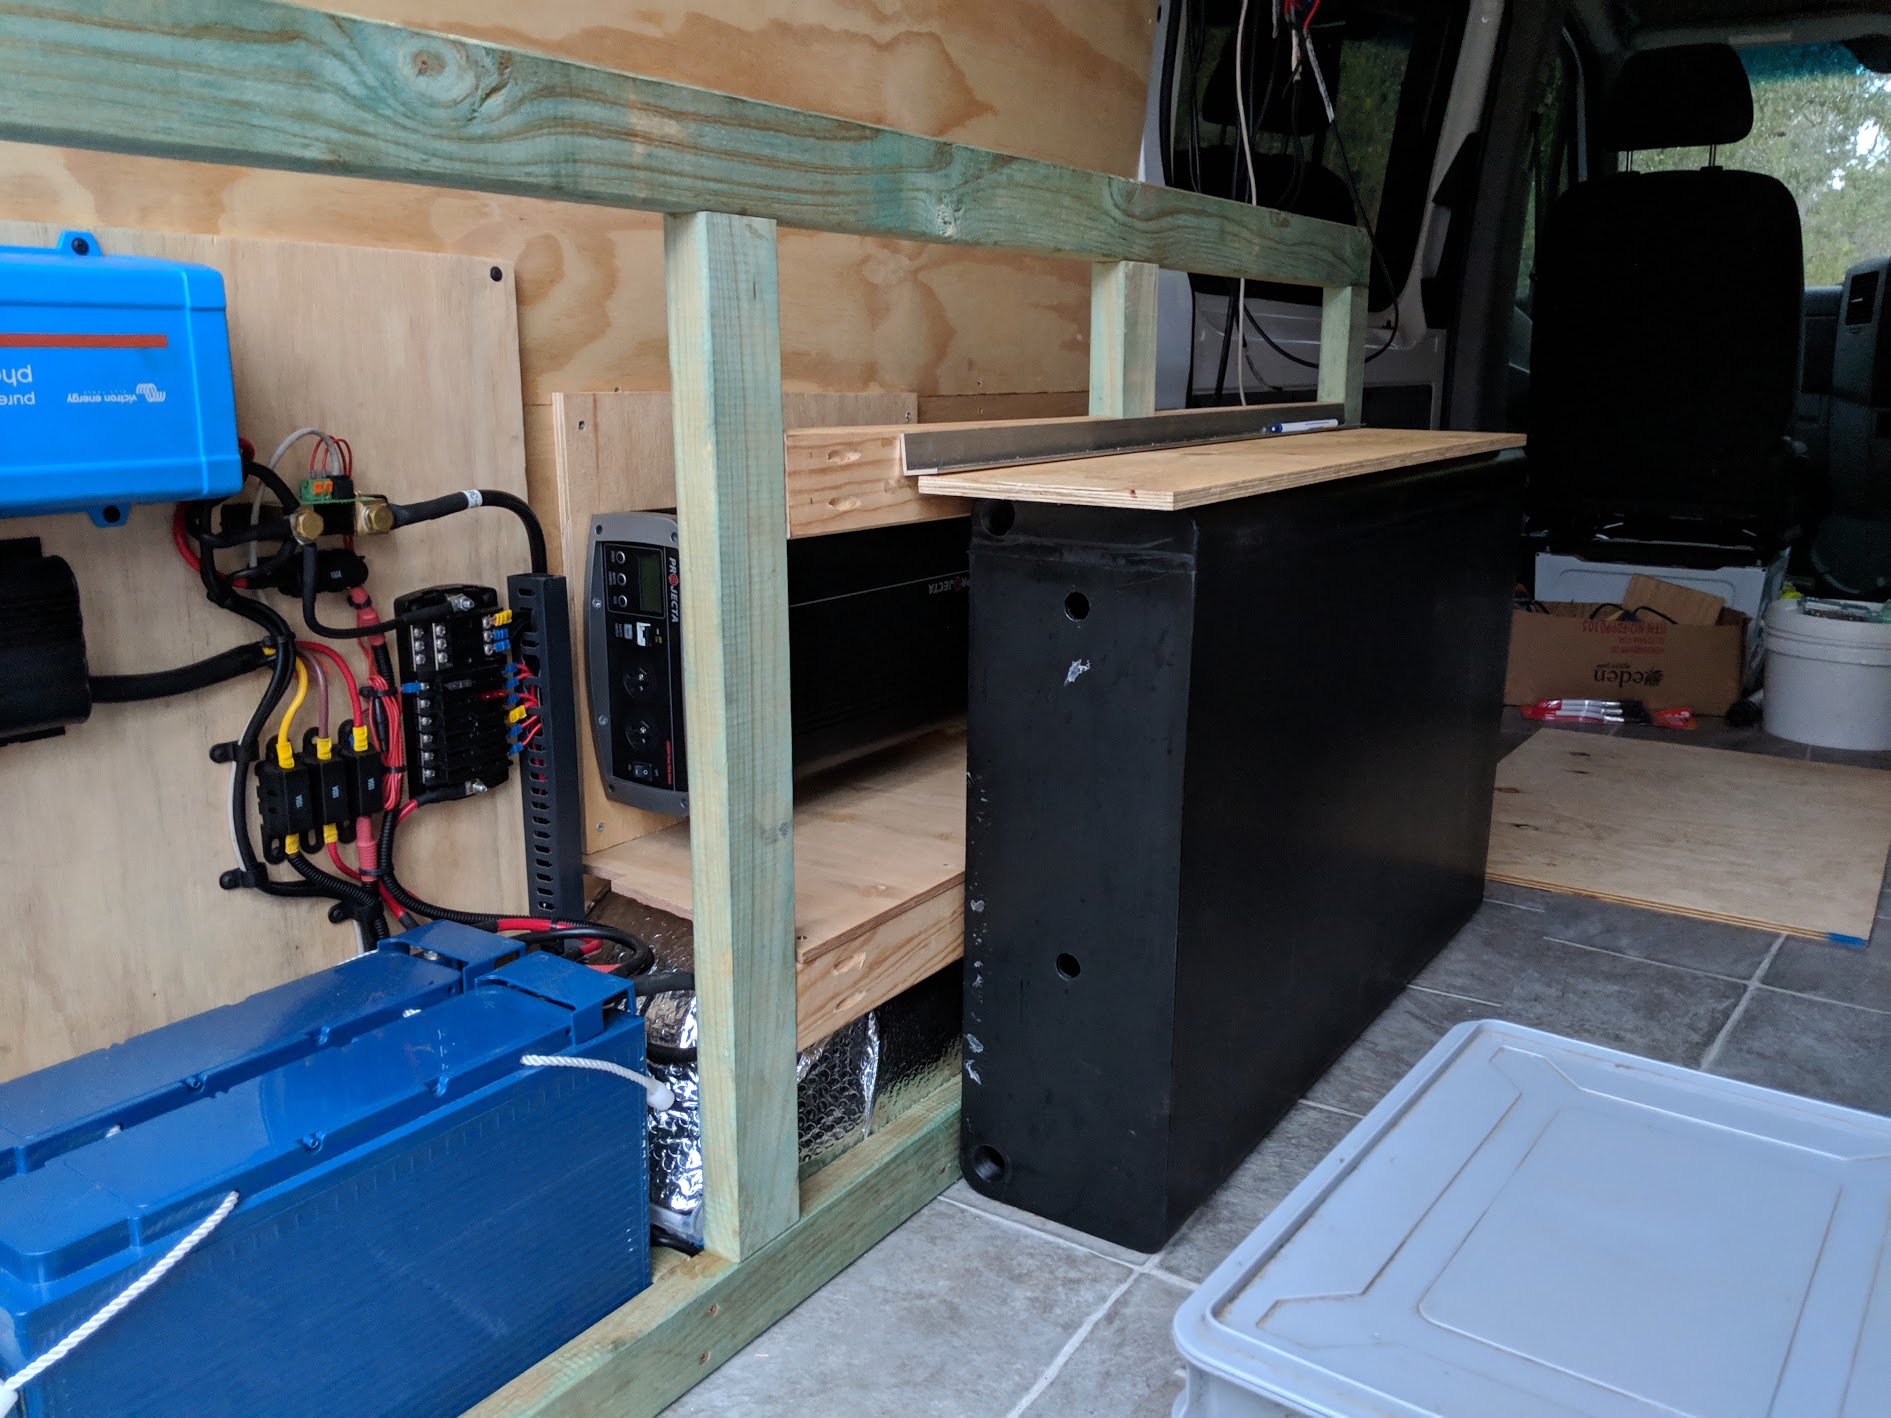
It was about this time that two other major decisions/changes happened as well. I’d been contemplating my cooking method for a long time, I didn’t want to go gas, the metho stoves I’d been interested in had gone out of production though I’d managed to get one from the US and when it arrived I’d decided that it was really only going to be for my outside cooking which was most of the cooking anyway. Still I needed something for cooking inside when the weather wasn’t nice and for morning coffees. I settled on the idea of induction cooking, this meant I needed a larger inverter, so enter the 2000W Projecta pure sine wave now screwed to the wall.
I’d also decided that the water tank really needed to go on the other side of the van, it fitted in beautifully on the drivers side, but everything else was on the drivers side, I had to move some weight across to the passenger side.
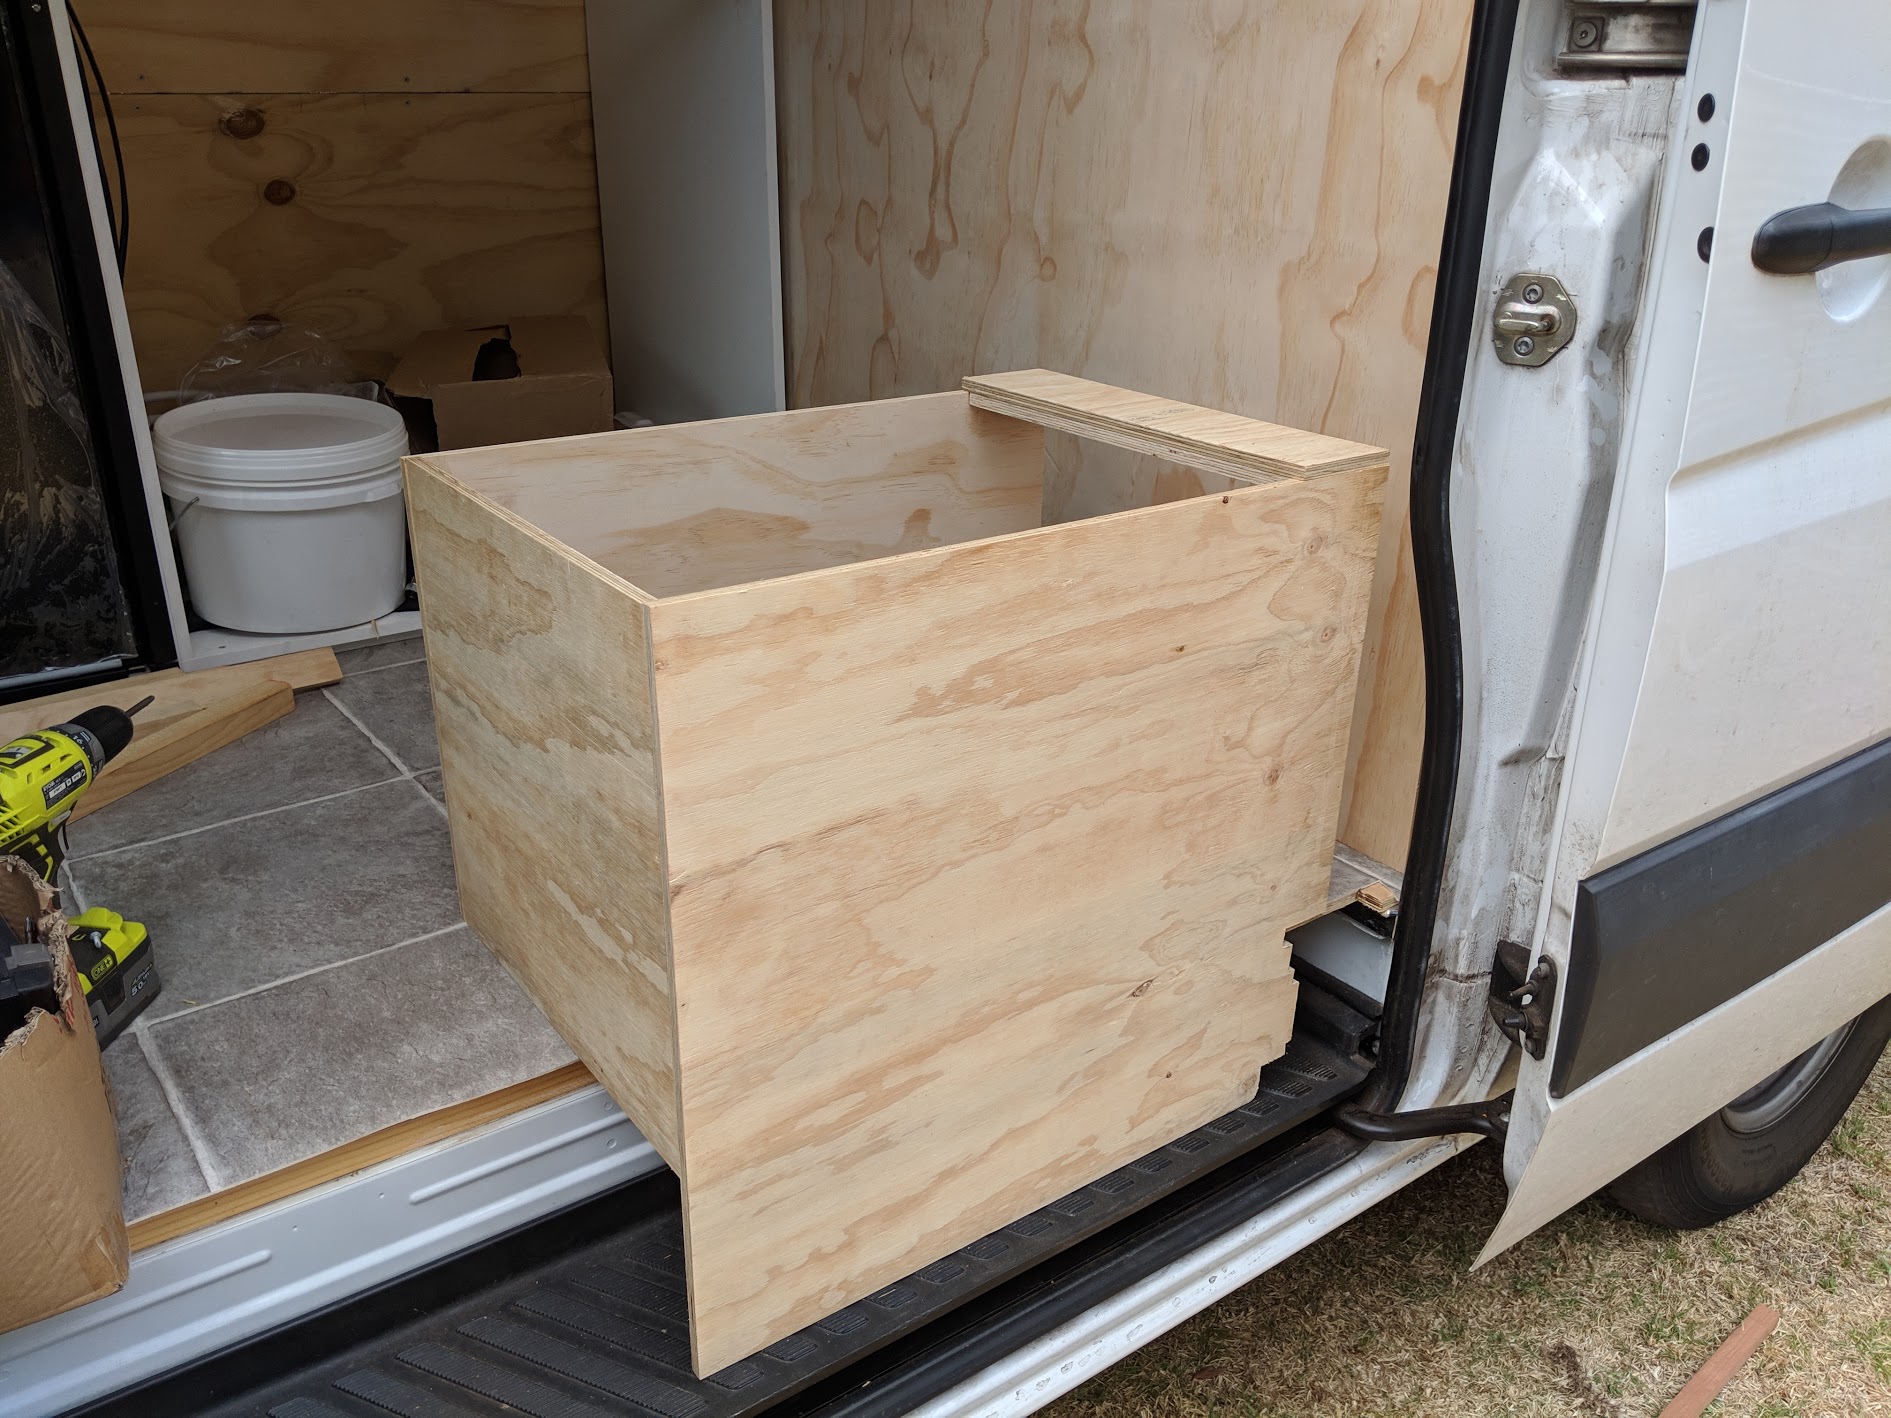
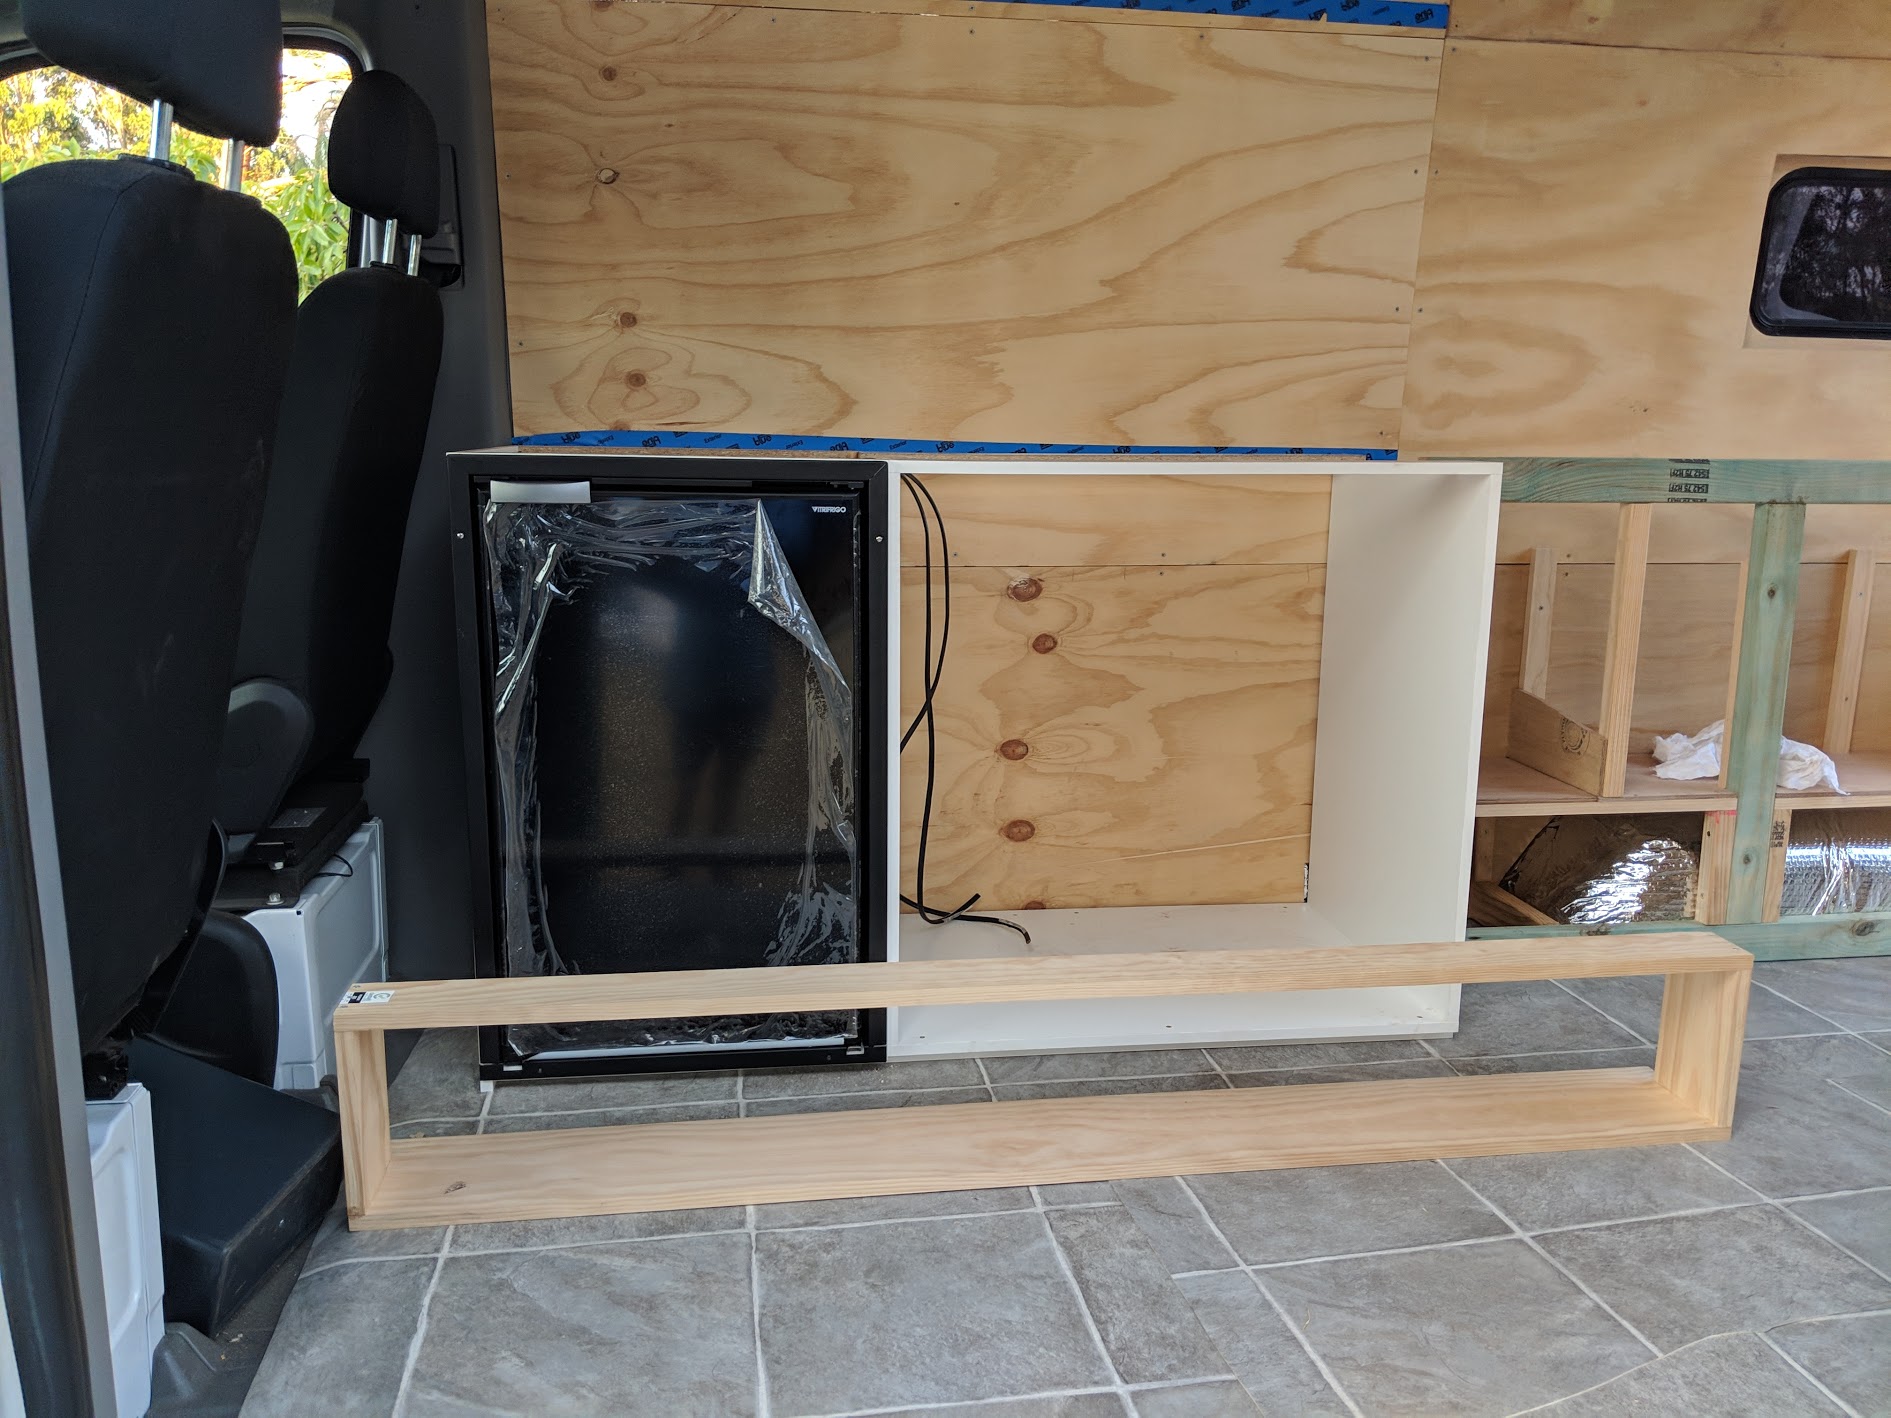
Time to make my box just inside the main door, this was originally to be a seat and toilet, I’d checked it all out and was planning on a composting toilet (read-bucket with a toilet seat), but once I’d built the box I decided that the box was far to big, far to good, and in a position that was far to useful to be a toilet. Check out the intricate cutting required down low at the back to slide neatly into place.
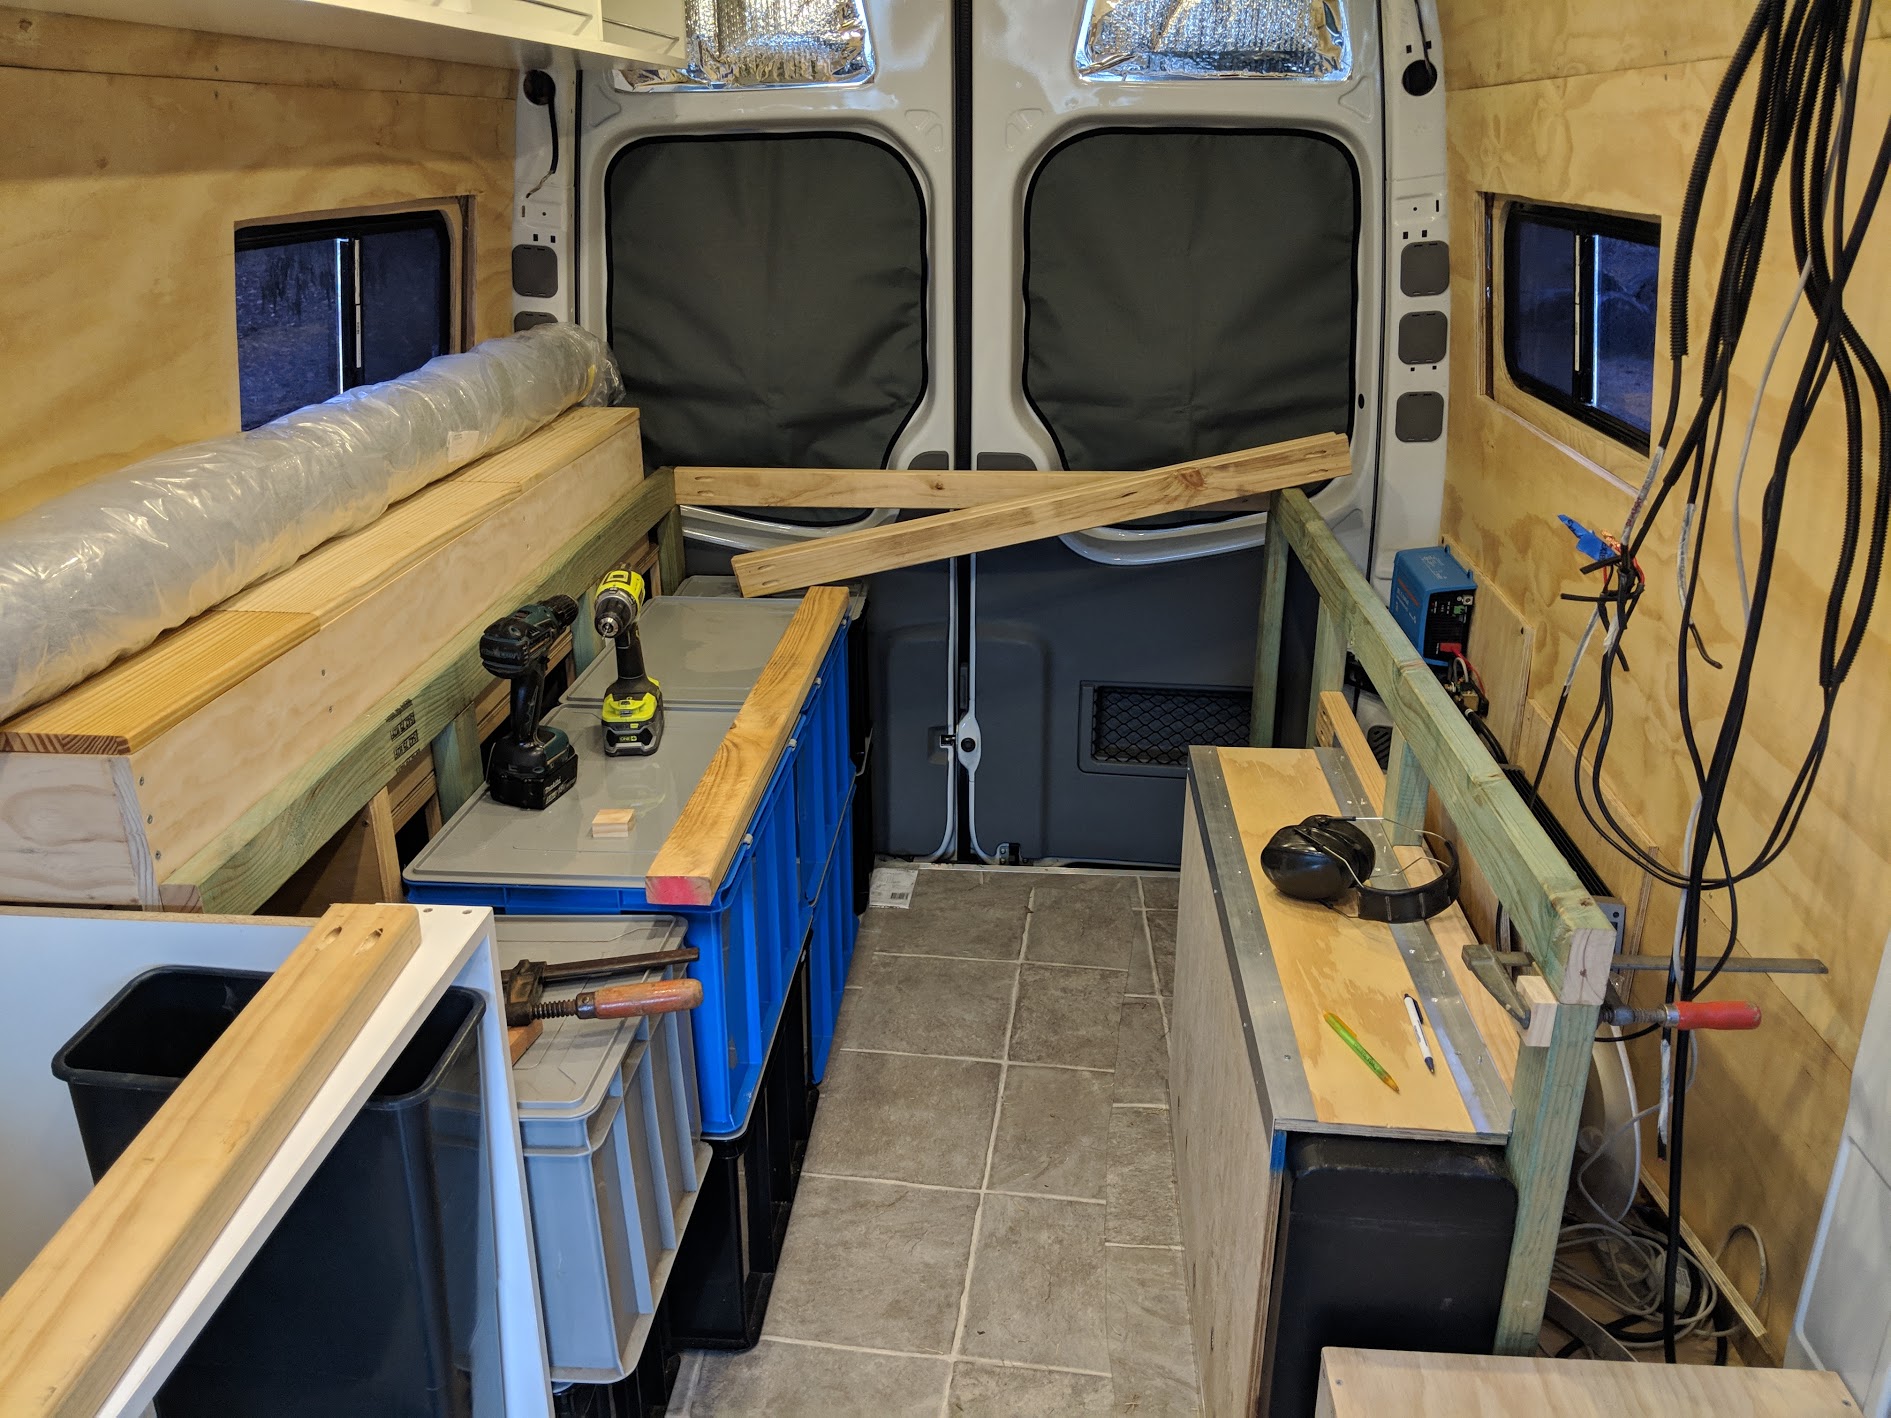
Lots going on now. My storage boxes finally arrived so I could stack them into place and ensure everything fits. I fitted some ply and angle aluminium around the water tank to hold it in place though it’s not fixed yet, need to have the 240V electrics done first. The pine boxes on the left have their hinges and lids attached and that’s a roll of auto carpet sitting on top for future trimming. Now I’ve started to install the main cross beams for the bed support.
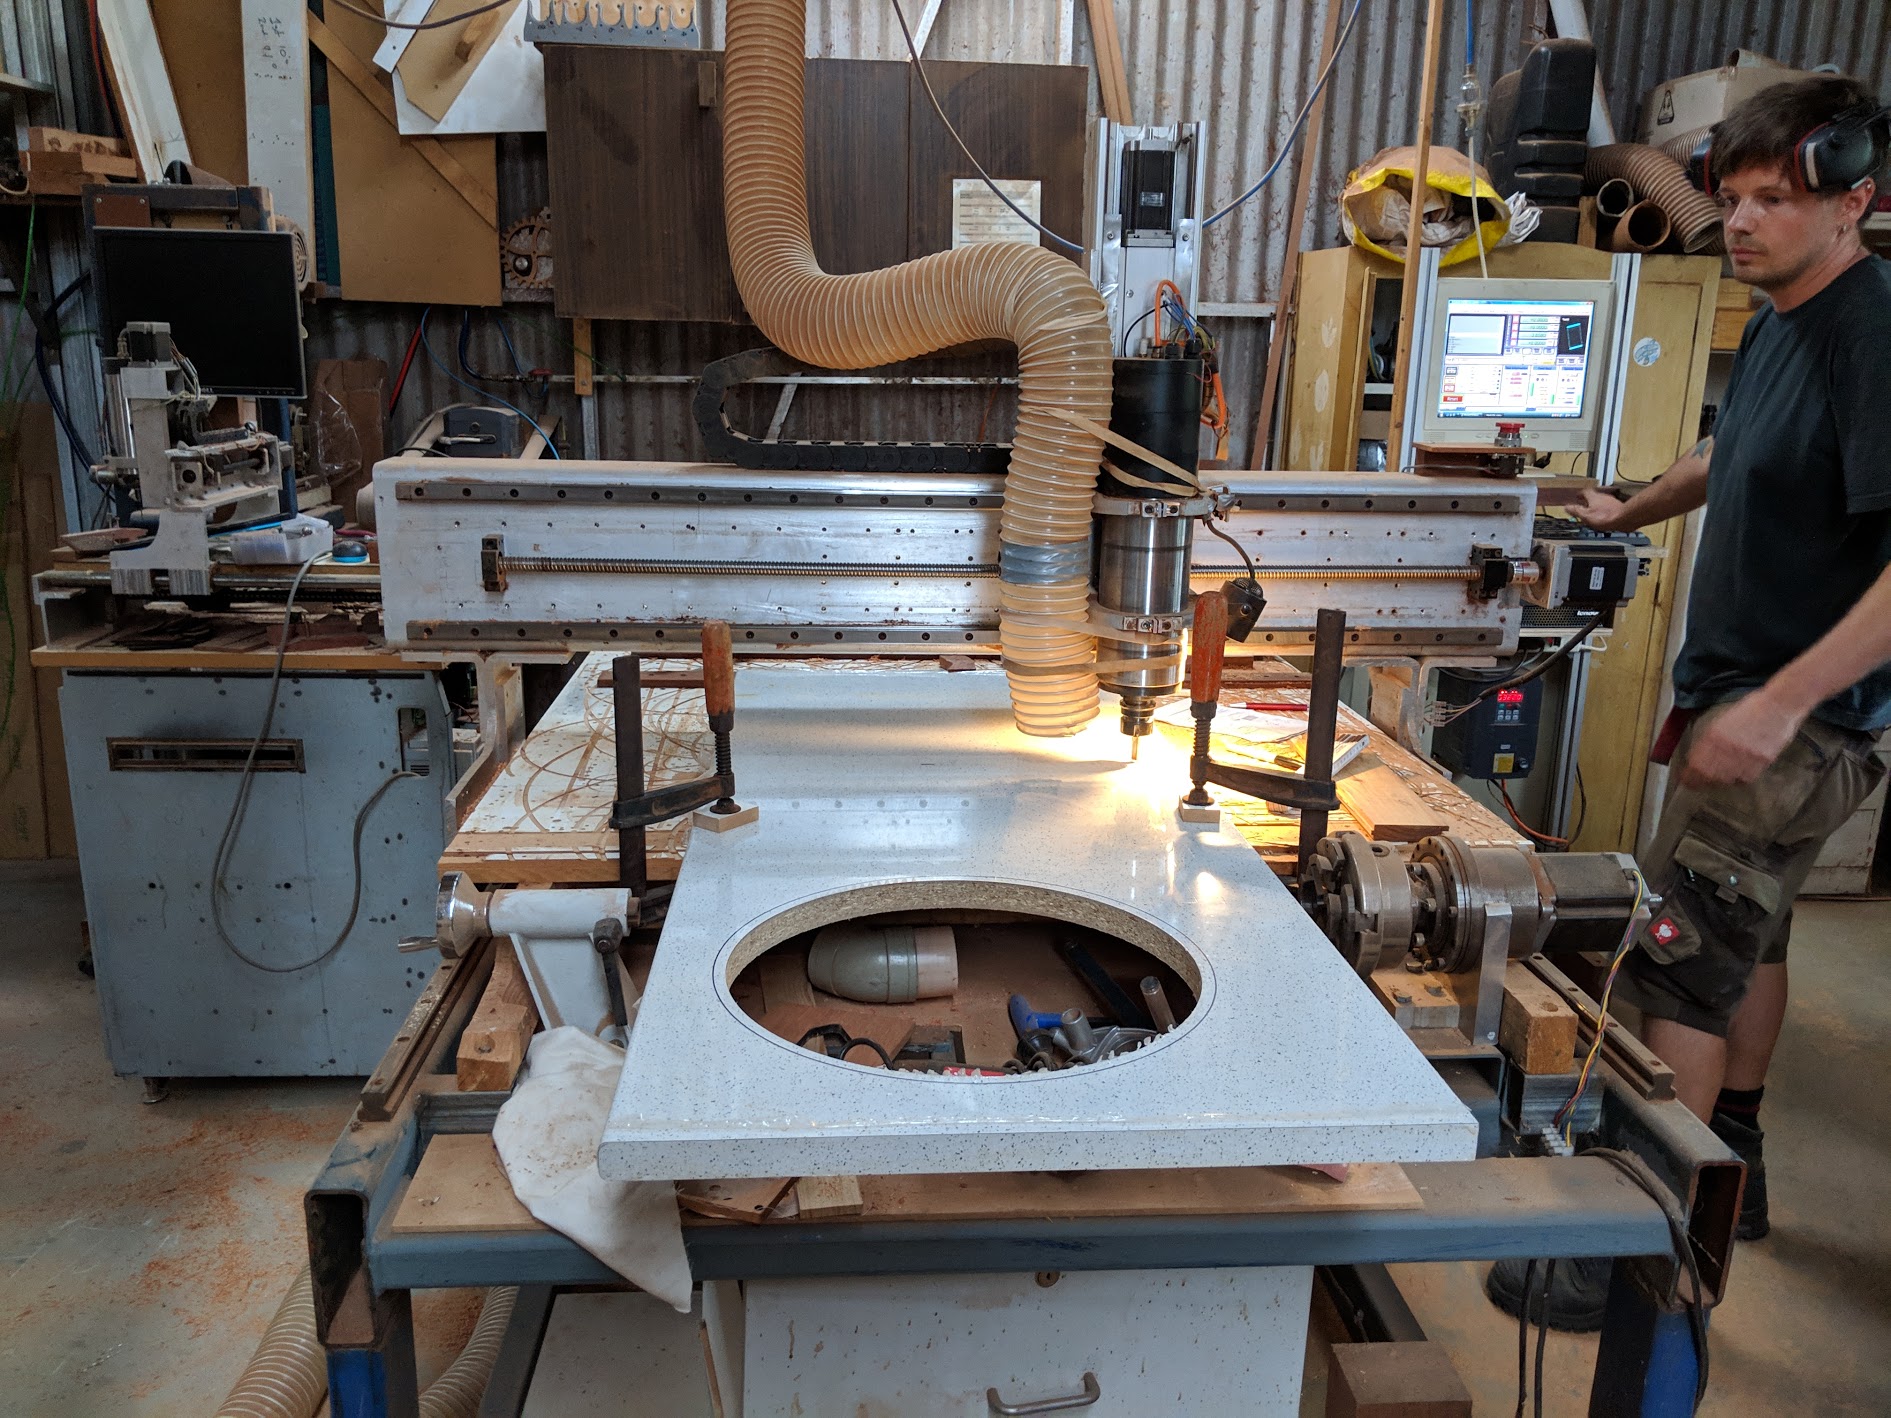
This is the way to cut holes in your kitchen counter top, using a CNC machine you are guaranteed of neat clean perfectly sized holes, so long as there is no operator error.

Bed beams are in and I have half of the under side of the bed installed, having ply under the beams, then another layer of removable ply on top allows for large shallow storage areas. Matt has also made the set of drawers for under the bed. These are ply with Jarrah pieces in between where the catches will be for added strength as these drawers face forward.
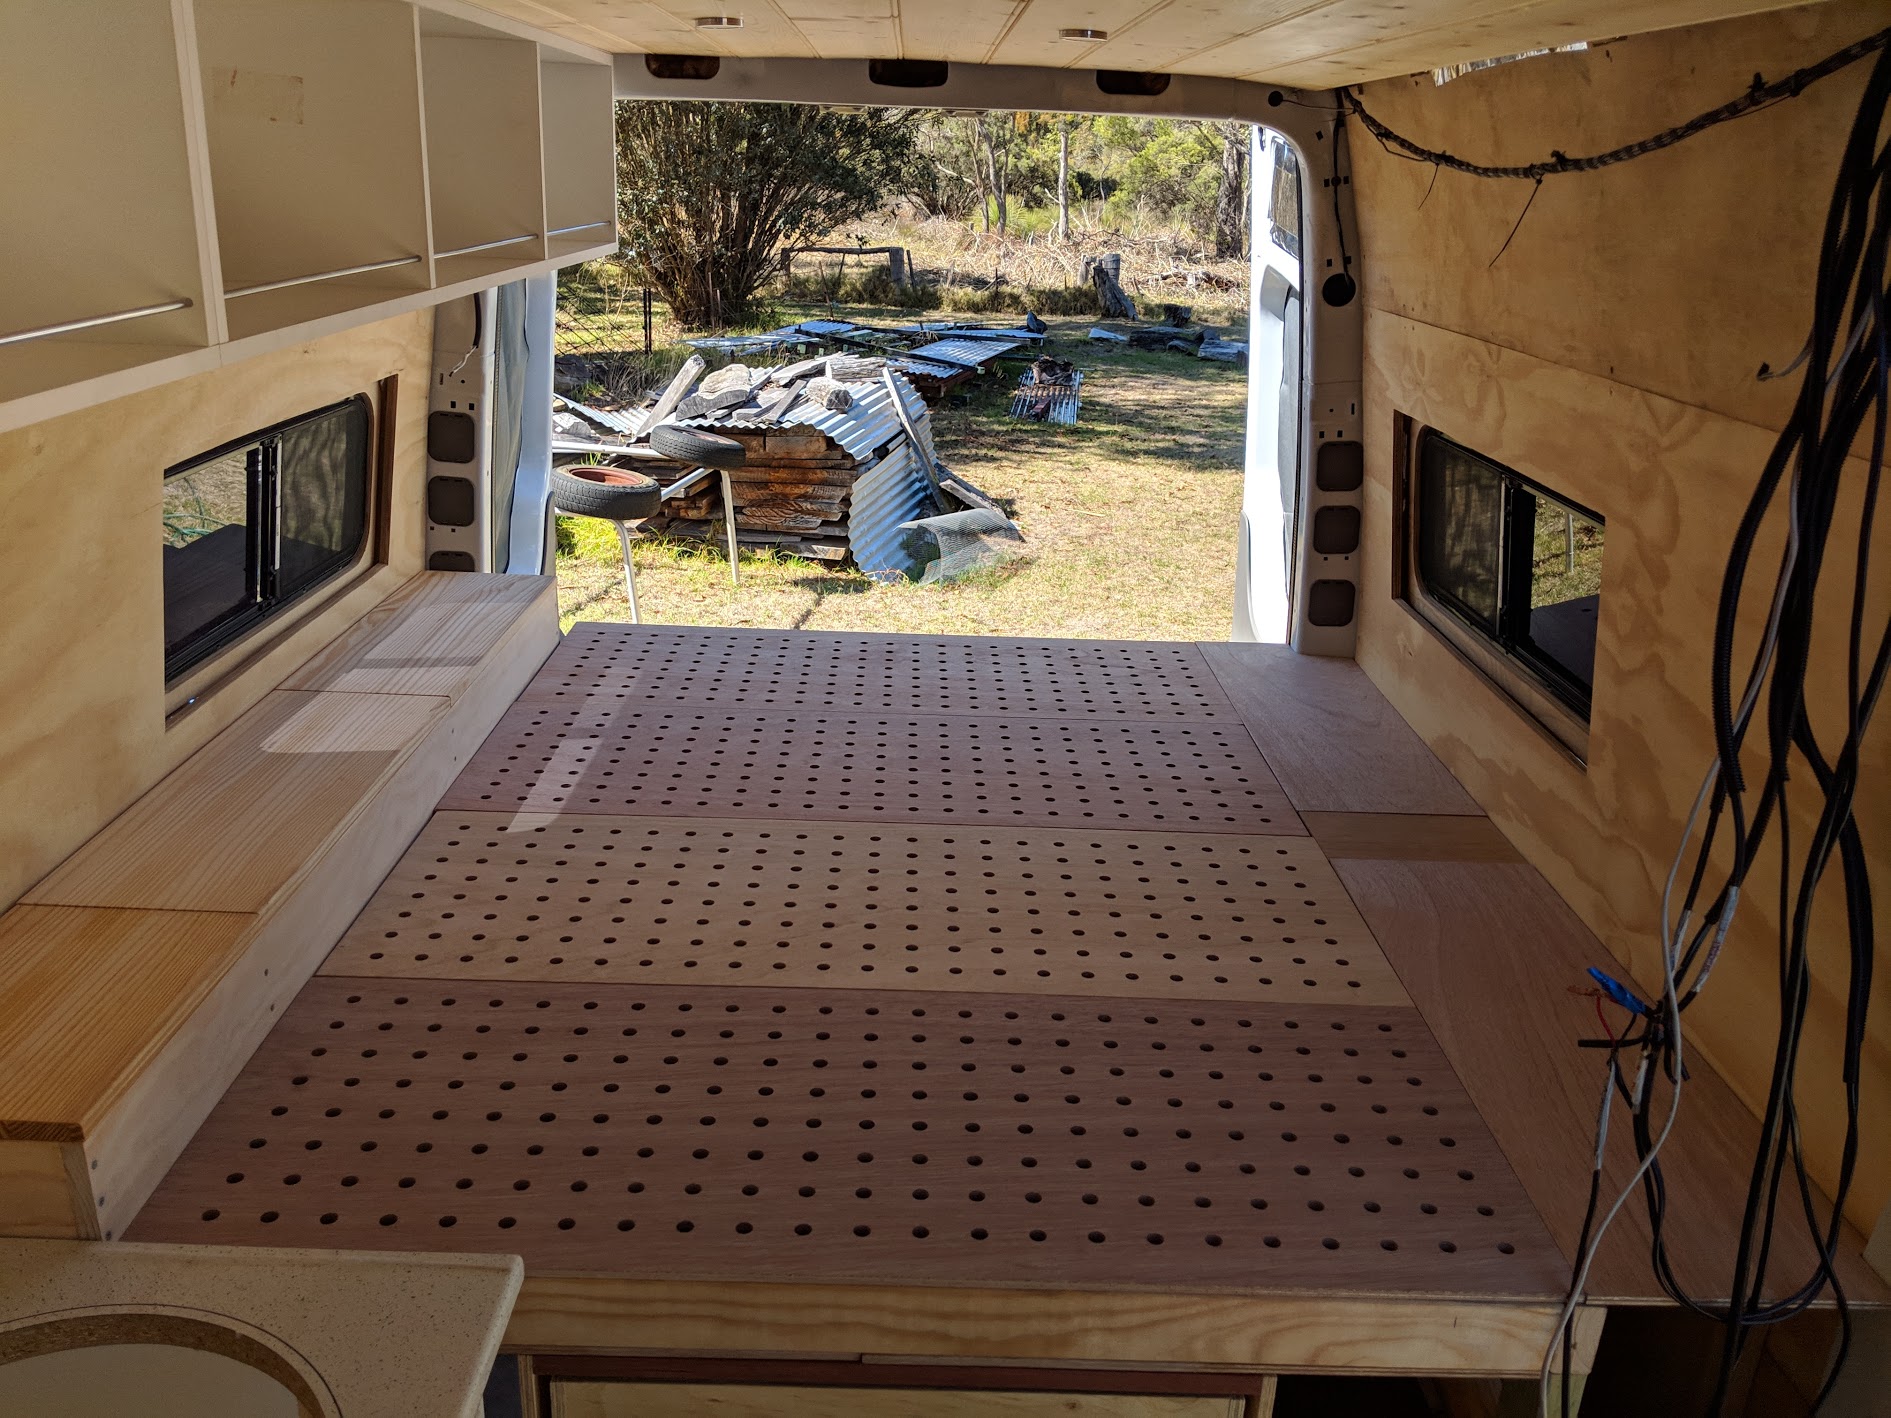
Bed pieces all in place, I have 4 handy storage areas and on the right hand side there are removable panels if I need to access below. For ventilation the bed boards were drilled out on the CNC machine, I’ll also drill a few holes in the boards below so that air can flow freely.

Fitting out the kitchen cabinet, originally it was going to be three large drawers across the whole cabinet but decided in the end that this added complications and wasted space because of the sink and the pipework so decided to have three drawers on the left, then one narrow cabinet with a hinged door on the right under the sink with two shelves. The shelves both have matching stainless rods to hold things in place. Tap is mounted but sink isn’t bolted in yet.

Box finished and screwed into position, mattress bought and trimmed to fit into place. I had to remove about 20cm from the length and 4-5cm from the width so it’s close to queen size. The drawers under the bed still aren’t bolted into position until they get finished and have their drawer fronts and fittings installed.
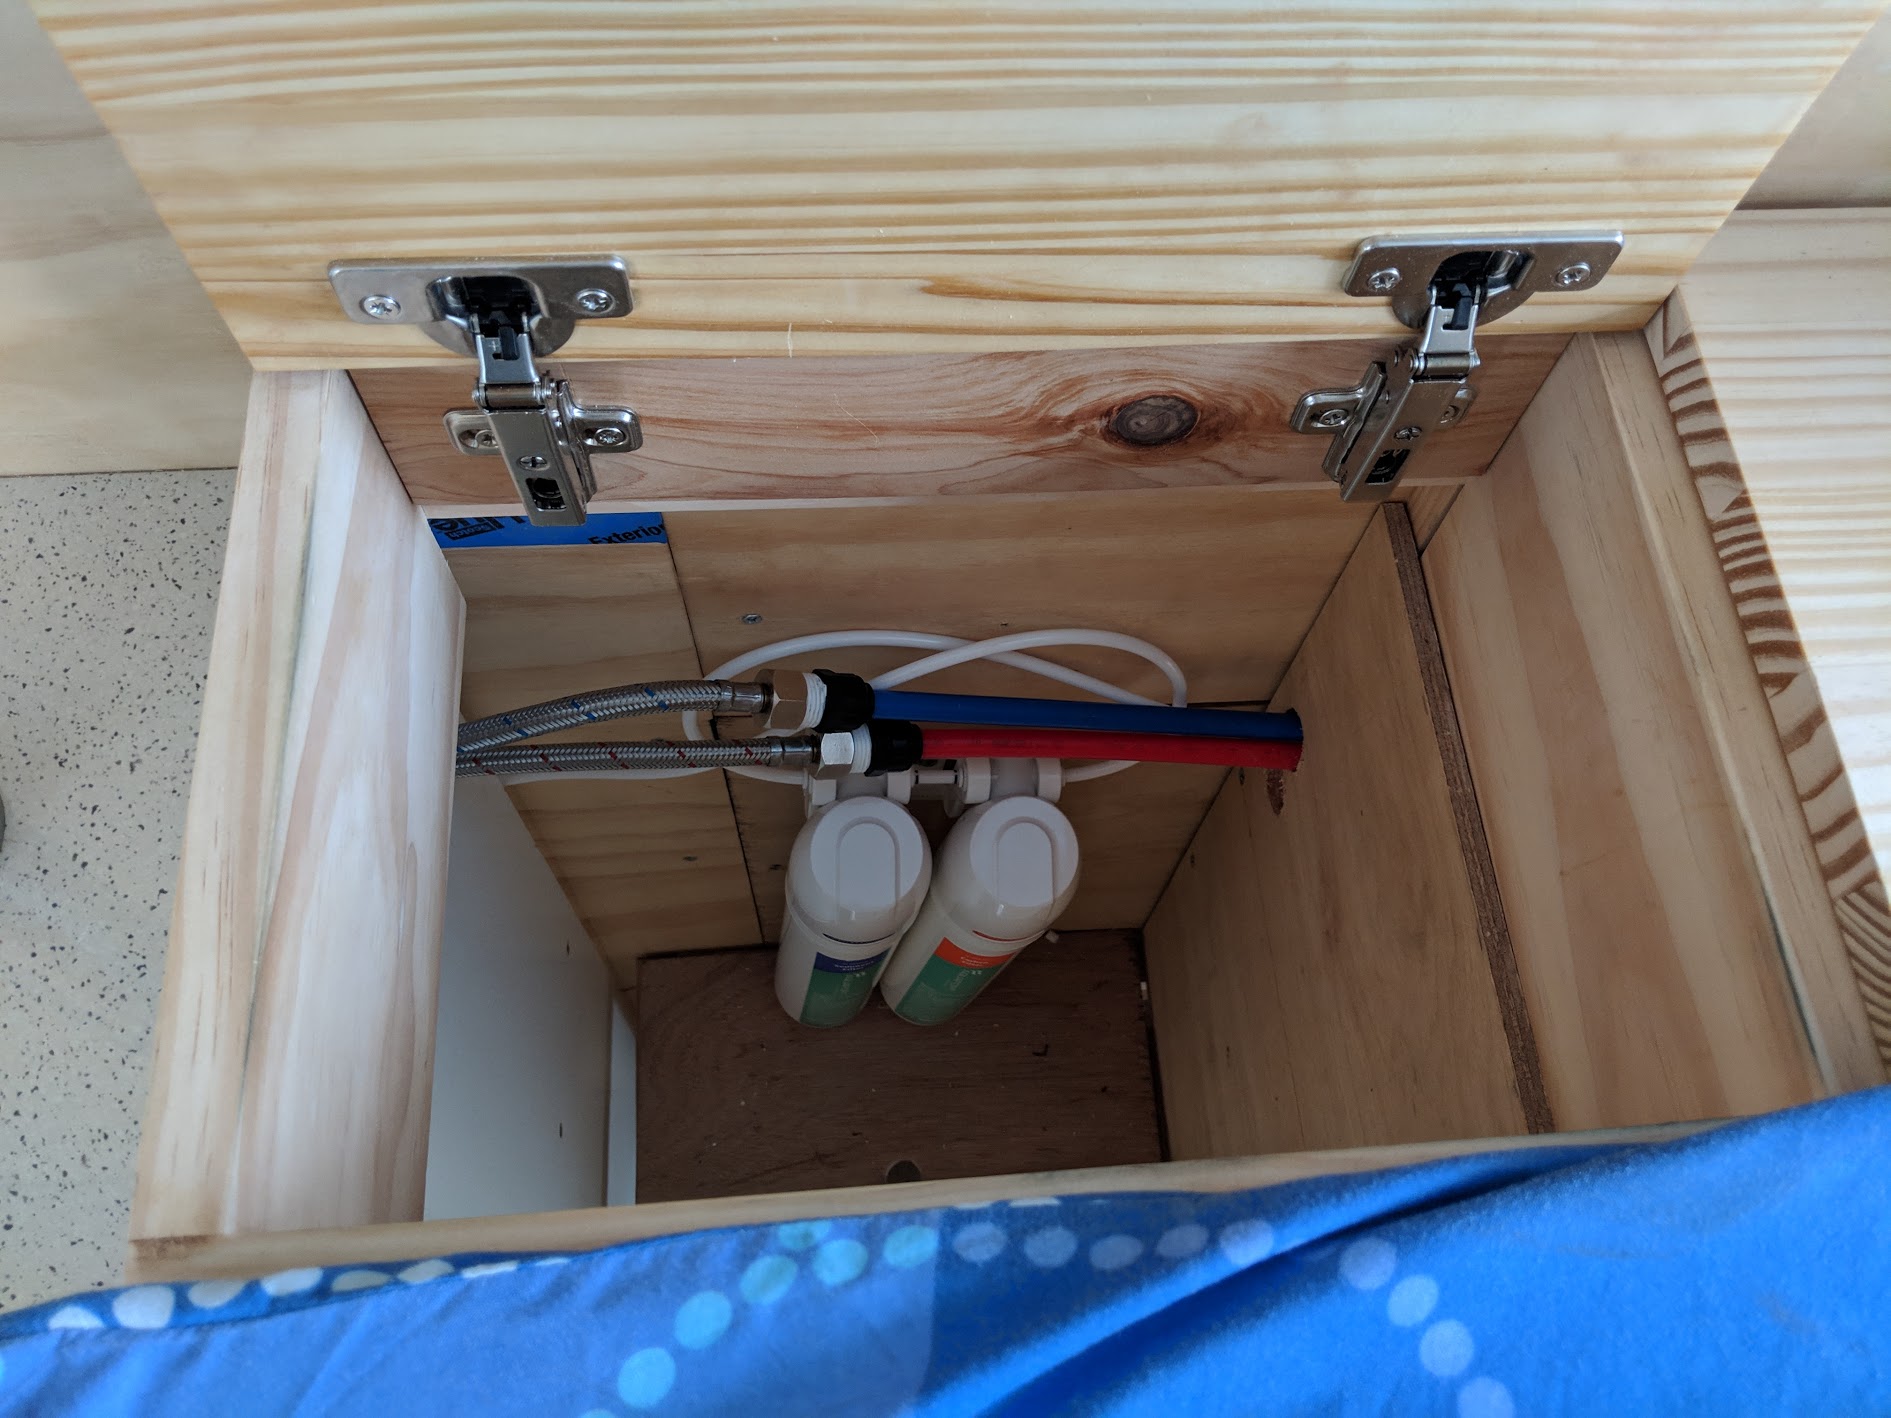
Trying to work with your arms constricted down in a tiny box is difficult. , still plumbing to the kitchen tap is done, including water filters for drinking water from the 3 way tap.

Plumbing in the back is done too. Well, everything from over near the water tank, through the bed, to the hot water and up to the sink. The piping runs through one of the bed storage cavities, this means that I have a nice clean flat surface under the bed where I can ultimately store some long items. I need to find a place for my fishing rods and long handled shovel, perfect if I can mount them to the bottom of the bed.
It’s about time to go pick up the van I think, it should now have 240V wiring and certification, and with a bit of luck they will have installed the diesel heater and the second seat swivel as well, we’ll see. Nice to get more things crossed off the list and now the electrician has done his thing I can install the water tank permanently into place, set up the water pump, the water filler, shower and water level indicators. There’s lots still to do.
6 Comments
Hi Joel
Thanks for the great blog and i love the van setup.
keep up the good work.
Brad
Thanks Brad, hope to have the van finished in the next month or so, will update as more is done.
Howdy Joel!
Thoroughly enjoying this new adventure of yours – can’t wait for Part 4.
Just don’t know how you’re going to fit an Aquaponics system into your van 🙂 or at least space for a basil plant…
Cheers
Dave
Hey Dave…. 🙂 Yes, the aquaponic systems are on hold for a bit due to lack of space. I tried just a herb garden in a pot while traveling but every time you cross a state border you need to leave it behind… 🙁
Hope you’re well mate..
Hi! Found your blog while looking up timber for ceiling in my van. How is it all going? Water heater working well? We are going to get one of those.
Hey Michelle, it was going well but I ended up selling the van when COVID hit. All for a bit difficult living in it without a proper toilet and shower when restrictions hit…