
Slowly but surely the van is starting to take shape and look less like a delivery van, I can’t begin to imagine how long it’s going to take though I’d read and watch videos of people completing builds in a matter of a week, some even shorter than a week. I imagine that this is going to take me at least 3 months. Perhaps because I’m a bit of a procrastinator, partly because there’s a lot of waiting on items coming in and often because one job will be delayed by another job, you always have to be thinking.
Roof nappy
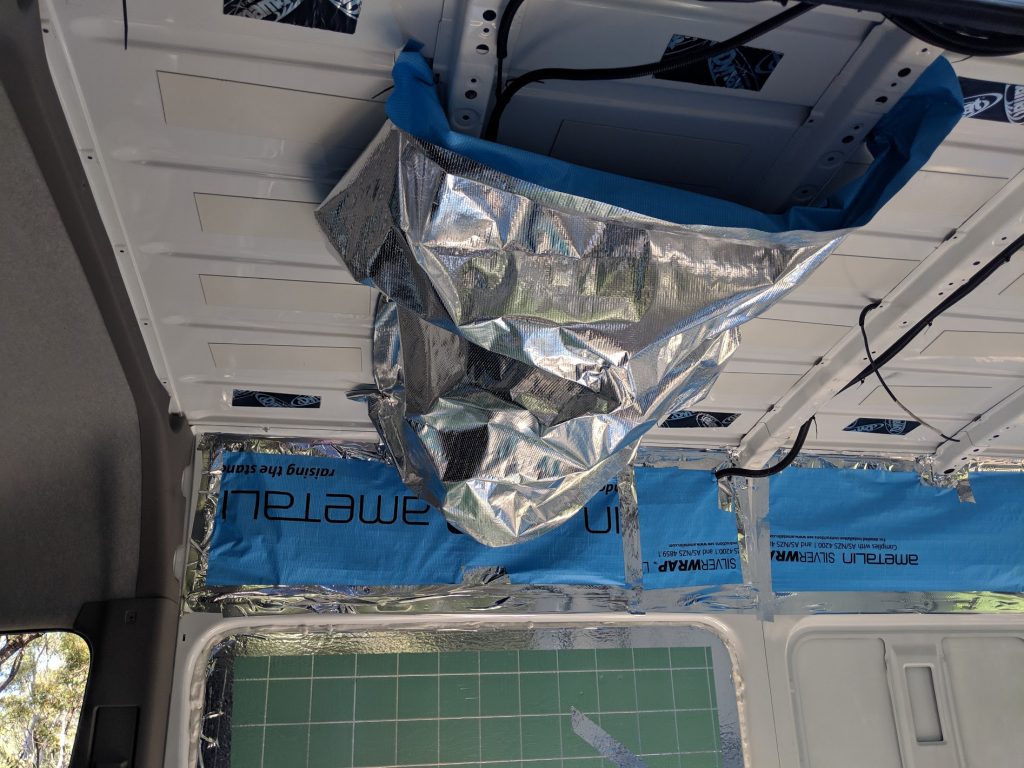
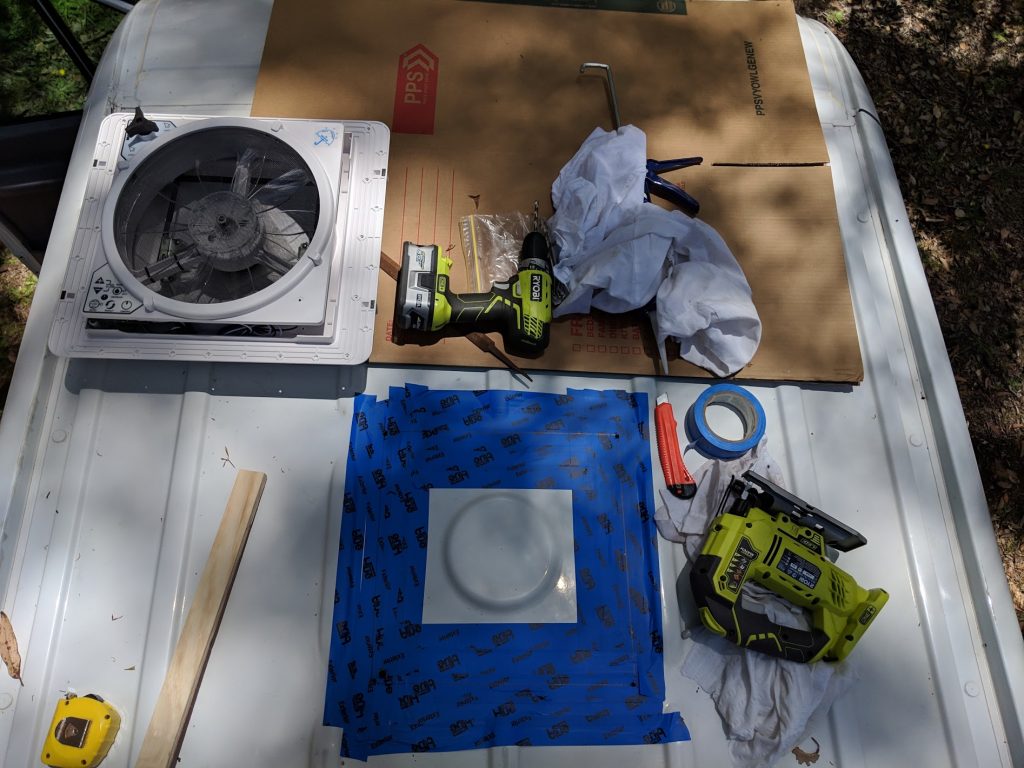
Before cutting into the roof I hung a sheet under where the hole would be so that all of the metal shavings were reasonably contained. Second thing was to ensure I had everything on the roof ready, once I was up there I didn’t want to get down until the vent fan was installed. Some protection for the roof is required while there’s a hefalump clambering around on top of the roof working up there, I was sitting and kneeling on a large spare sheet of high density polystyrene to spread the weight while the tools were on thick cardboard. I also had my hand held vacuum cleaner to keep sucking up the metal shavings.
Preparing to cut a hole
Tape up the whole area to protect the paintwork, I mucked up here trying to protect the paint on the cut out piece of metal, then mark out the hole, hold your breath and cross your fingers then drill some pilot holes and cut your square for the fan. With a bit of luck, ok, no luck, with careful preparation and measuring your fan will slip straight into the hole as planned.
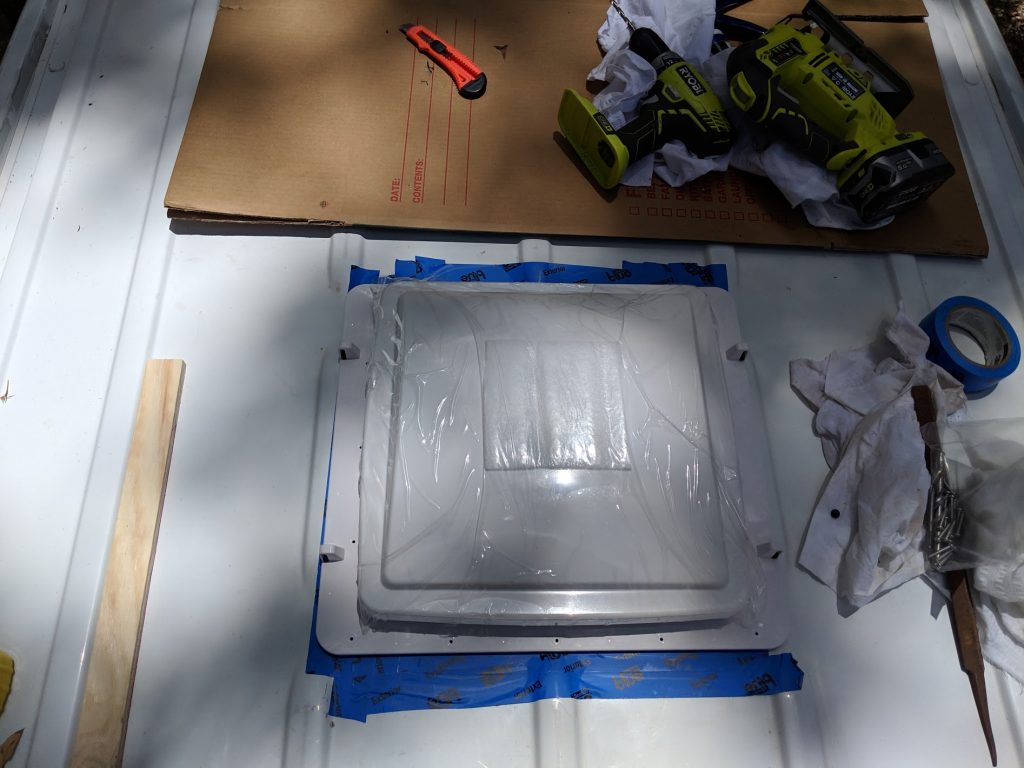
Yay
But you can’t just drop it in, the cut edges need to be filed smooth then painted to protect from rusting, all of the swarf needs to be cleaned up as the metal filing will rust if left on the roof, I’d read about someone who hadn’t bothered to clean up and they needed to repaint their whole roof. My fan had such a large mounting flange that it interfered with the ridges on the roof which means that I needed to build up underneath the flange almost 10mm. I had a roll of butyl tape so I used this though it was a lot of mucking around having to cut the tape in half length ways before applying. This is sticky stuff at the best of times but on a hot day on the roof in the sun there’s no fun to be had. Still after about 4 hours the fan was packed and screwed into the roof, a quick squirt with the hose and it seemed to be water tight.

Vent fan.. ya
Next job was to get some insulation into the roof area of the cab, this meant removing the cab ceiling liner which was a fiddly job. As with almost everything I’ve been doing on this van build, youtube has been essential in working out how to get things done especially in long intricate processes like this one which began with removing the speaker grills on the dash down near the windscreen, then removing the plastic cover up the side of the windscreen, and on and on it went.
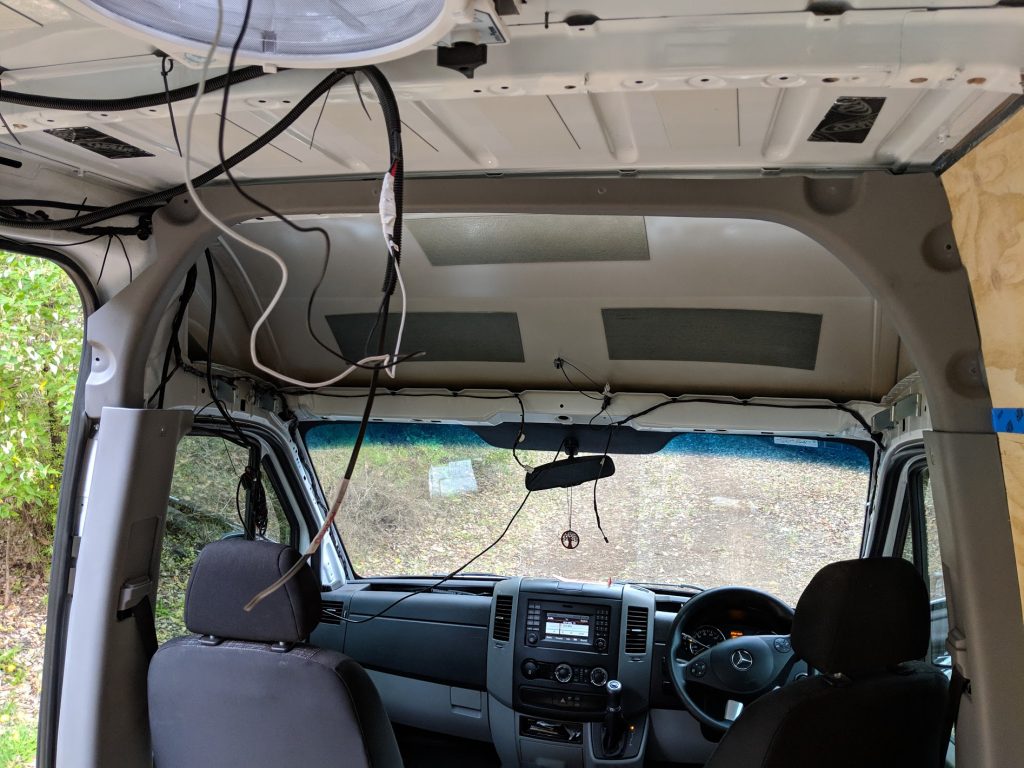
Headliner gone
There wasn’t a lot of space between the roof and the headliner and my options for insulating were limited, I had the earthwool or silver bubble wrap as polystyrene wasn’t going to hack it in such a curved spot. Here’s a classic example of what I talked about in the previous post about having vapour barriers, it’s just not going to work here where you can’t seal off all the metal from air contact.
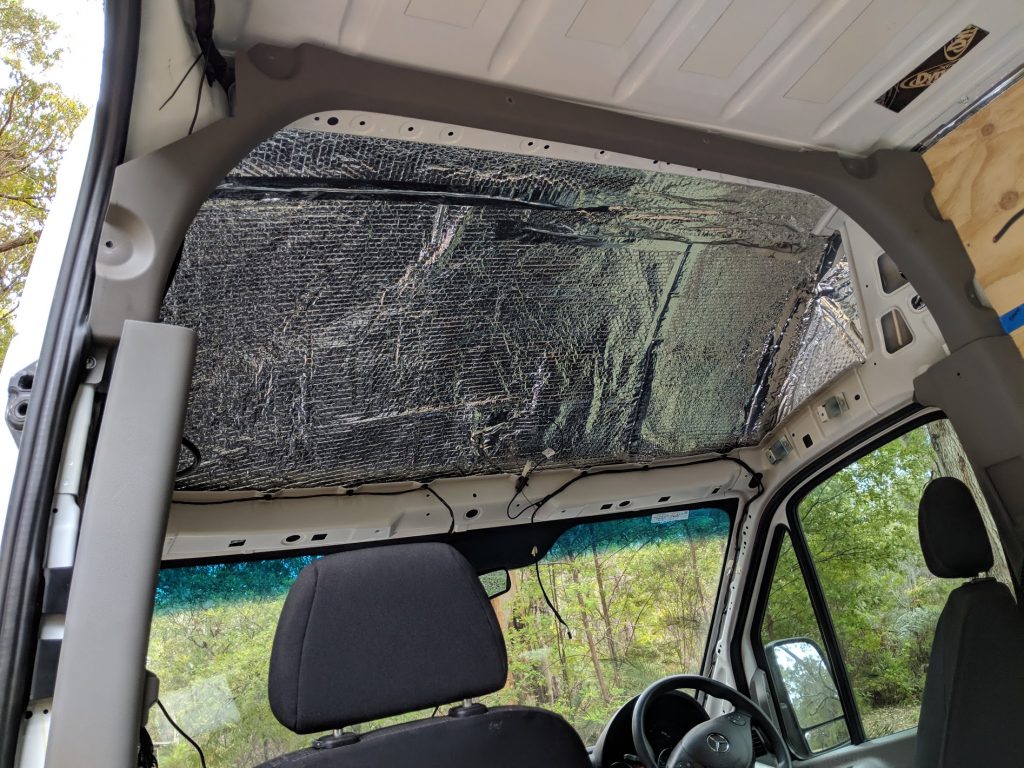
Insulation
In the end I went for three layers of the silver bubble wrap, not ideal but it was going to help. I didn’t want to use the earthwool here as it would be difficult to seal it in and if it’s not sealed it will give off fine particles over time, I know because the van has been filled with them already before I sealed the back areas.
Mess
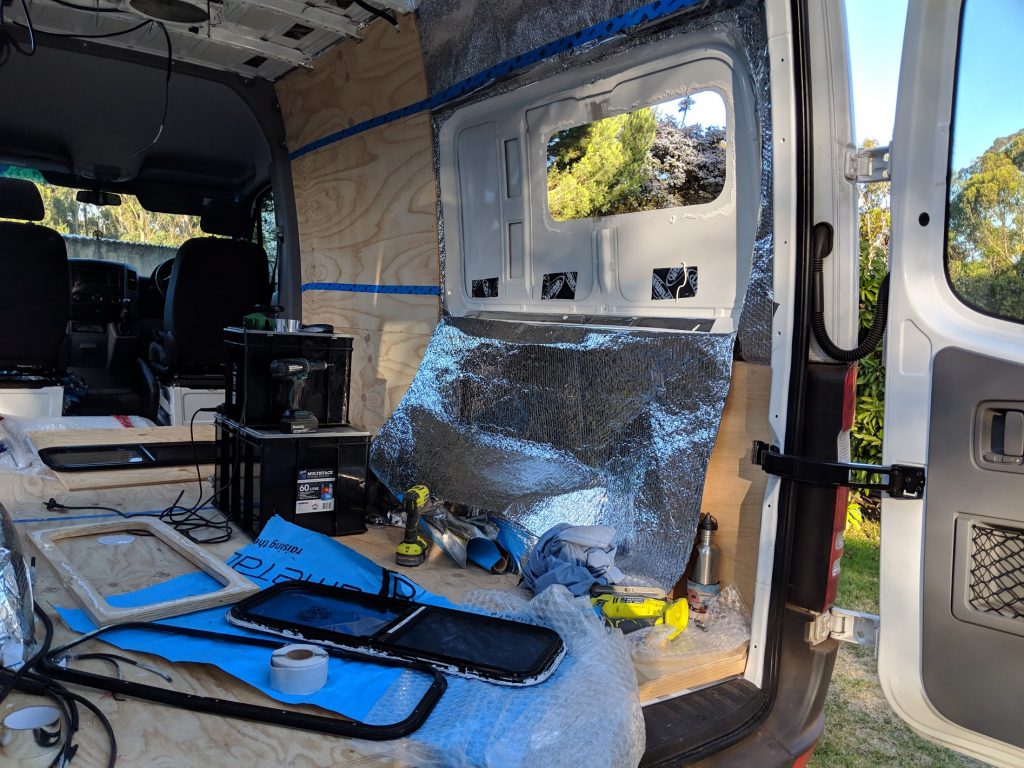
Some days you feel like it’s one step forward and 3 steps back. But now it’s time to get serious again, more hole cutting, this time it’s the hole in the rear side walls. Before I could cut the holes in the wall, I needed to remove the structural support within the window area this involved some very careful grinding of the metal rib without going through to the outer wall of the van, then using an oscillating saw to get in between the two and remove the adhesive sealer binding them together.
Cut support
All, good, not the neatest job in the world but this was all going to be covered by layers of insulation and lining, I’d also been very careful to tape up any nooks and crannies and create a big catch basket for the swarf, I didn’t want the metal shavings getting anywhere. The next step was to make a template out of cardboard for the cut out, then carefully measure it’s location before taping into place and marking the hole.
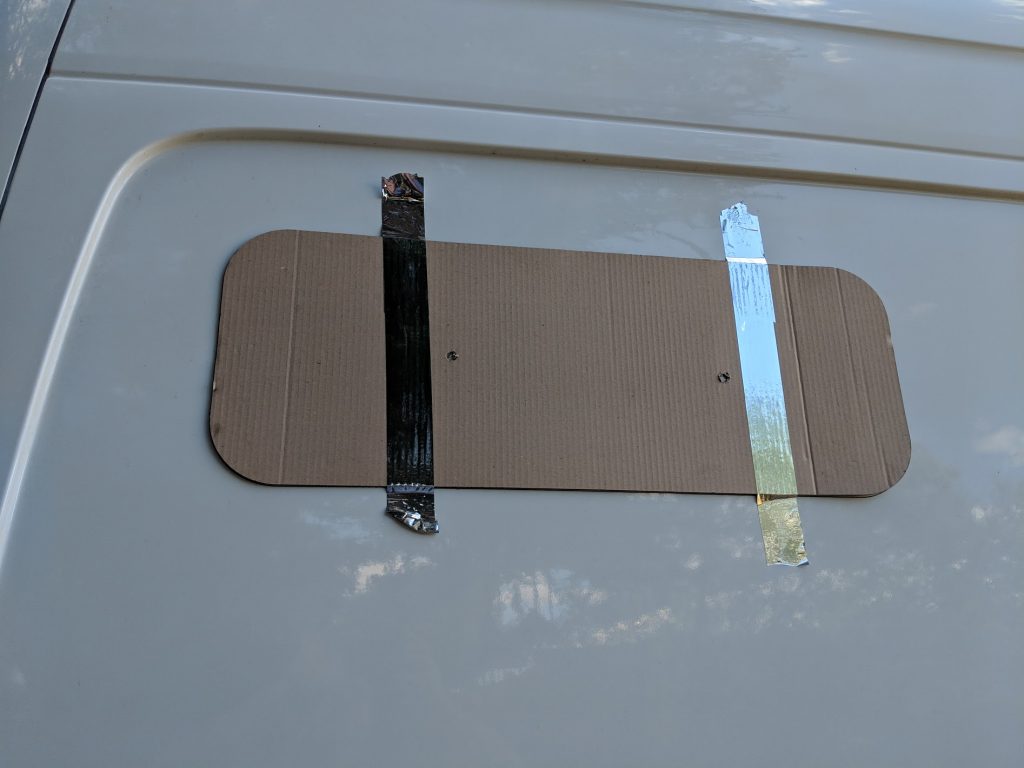
Cutout.
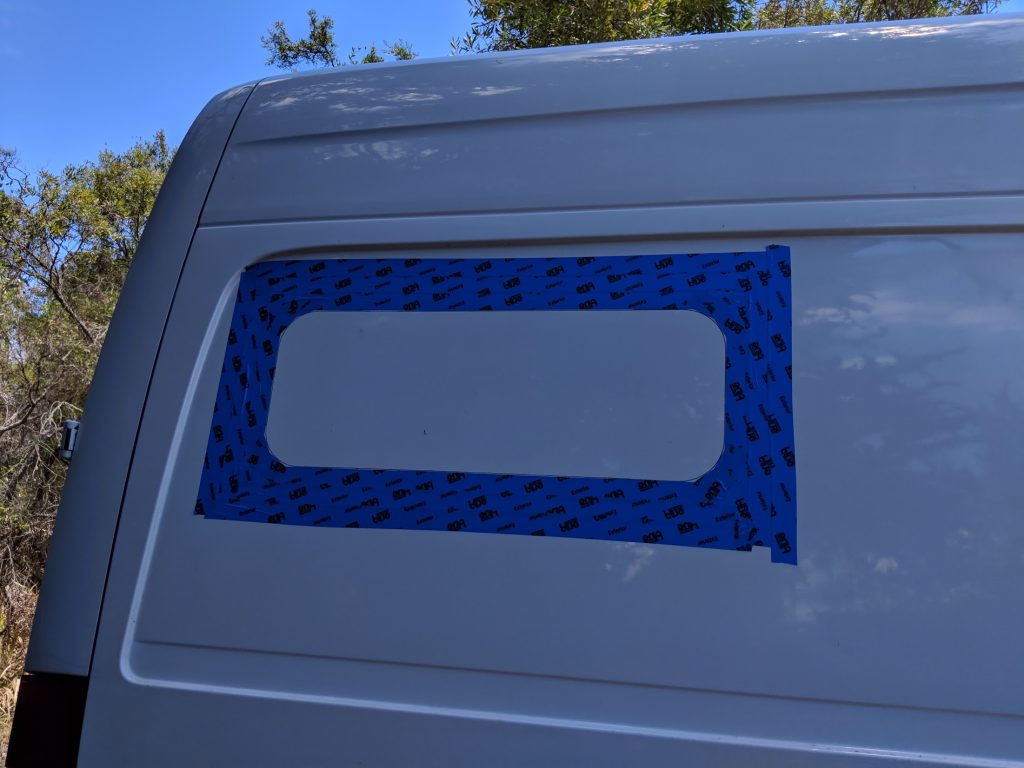
Tape the cutout
Now tape up the cutting area to protect the metal and this time I wasn’t going to waste time and tape the metal piece being thrown away. After installing another “catch” on the inside to collect any metal shavings away I went.
Ahhh
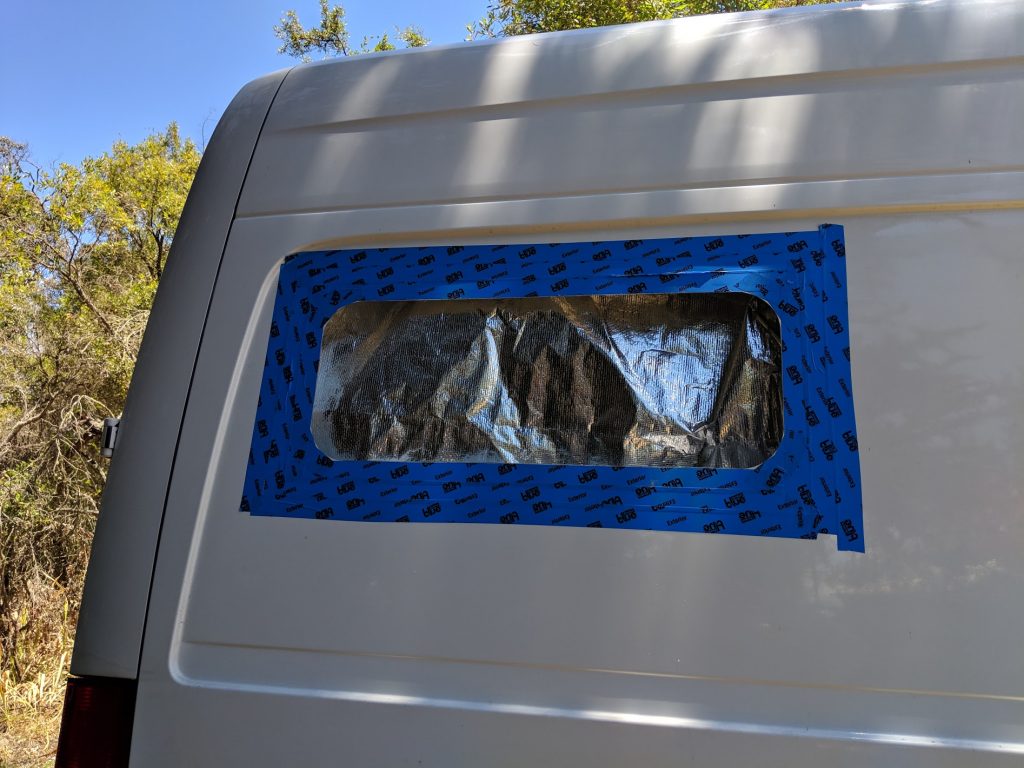
And if you do it all correctly the window will slip into place as planned. Notice below the careful taping up with silver tape of all joins and crevices so that metal shavings are kept out.
More mess
Now this is where things turned nasty for me. The windows were made to fit into a 25mm thick wall, then have an inner locking ring installed before screwing into place, clamping hard against the 25mm wall. Now my wall was about 2mm thick so my locking ring wasn’t going to work at all. Easy fix, cut out a wood spacer to act like a 25mm thick wall, then screw it all together. So get all the bits together, do a test on the ground and everything seemed to go together ok. I won’t talk about the hours I spend shaving the wood to the right size to fit the window, but I was getting there it had been a long hot day as I finally put the first window into place. A liberal application of silicon on the window to seal it onto the outside, more silicon on the timber so it will stick to the interior metal surface. Window popped in from the outside with tape to hold it in place, into the van and place the wooden spacer in place, now just fit the locking ring into place and screw together.
What a mess
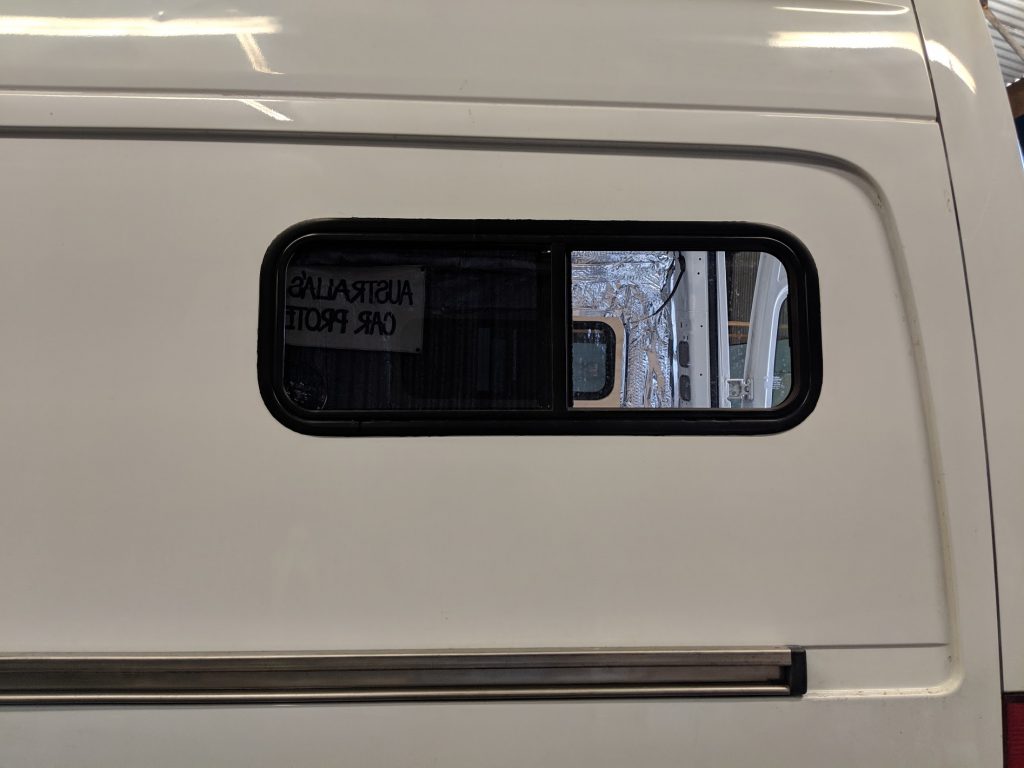
Nup…. Oh yeah, there’s silicon all over the inside and outside of the van, all over the window and the wooden spacer, silicon everywhere. I just couldn’t get it to go together in place through the wall, it would have to wait till tomorrow. The following day after cleaning off all the dried sealant I installed the locking ring back to front and screwed it together backwards locking onto the thin metal wall using butyl tape on the outside for a seal, not how it was meant to be done but worked beautifully, quick trim of the butyl tape outside using a plastic spoon so not to cut the paintwork and it looks great, and no leaks.
installed
Next step was to make a wooden window surround for the inside and glue/sika it to the metal, then a foam insulation board to fit around that. The wooden ring would be needed once I’d got my interior lining in and finishing off with a window sill from the lining to the window.

Wood frame and insulation
Then a layer of silver bubble wrap and it’s done. Oh yeah, check out that wiring mess up there.
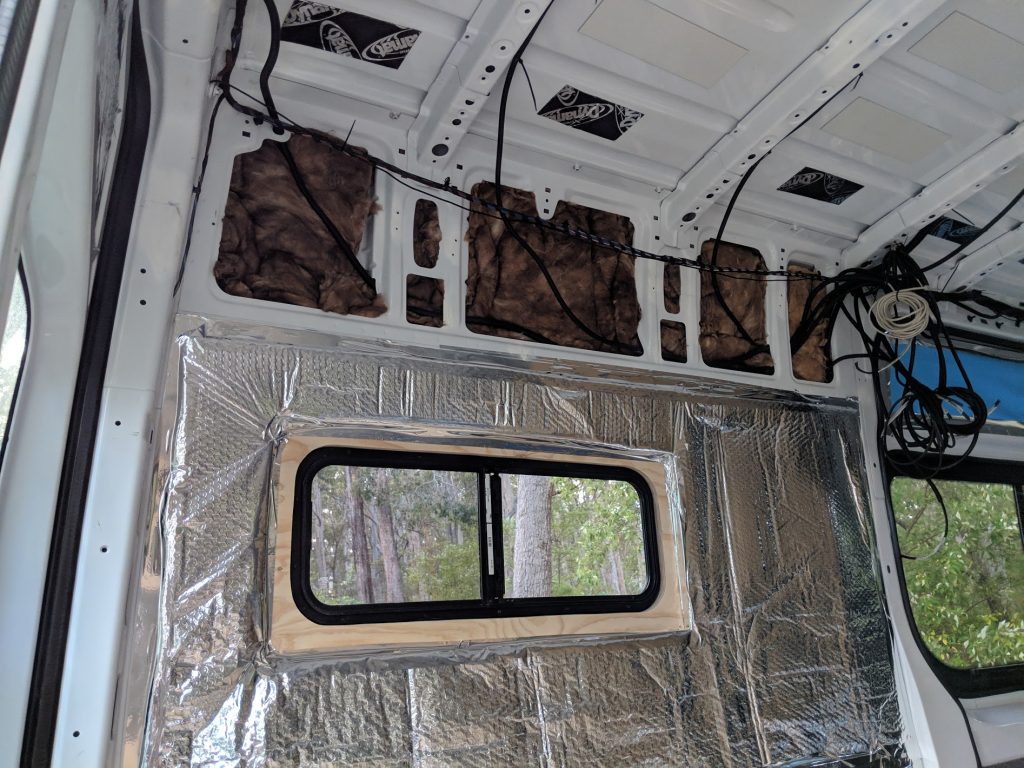
More bubble wrap
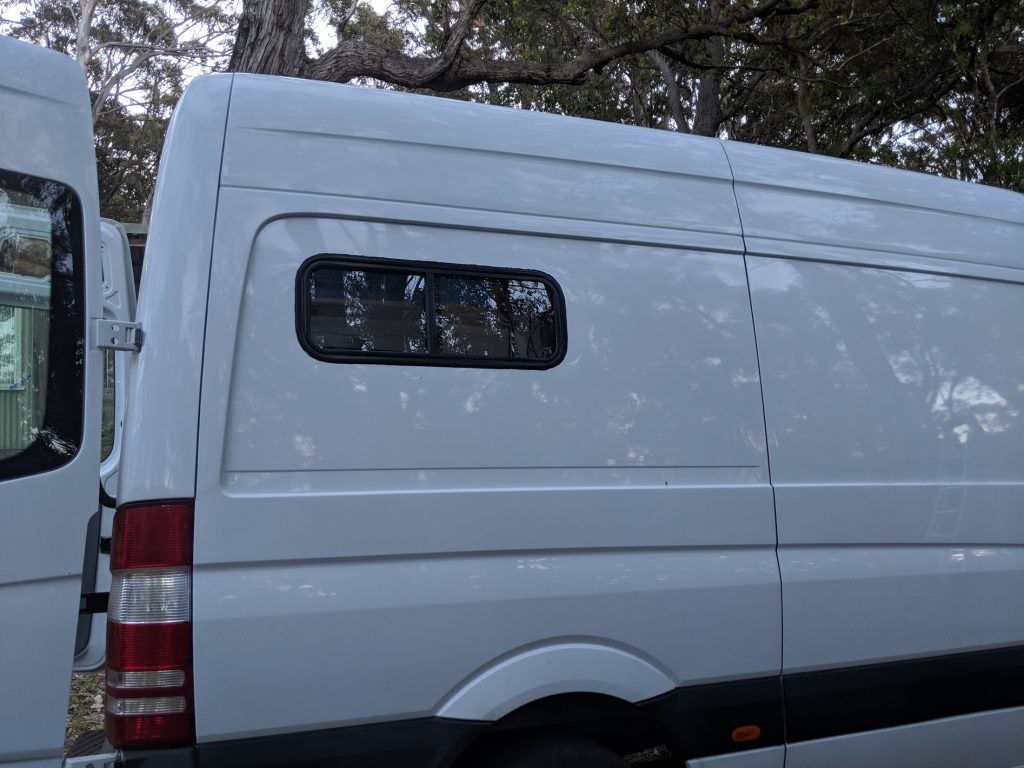
Next job was tinting though not really a job for me. You can see below the difference before and after from one side to the next, it’s a dark tint but this was only going on all of the rear windows, the front side windows already had a light tint.
Tint
I spent most of the day hanging out with Grahame the tinting man watching the process of tinting and how it all happens helping where I could.
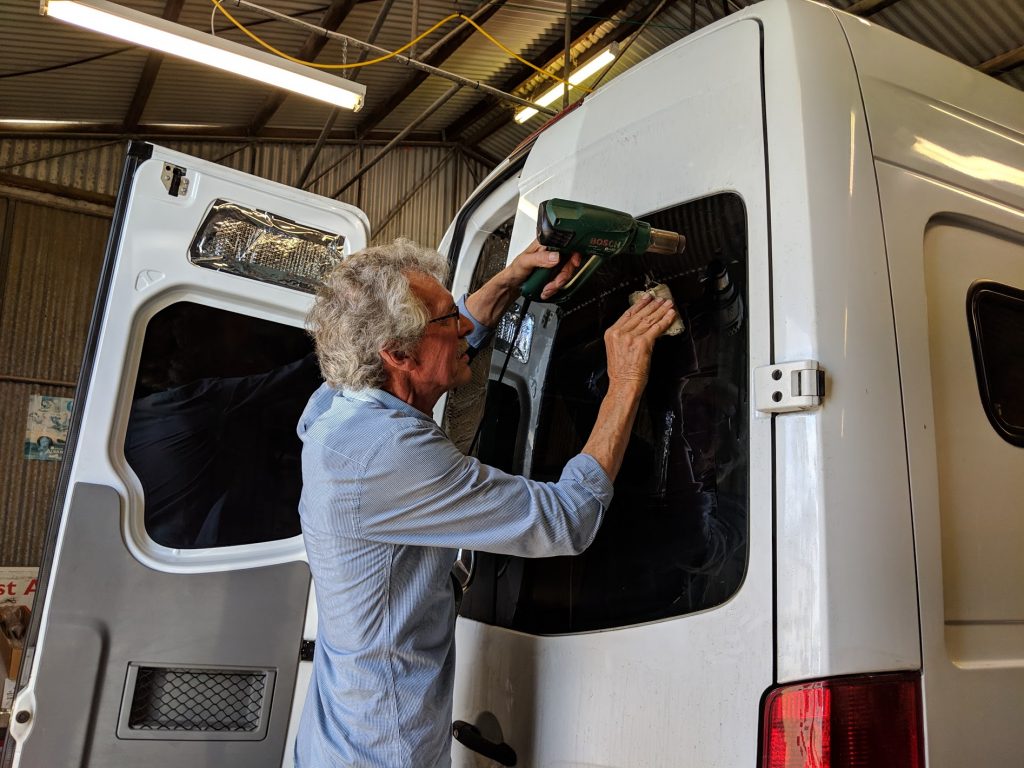
Tinting the back
The rear windows are curved so he has to lay the tint on the outside of the window heating bits of it with a heat gun while molding it into place to form the right shape. When he’s happy with it, he peals it off and takes it inside to attach on the inner surface permanently. The dark tint has made a big difference both inside and out, the inside is darker and markedly cooler in the warmer weather while offering a lot more privacy, from outside during the day you can’t see inside at all, even through the front windows and windscreen it’s hard to see inside on a bright day because the interior is so dark.
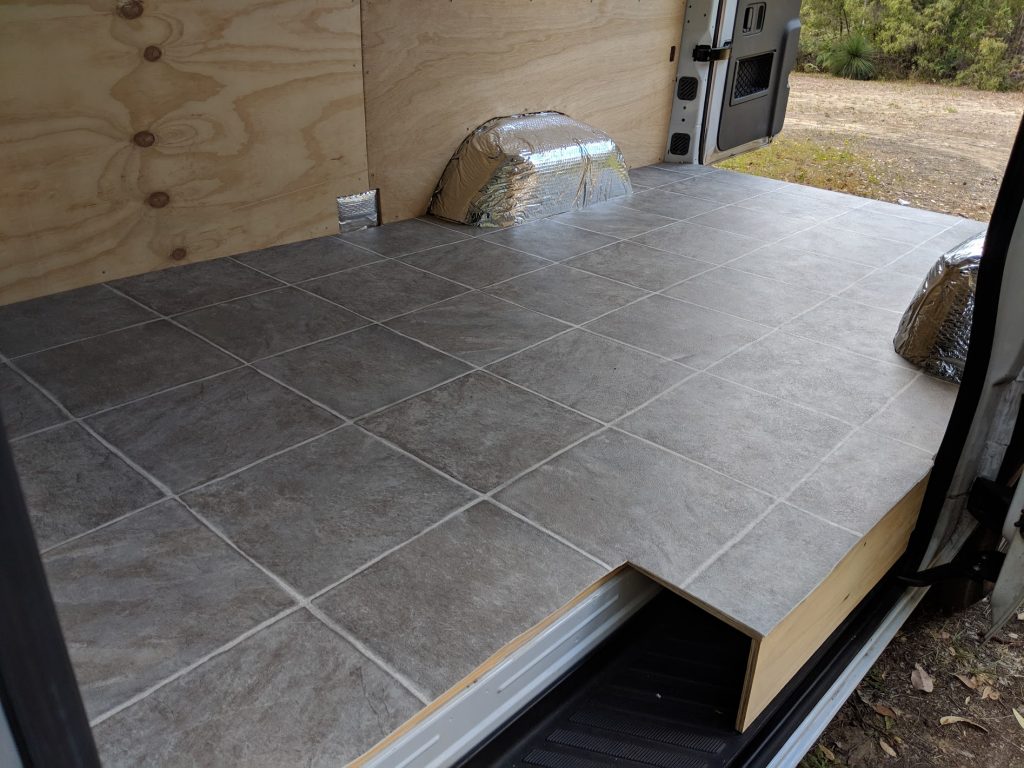
Tiling
A trip around all of the flooring shops in Albany to check out the remnants I decided on the tiled look, I had to get this down before starting to build any of the internal frame work for the bed/storage area. This was very easy to cut and lay nothing needed to be attached permanently as there would be furniture and edge trims holding it down eventually.
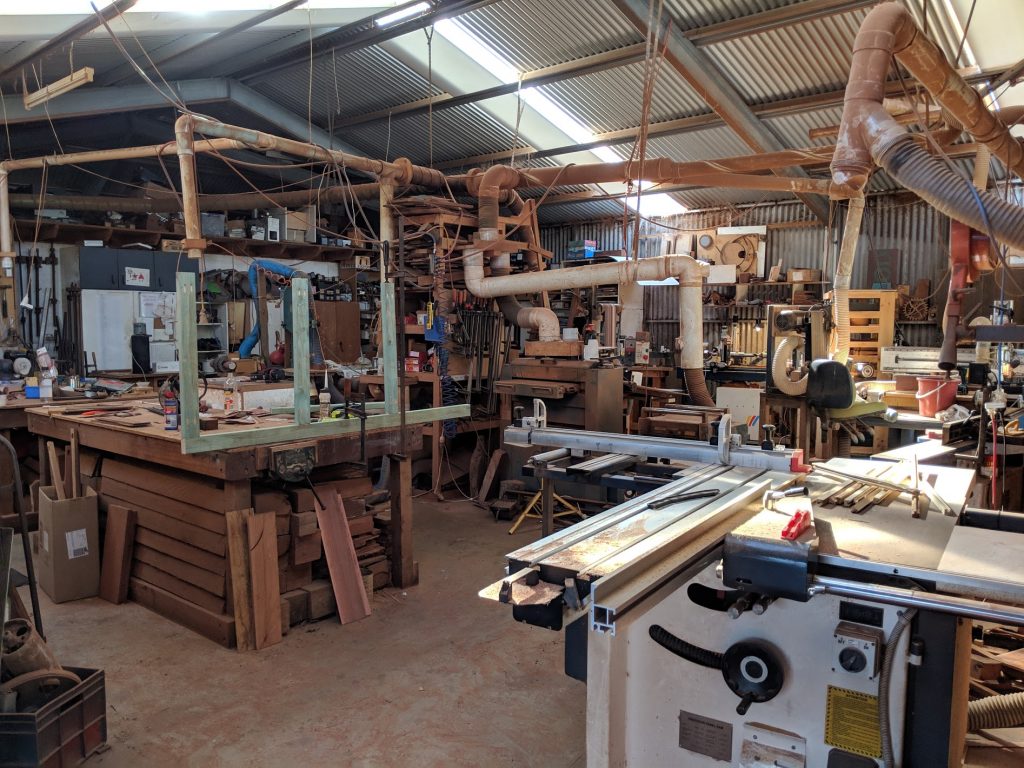
A workshop
Now as I start to build the frame work for the bed and storage area I’m cheating. My brother has an extremely well equipped wood shop with every piece of equipment you could ever imagine, cnc machines, thicknessers, planers, routers, sanders, ban saws, table saws, lathes, lazer engravers, etc all with dust extraction. This was a far cry from me working with two saw horses in the forest with my 4 battery powered hand tools. The work space is here and he offered so why not, especially at this stage where straight cuts and square cuts and joins mean everything to the finished product.
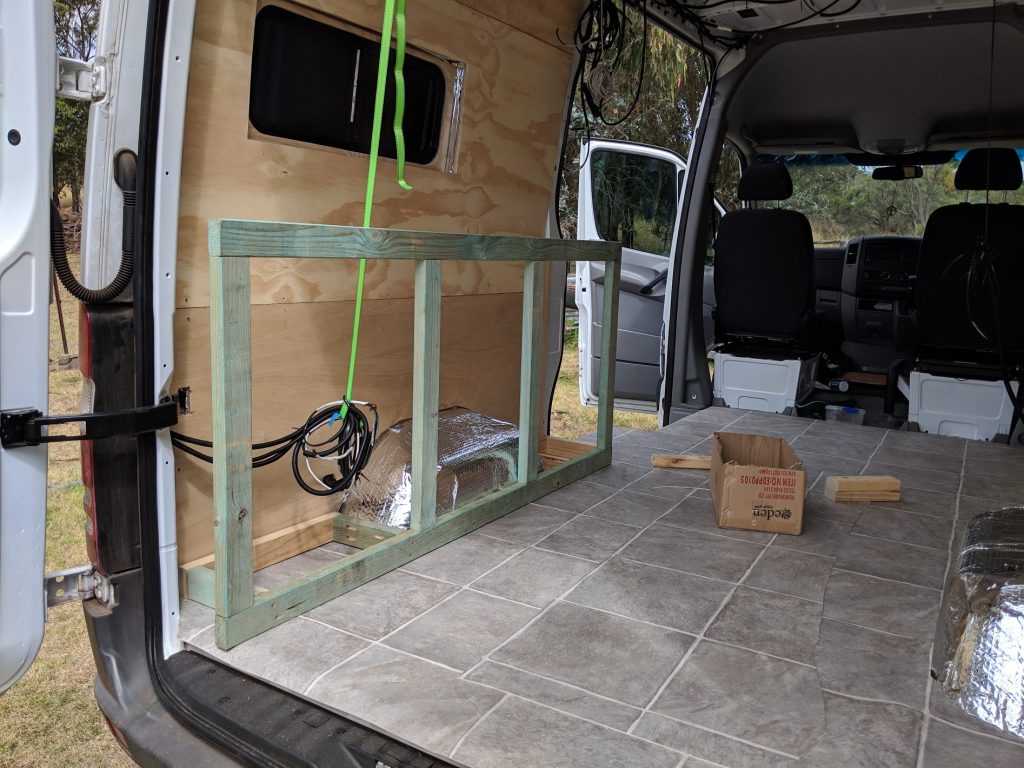
Frame
The frame was simple, well it ended up being simpler than I’d planned. My original plan involved a lot more timber than what you see here, I was basing it on a design I’d found someone build online, figuring I’d pretty much copy what they had done. I guess this is where it’s handy to be working around professionals like my brother and his worker Matt, a master cabinet maker. At this point I figured I was about half way through building this half of the frame, I was yet to build uprights against the wall and join it all across to the inner upright.
Just as I’m sitting looking and thinking about how I’m going to finish the rest because there are some issues with the wall curving inwards, Matt, the cabinet maker walked out took one look and asks “why did you do it like that?” He then offered his take on a far better design using much less timber being and far stronger design, too late, I’m not starting again. but he did suggest that I should stop now as adding the extra timbers I was planning was a waste and they were not needed. I like that, just as I’m at a point thinking I’m half done and trying to work out how I’ll solve a problem I’ve run into, someone comes along and says, no you’re finished. Two frame sections now made move onto next bit.
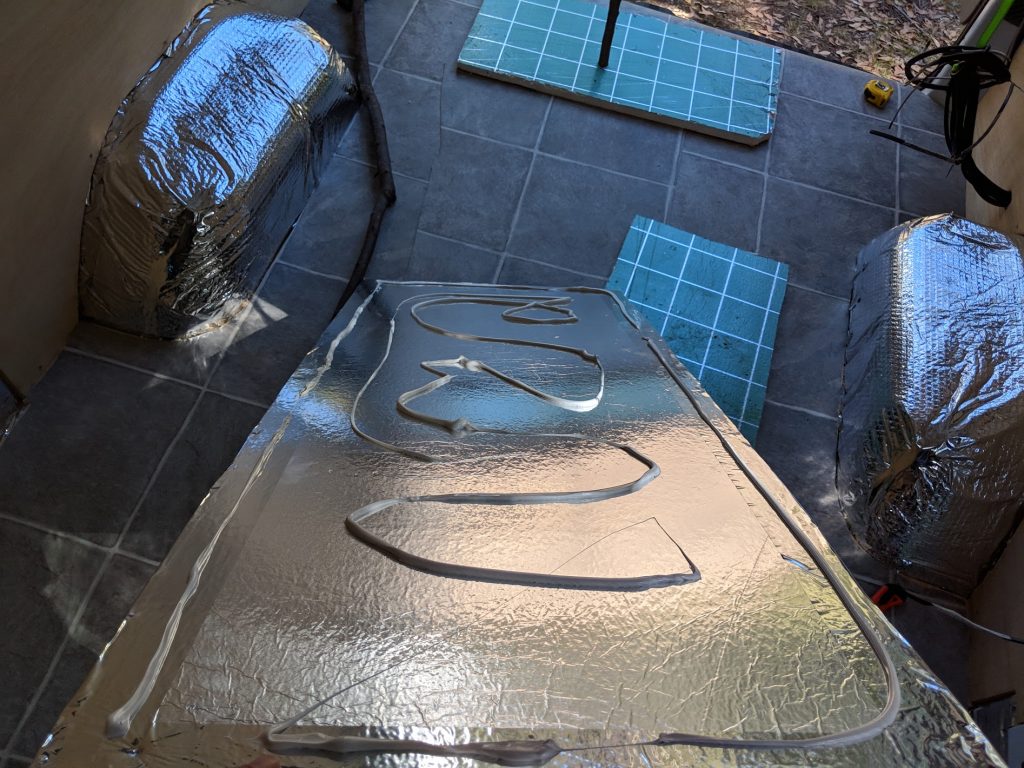
Sika
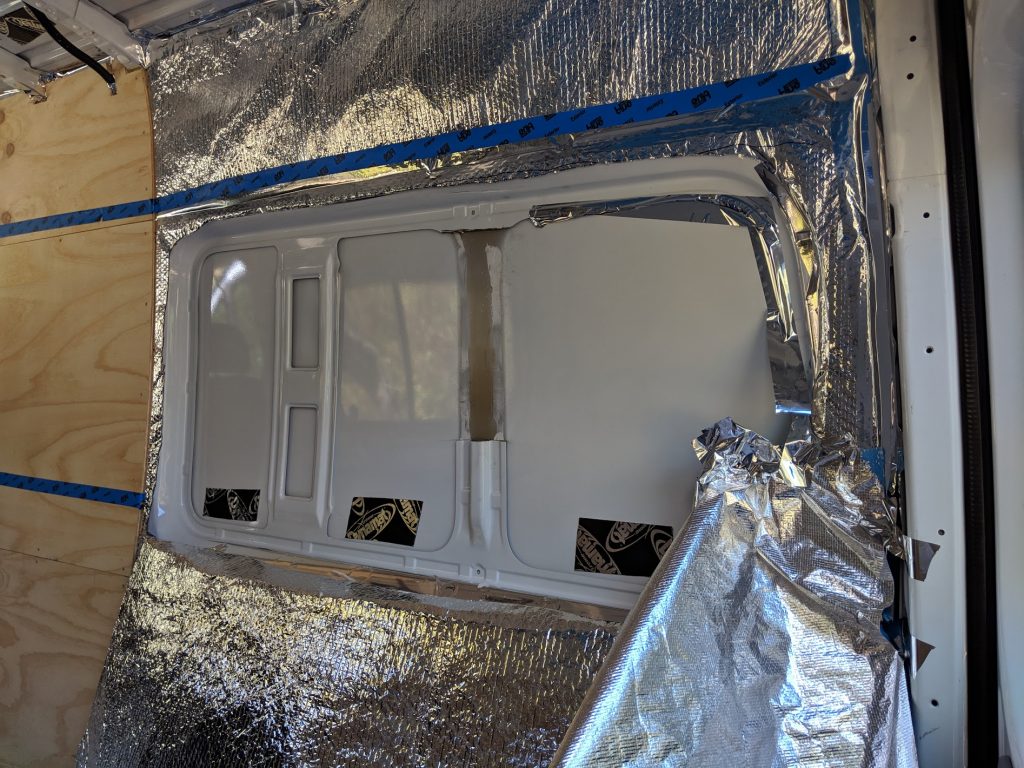
The frame for the solar panels is complete and bolted onto the roof so I can get the insulation panels in the ceiling, I’d cut these weeks ago so now it was just squirt on some sika and glue them up into place. I used 3 tubes of sika on these ceiling panels using nice thick beads, perhaps more than whats needed, and if you’re wondering it was what they called an “automotive sealant” in their product range.
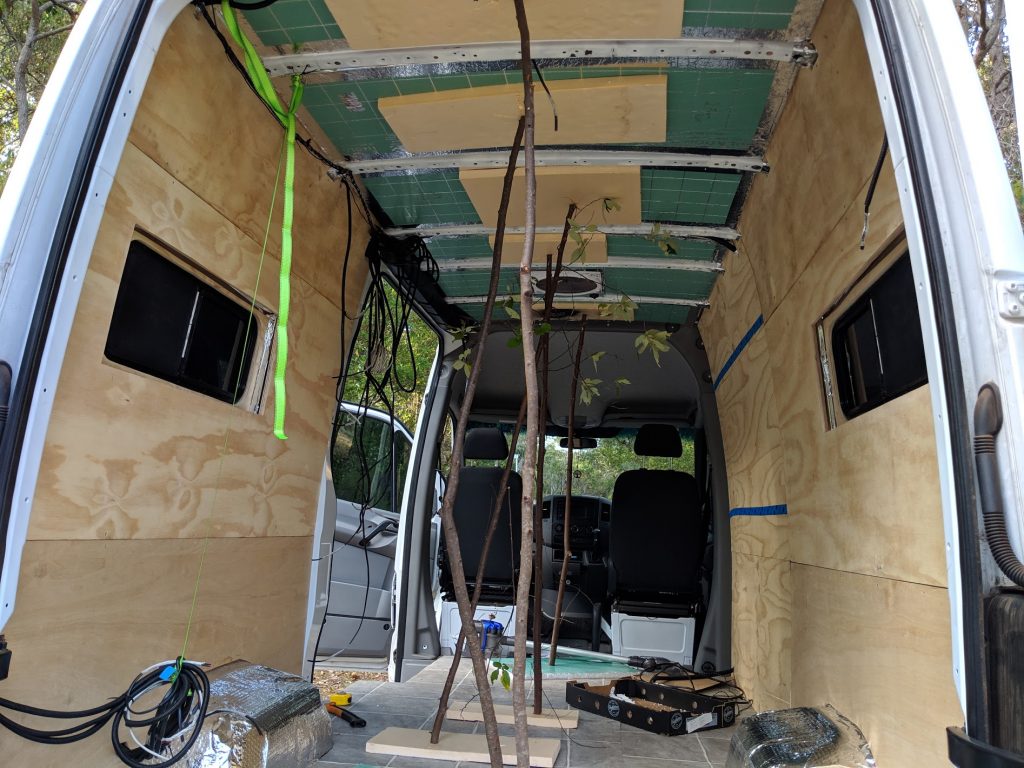
Curing
All the insulation panels in place chocked over night. Notice that I’d finished all the wall lining as well, these upper rear panels had been a muck around getting something that would conform to the walls curve, eventually I’ve gone from a 9mm panel down to 7mm because it was all I could get. As the 7mm is so thin and flexible, I added strength around the window openings by gluing an extra layer of wood onto the back around the opening.
So now I’m all caught up, I’m updating this while sitting at a cafe in town. The van is at the auto electricians today having the solar panels installed, the wiring from the alternator, wiring of the solar panels, and all the other “supply side” wiring including the fuse box for all the consumers.
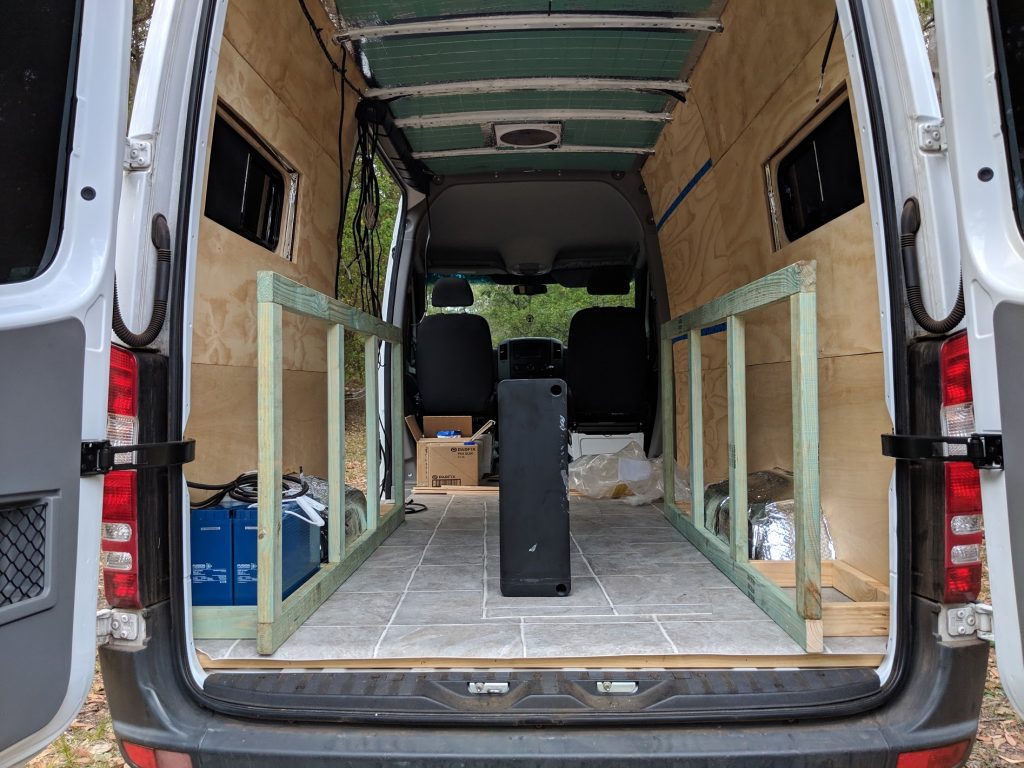
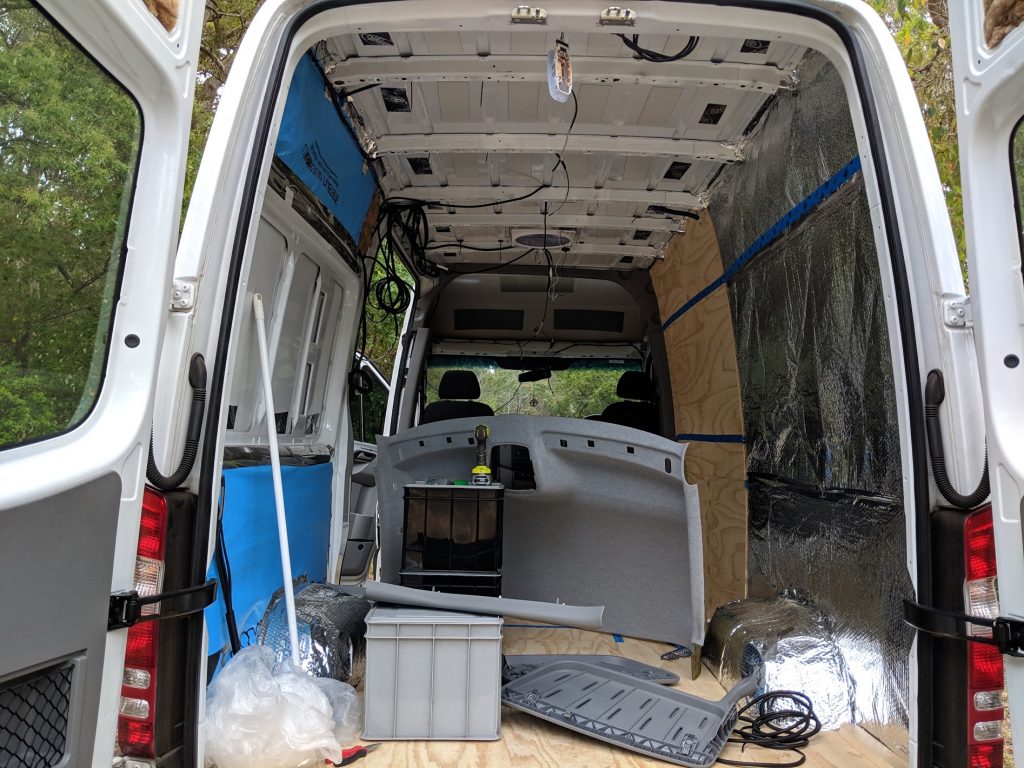
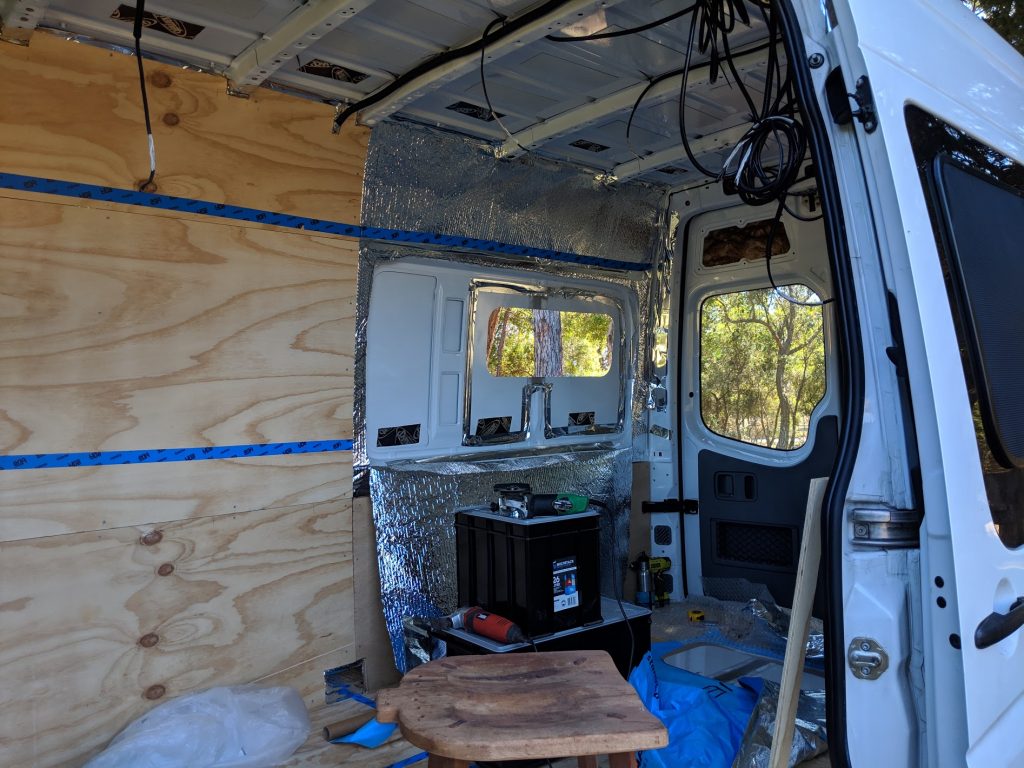
Getting there
The two frames are screwed down to the ground with some angle brackets, you can see the lithium batteries here on the left ready to be wired up, the 95 litre water tank is sitting there as I’m trying to work out where to position it in the back. I’ll update again soon as some more happens, next job will be the ceiling lining then more bed frame. See I couldn’t build any more of the bed frame until I’d bought my solar panels, sounds silly hey how could those things be related? Installing the ceiling needs to be done before building the bed frame, as it’s too difficult clambering around on top of a bed frame trying to install the ceiling, couldn’t install the ceiling until the sparky had wired the solar panels on the roof, couldn’t wire for the solar until the the aluminium fabricator makes the frame, they can’t make the frame until I’ve bought the panels, I can’t decide which panels to buy as I’m trying to maximize the wattage in the space available and panels come in in so many different shapes and sizes. So I had to settle on the panels and buy them so that I could finish building the bed frame. Time to post this.
No Comments