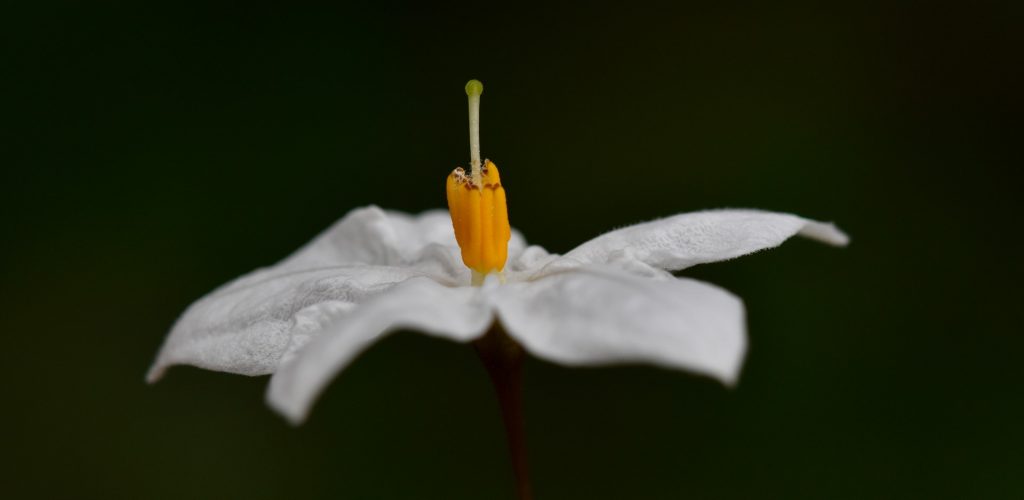
Time to post some more plant pictures, I’ve been taking a few since finishing my Bibbulmun walk and finally I’ve spent a couple of days sorting through them all. This picture above was strange, it looks like the flower is floating in blackness, but as with all the pictures I take it, was during the day and the photo hasn’t been edited.
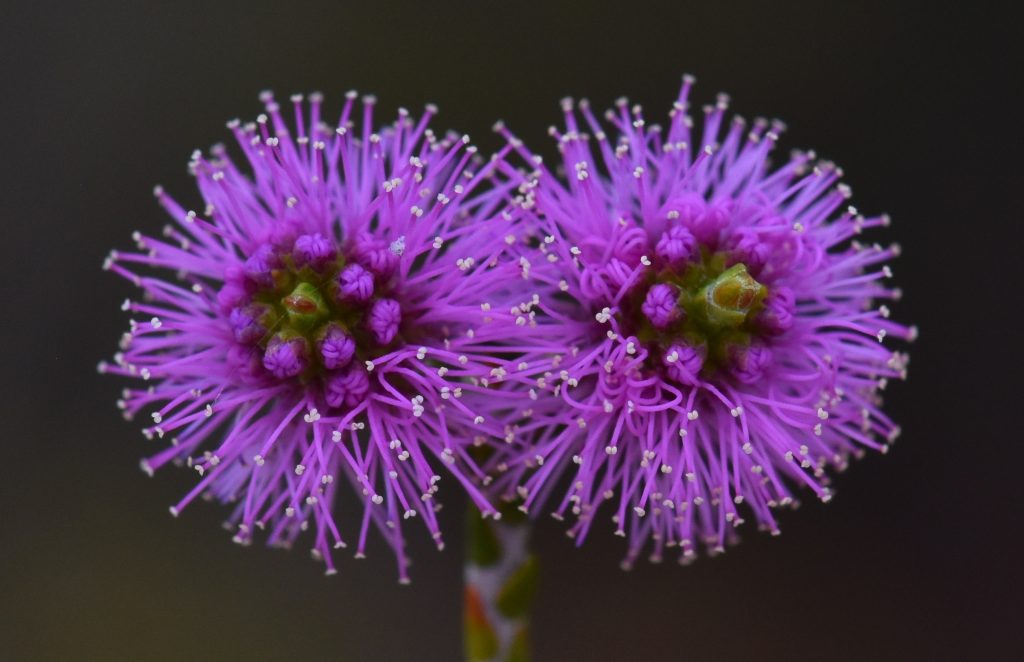
Purple
You might wonder how I end up with a black backgrounds on many of my pictures while photographing during the day, it’s a fairly simple thing to play with on a DSLR camera. In your light meter settings most cameras have different modes which can be changed, usually light metering is done over the whole field of the image adjusting the exposure over the whole photograph averaging it so that everything looks good, or you can select centre metering where it bases the exposure on whatever is in the central area of the picture you are taking, often handy for portraits and such.
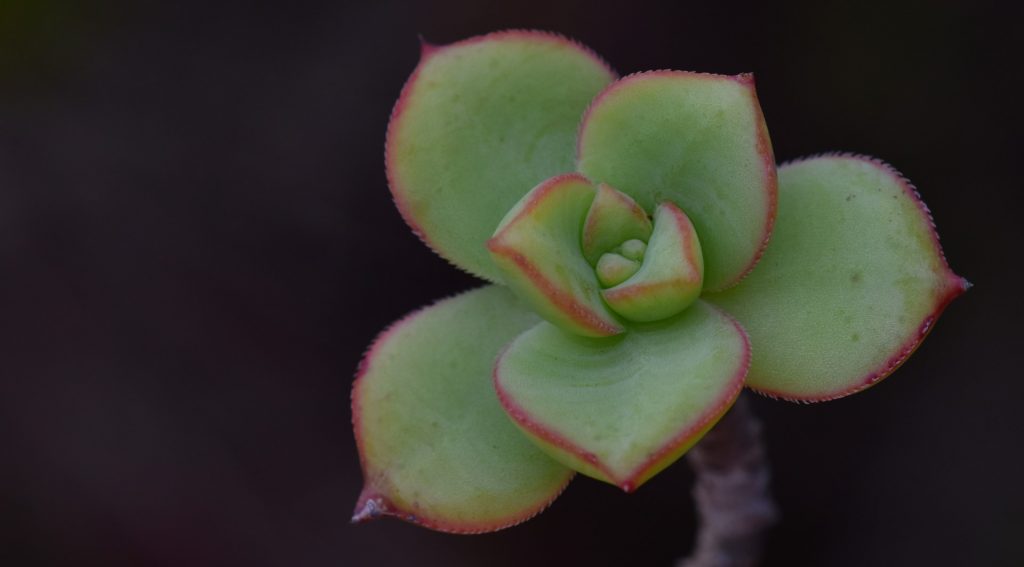
Succulent
Then there’s spot metering which is what I use, where the camera adjusts the exposure to only what is at the focal point of the image. So if I’m taking a picture of a reasonably light coloured object, and the camera is focused on that point, while the background behind the subject is reasonably dark, then often the background to the object your taking a picture of comes out black or at least very dark.
I like the contrast this makes in a photograph and I’m often looking for a flower or interesting plant feature with some deep shadow behind it so that I can get the extreme contrast of the black background. However it’s not always possible and also it can become a bit excessive, we all need variety.
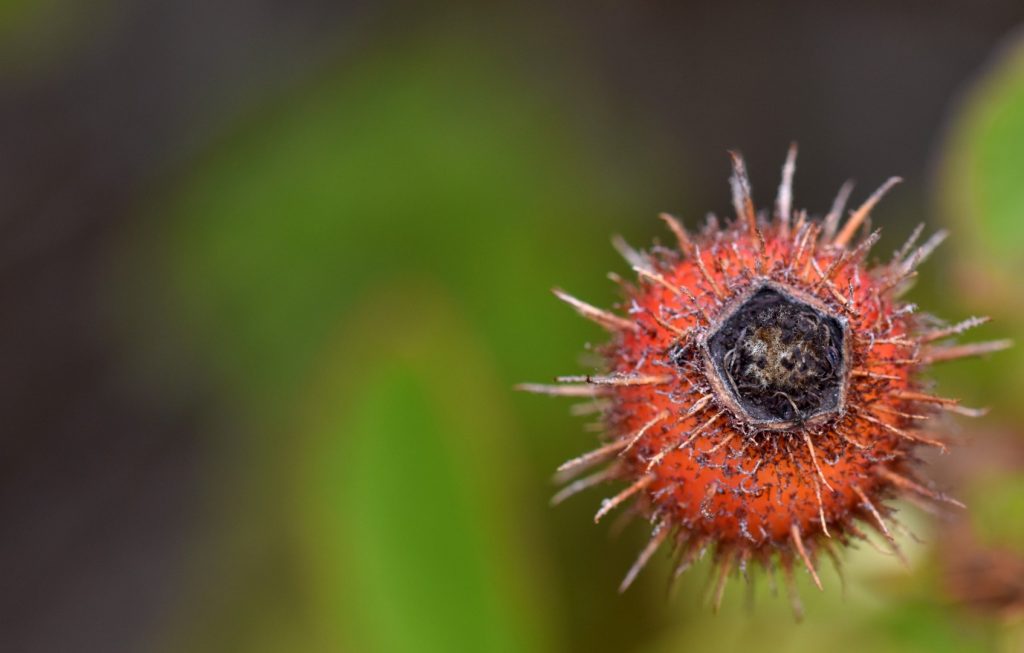
Ouch
Muted, out of focus colour in the background is always nice.
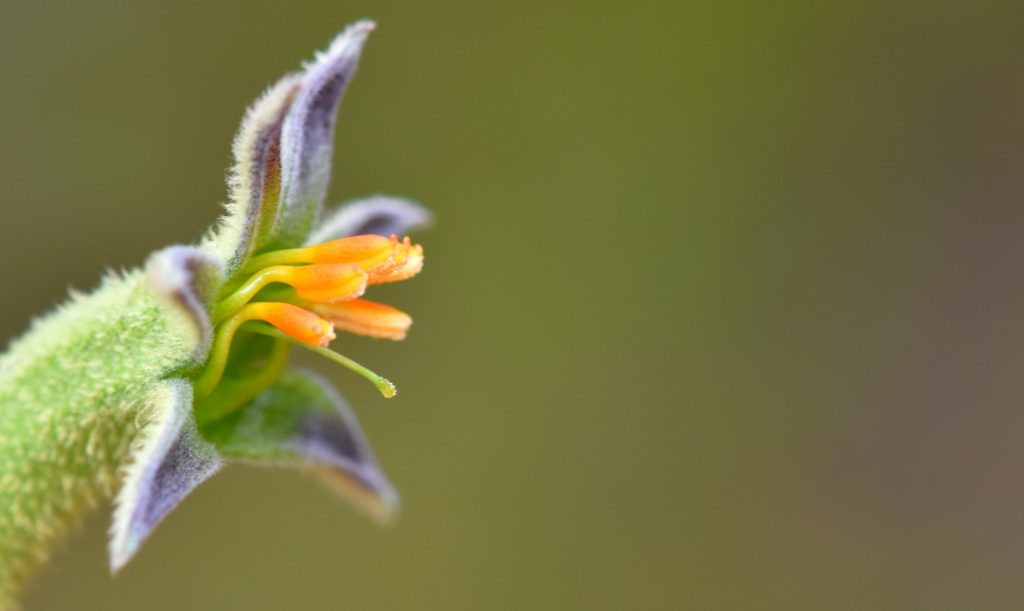
Kangaroo paw
And sometimes you just get really lucky when light just seems to be in the right place at the right time. This next photo had something in the background on the left of the photo that was light in colour which makes it appear almost like there’s light shining down on the flower. Well sort of.
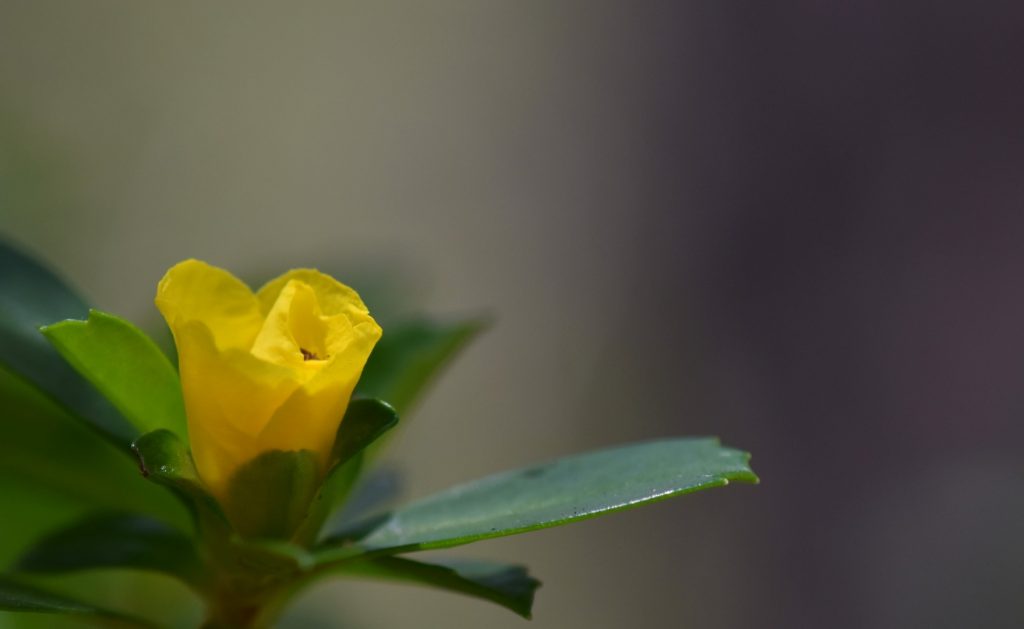
Light
Sometimes the background is just too close and shows as a jumbled mess behind your subject.
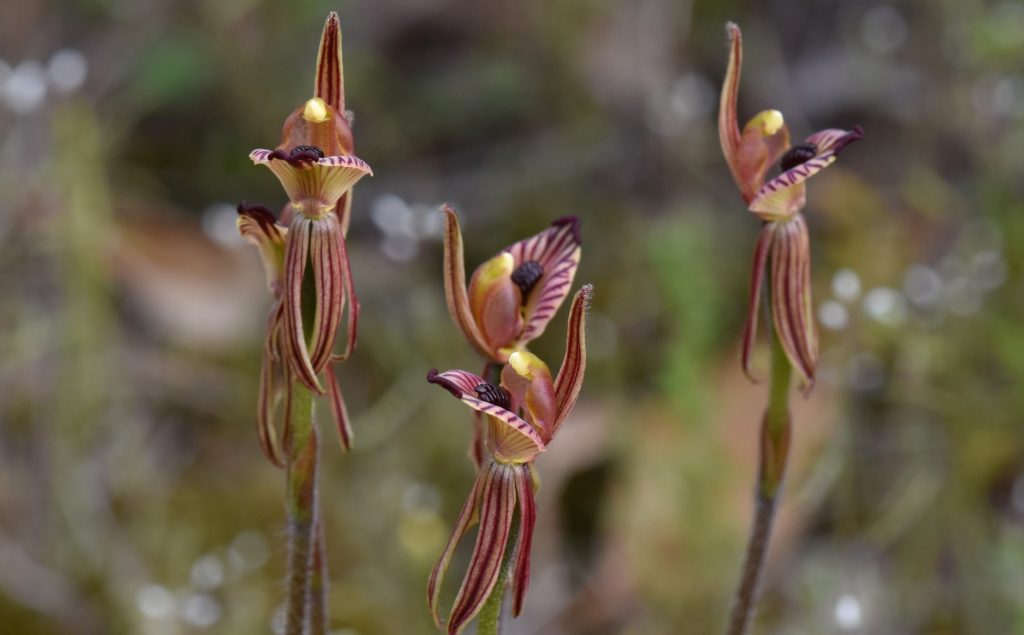
Orchids
But if you play around, getting different angles, the angle can add a nice effect to the photo.
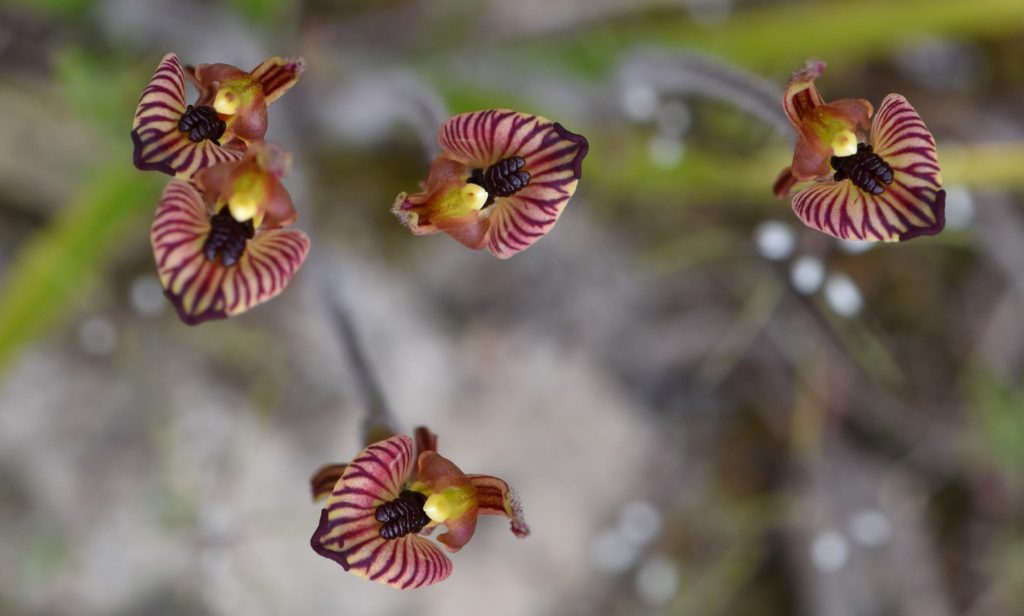
Different angle
My brother told me years back when I was still fairly new to taking photographs reasonably seriously that a good photo was all about the “feel” of it. I didn’t quite get this at the time, I liked to try and get as much information as possible in the photograph and for me the perfect photo was always in complete focus showing as much detail as possible. But over time I’ve come to realize what he meant and I can really appreciate an image with hardly any focus when it has a nice “feel” to it.
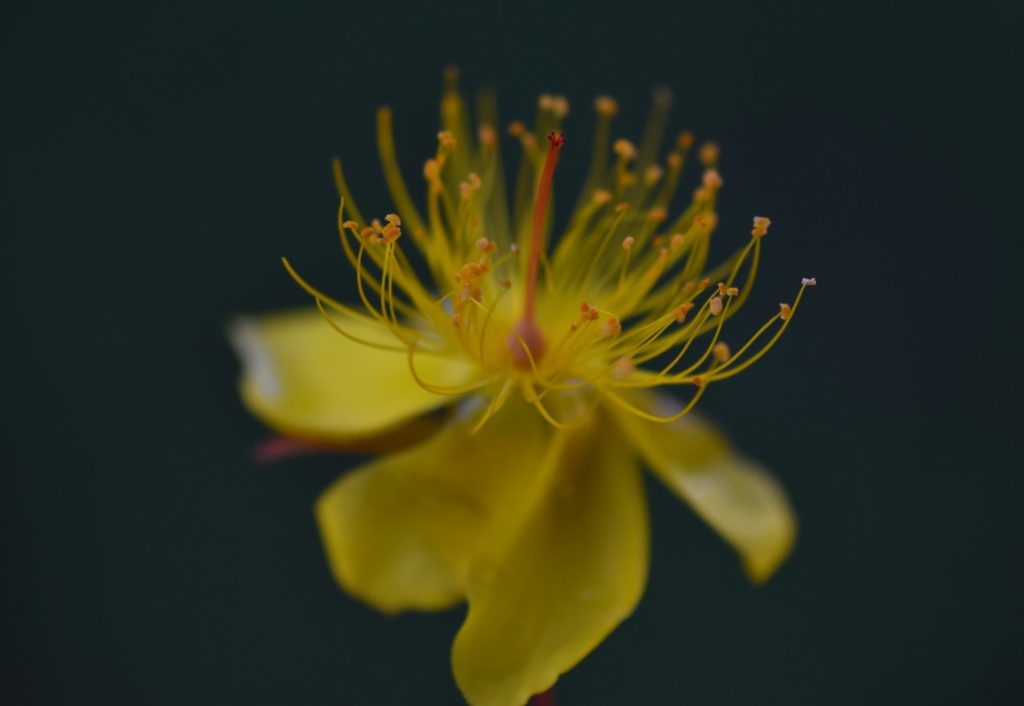
Focus
Another aspect of taking a decent picture is framing and this is something I still play with quite a lot. I used to try and fill the image with the subject and the subject would always be right in the middle. Of course photography 101 is to try and follow the rule of thirds, this is where you try to imagine the image divided into three sections horizontally and vertically and where these points intersect is roughly where you try to have your points of interest in the image.
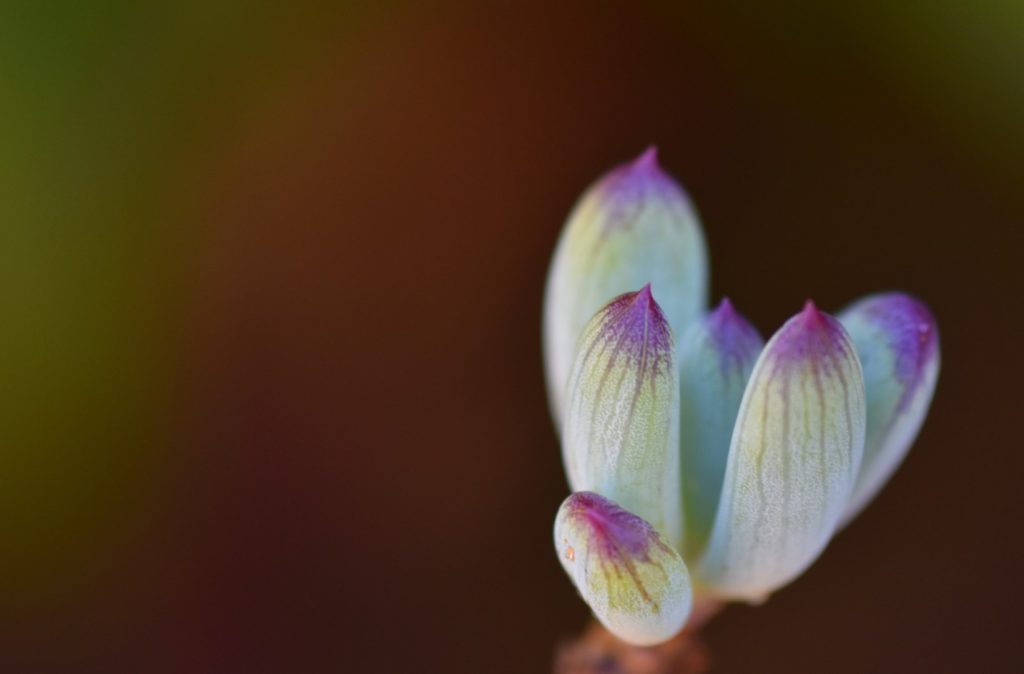
Succulent
Over time I’ve also come to appreciate space in a photo as well.
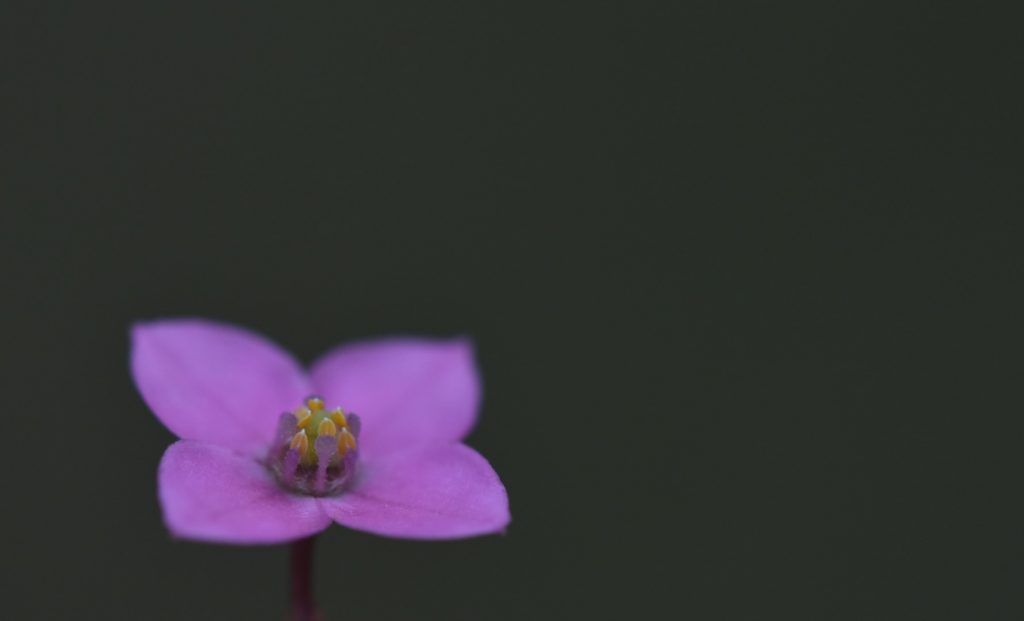
Flower
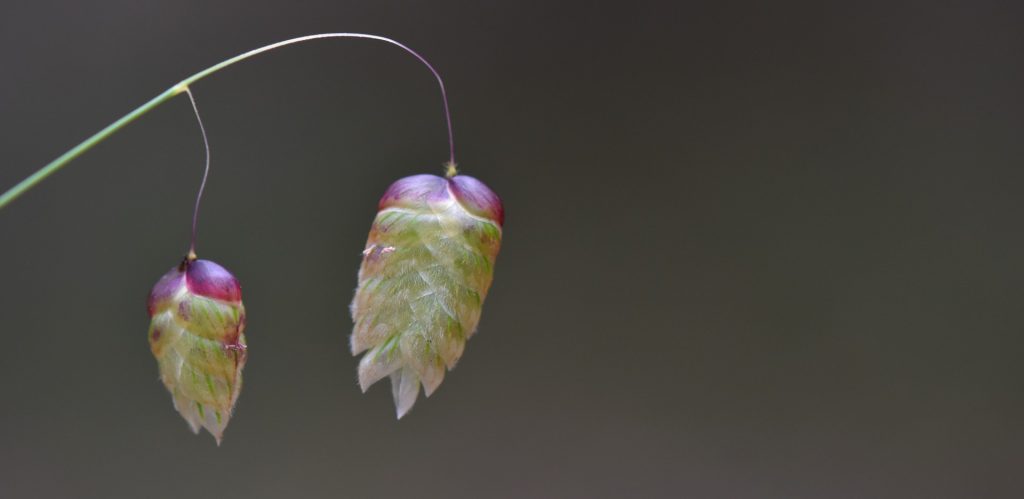
Seeds
An image doesn’t need to be filled with what ever subject you have, though sometimes it just is, it all depends on the subject and the feel of the image you are chasing.
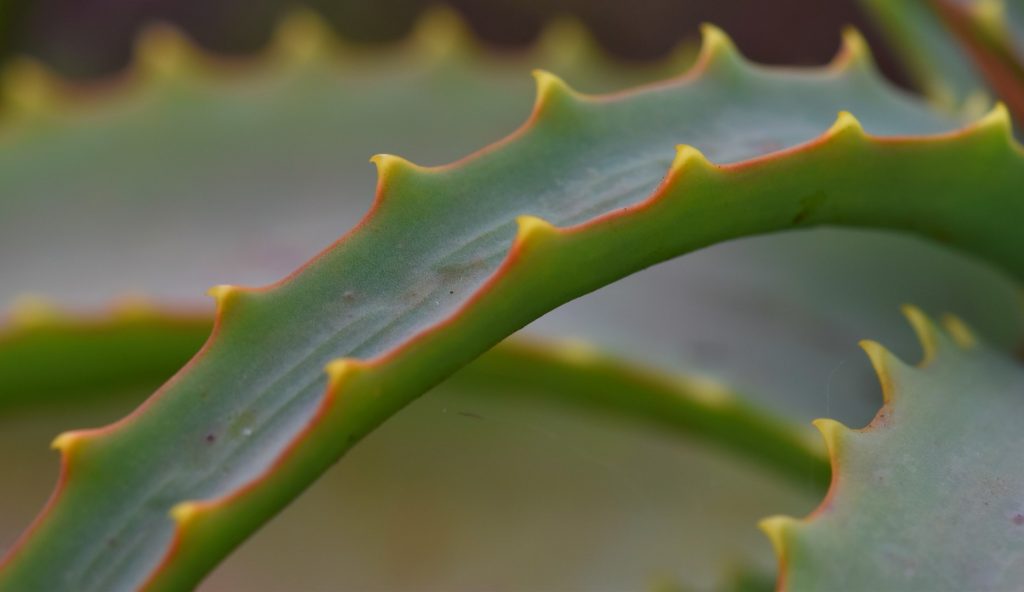
Succulent
Cropping an image is also extremely important, I used to always try and retain the aspect ratio of an image though really that’s not always feasible or just not going to give you the best result. If you have a long skinny item you’re taking a photo of then why not crop the image that way as well, it’s almost silly not to sometimes.
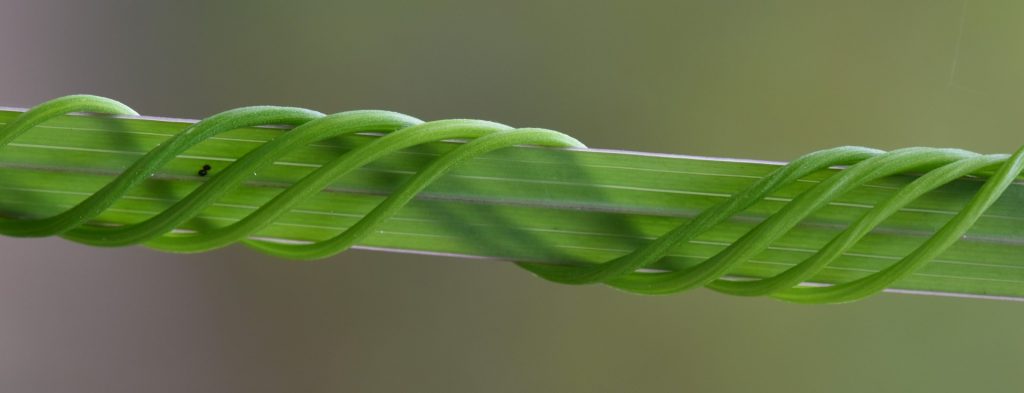
Twist
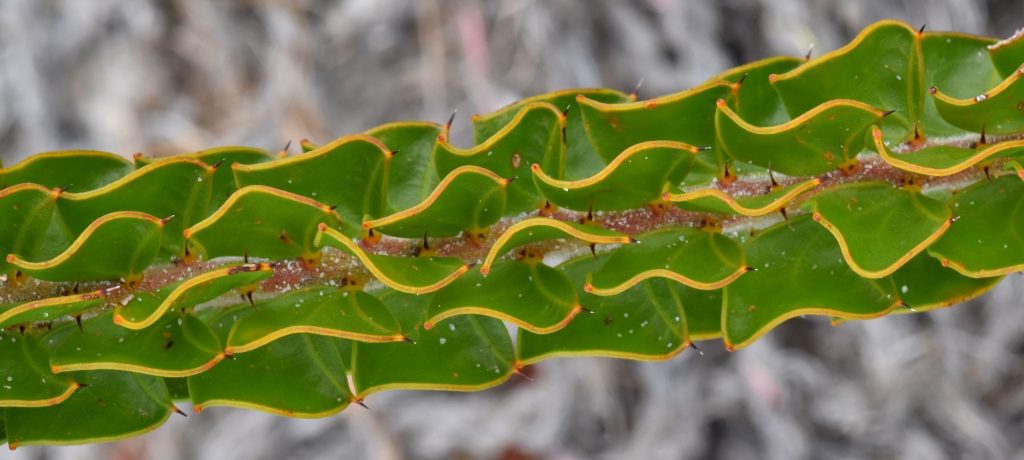
Strange
Blah, blah, listen to me trying to sound like I know what I’m talking about. In reality I just try to capture images that I enjoy, I have very little knowledge about the technicalities of photography. I never shoot in manual mode as most more professional people might do, though I rarely shoot in Auto mode either. 95% of my photos are taken in Aperture priority mode which means that I can adjust the aperture while the camera sets the shutter speed to match. This gives me control over the depth of field which basically translates to how much is in focus in the image. I find this to be one of the most useful ways of shooting macro images.
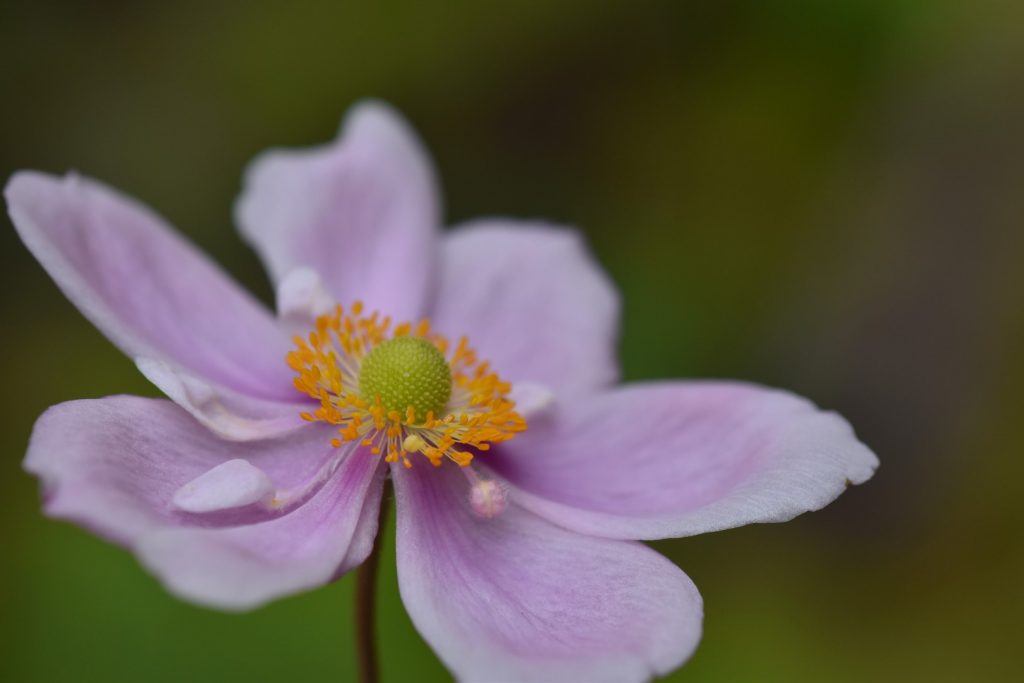
Flower
Another useful tool I use which is a feature on most DSLR cameras is bracketing. What this does is allows you to take three photos one after the other, the first photo will be at what the camera recommends as the correct exposure, the second image you take will be under exposed and the third will be over exposed.

Bracketing
Basically the first image which should be good, then a slightly darker one, then a lighter one as seen above. So every time I take a photo I have to press the button three times taking 3 slightly different images.
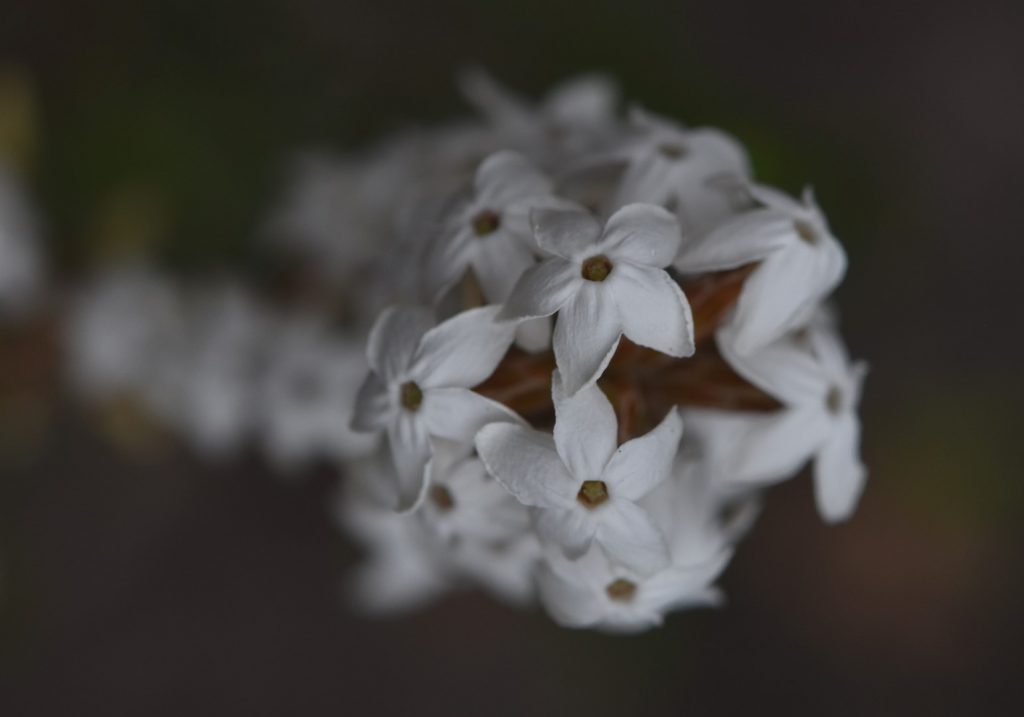
White
I never use a tripod either unless I’m messing around at night time in very low light which is perhaps once every 6 months or so. Even when I’m trying to get a picture of a river or waterfall with a slow shutter speed usually I won’t have a tripod with me so I rest the camera on a rock or log and use the inbuilt timer.
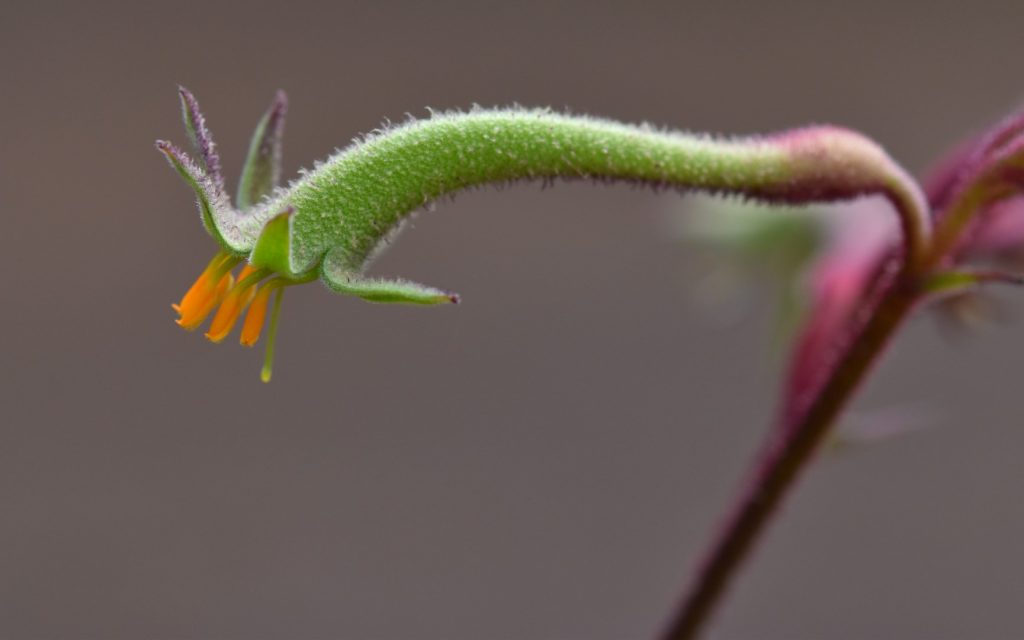
Kangaroo paw
Another way I “cheat” compared with most more serious photographers is that I never manually focus, I always let the camera auto focus for me. Now this can be a problem sometimes when you’re trying to take an image of something small and close to the camera and it keeps wanting to focus off on whatever is in the background.
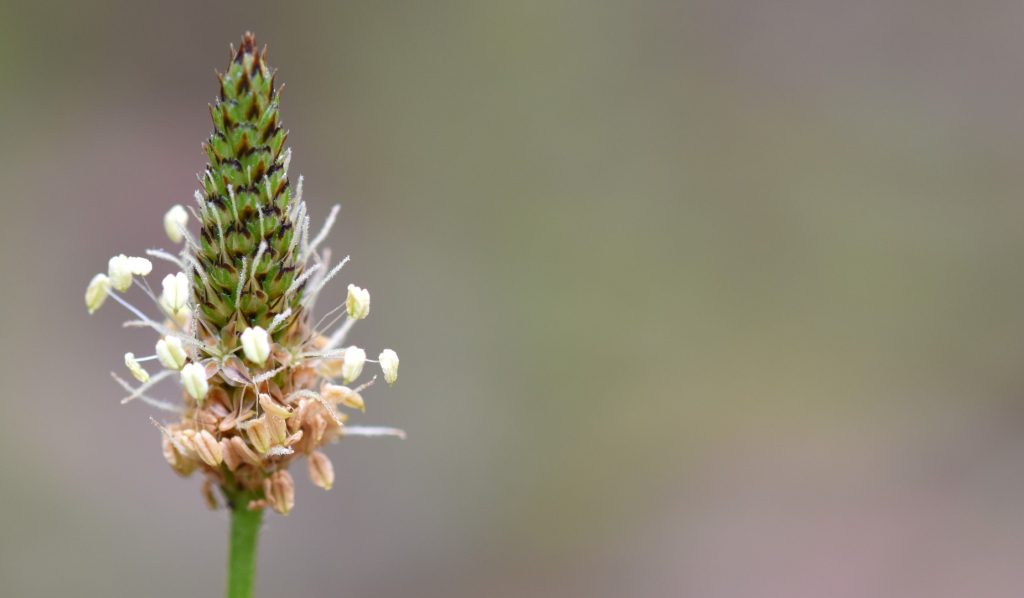
Flower
Which means that often I might have to move the camera off to one side so it will focus up close on my hand or something large at a similar distance to the object I’m trying to photograph, then swing the lens back onto the object and hopefully the auto focus will pick up on the object I want. Sometimes it can take some fiddling to get the camera to focus on the particular point I want in focus which is especially important in close up macro work. It may want to focus on the petals of a flower while I want it focusing on the middle of the flower.
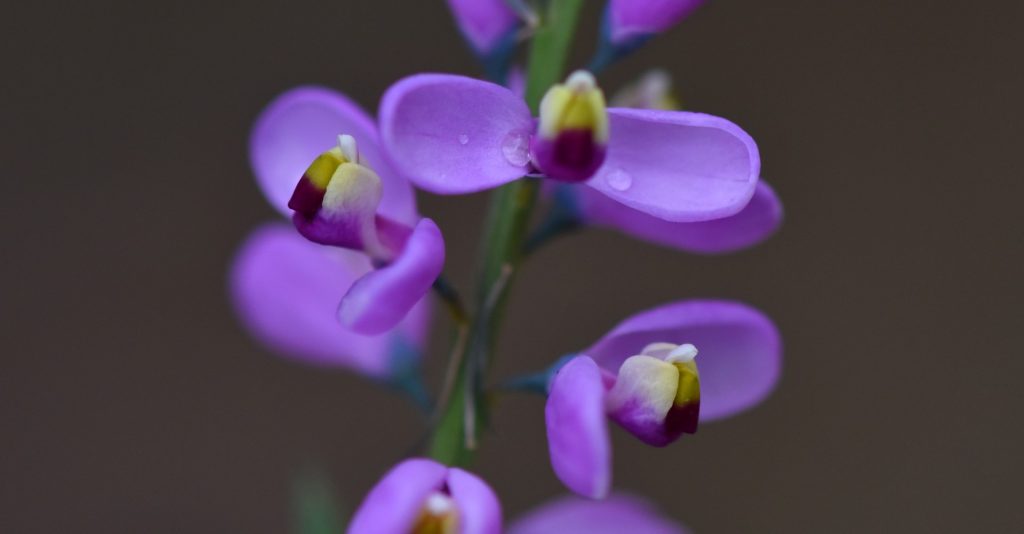
Flower
This is probably where a seasoned professional would tell me I should be using the manual focus as it’s easier from this aspect, what you want in focus will be in focus because you do it manually every time. But the reality is, I’m not a professional! Haha. Usually I only have one hand available holding the camera and pressing the button as my other hand might be holding bushes out of the way or holding the plant/flower I’m trying to photograph as I try to get the flower out of the direct sunlight or at the perfect angle.
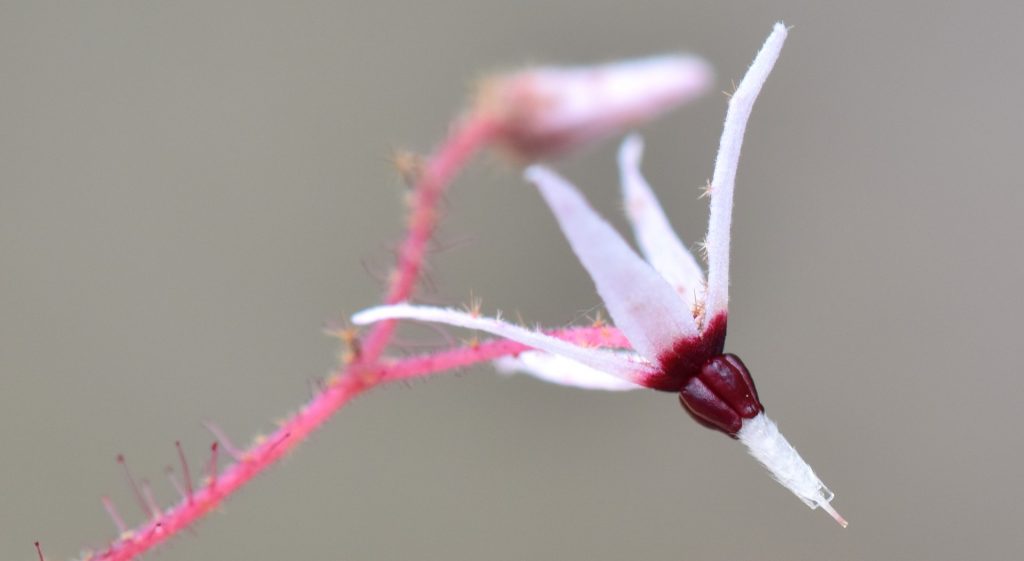
Flower
There’s another aspect which is important, light. I generally never bother going out to take pictures of plants on a sunny day unless I’m in an area of forest which will offer a fair degree of shade otherwise images come out with a lot of white glare, just not pleasant. It’s a partly cloudy day today, I’ll try to go and get an example.
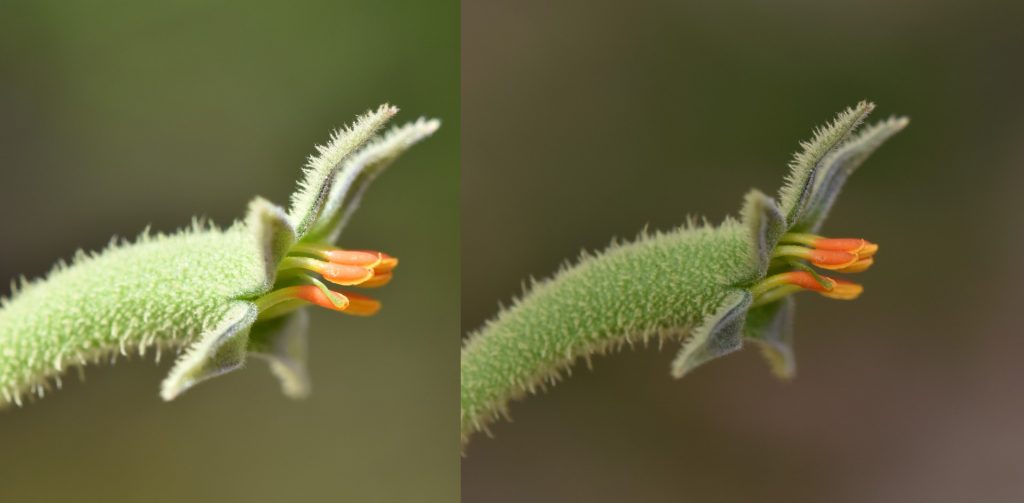
Sun Vs Shade
OK, the left image is out in the sunshine and it has areas of white glare, while the image on the right was after some cloud cover came across. You can get a similar effect by getting in the shade but the thing you are taking a photo of isn’t necessarily in the shade when you want it to be, or there just isn’t any shade, so an overcast day is ideal.
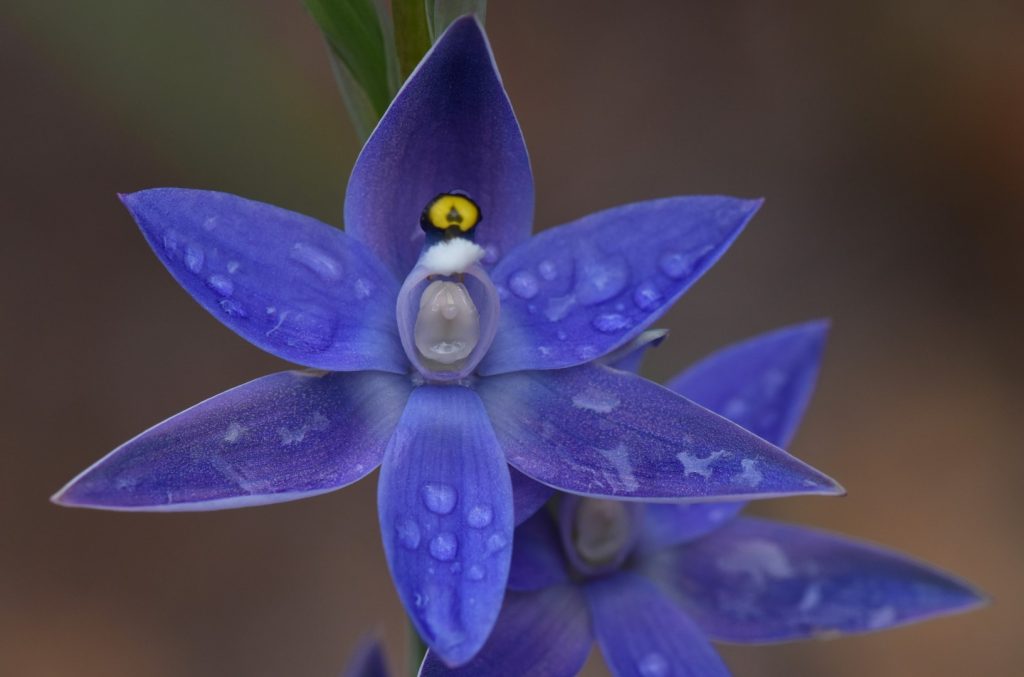
Orchid
Rain can add a nice aspect to your photographs as well, a smattering of water drops across your subject adds some variety and a fresh look. Some people go out taking photos with a “squirty bottle” filled with water so they can add their own fake rain to a situation.
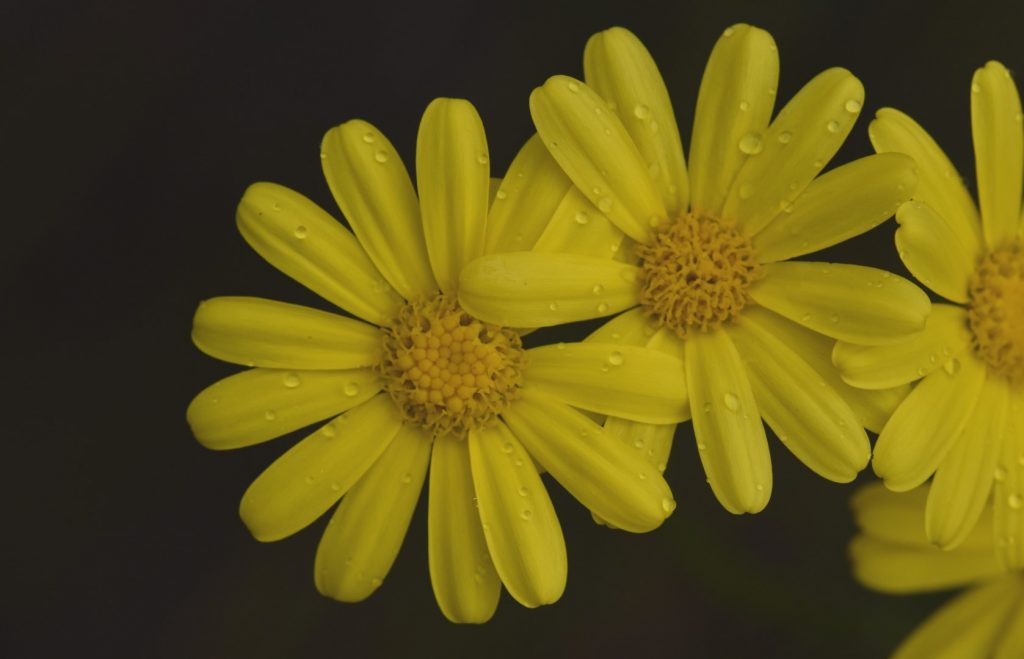
Daisies
You can make water the focus of your images, it’s always good fun going out after the rain to take pictures, you can get some really interesting things going on with water drops and light shining through the droplets. I like to play around taking photos from all sorts of angles. This is an old photo of a Drosera I took and although it’s a great picture it’s also a classic example of too much manipulation later on computer, I pushed the colour too far.
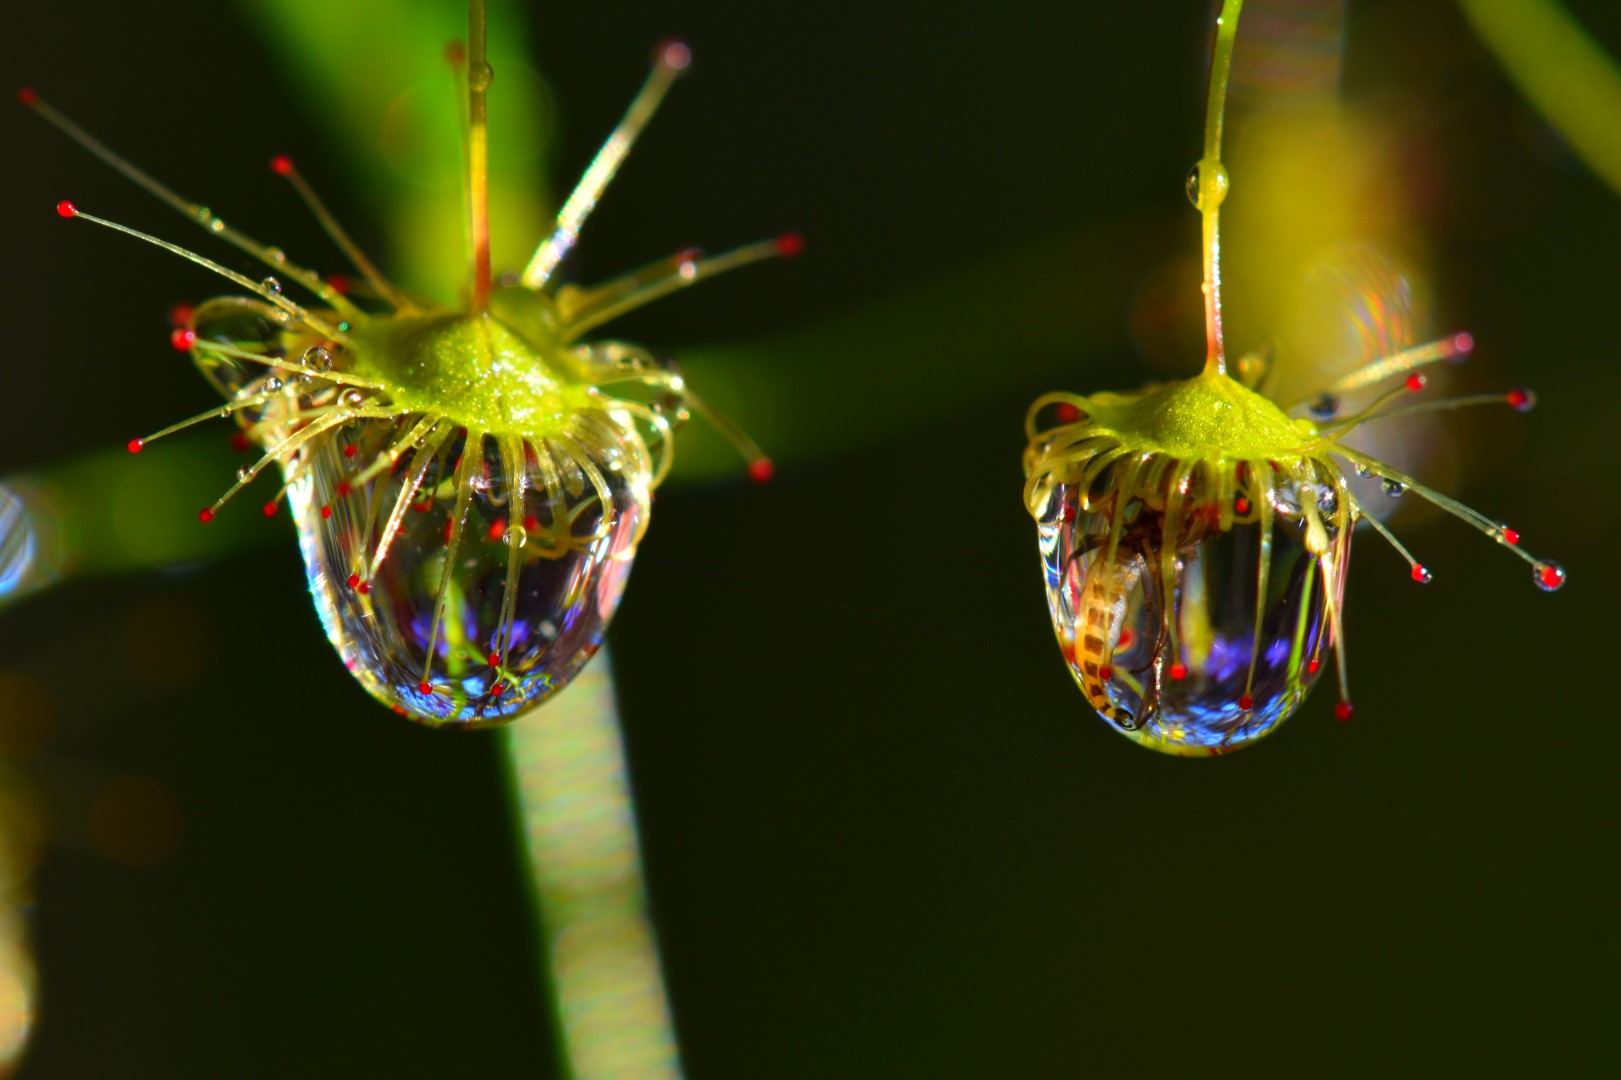
Usually I don’t do a lot of manipulation of my images well, not any more. Once you muck up a few images you learn that usually less is more.
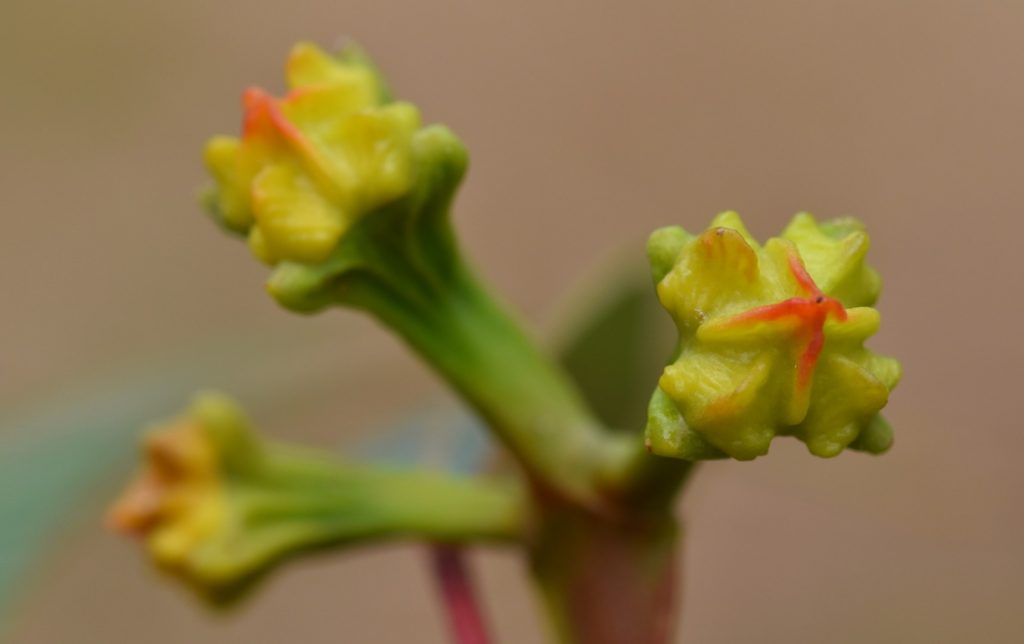
Bud
The most important thing is that taking photos is fun, fun and rewarding especially when you push things a bit and take your camera off auto mode, and mix it up by taking photos into the sun, with the sun in front of an object, then behind it, experiment. Then when you get back home and sort through them you can be surprised at what you find sometimes.
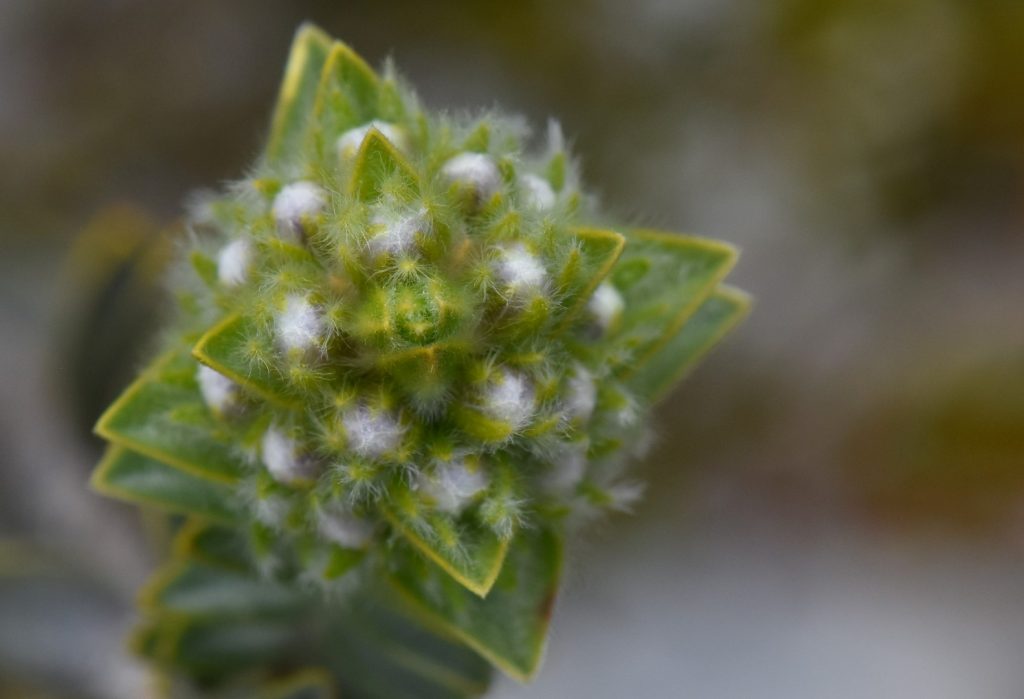
Hmm
Sorting through the images can be a chore though, especially when you are bracketing, there are so many images to sort through. You can also waste a lot of time on a picture sometimes. You may find a flower you think is great and you spend a while taking photo after photo to ensure you get a good one, changing the angle, changing where the light is coming from, and always taking 3 at a time bracketing. It’s not unusual for me to take perhaps 30 photos of the one object trying to ensure that there will be the perfect image in there somewhere, only to find when you get back to the computer that there was a tiny insect on the flower, or a small blemish you couldn’t see with the naked eye, or my pet hate cobwebs. I hate cobwebs.
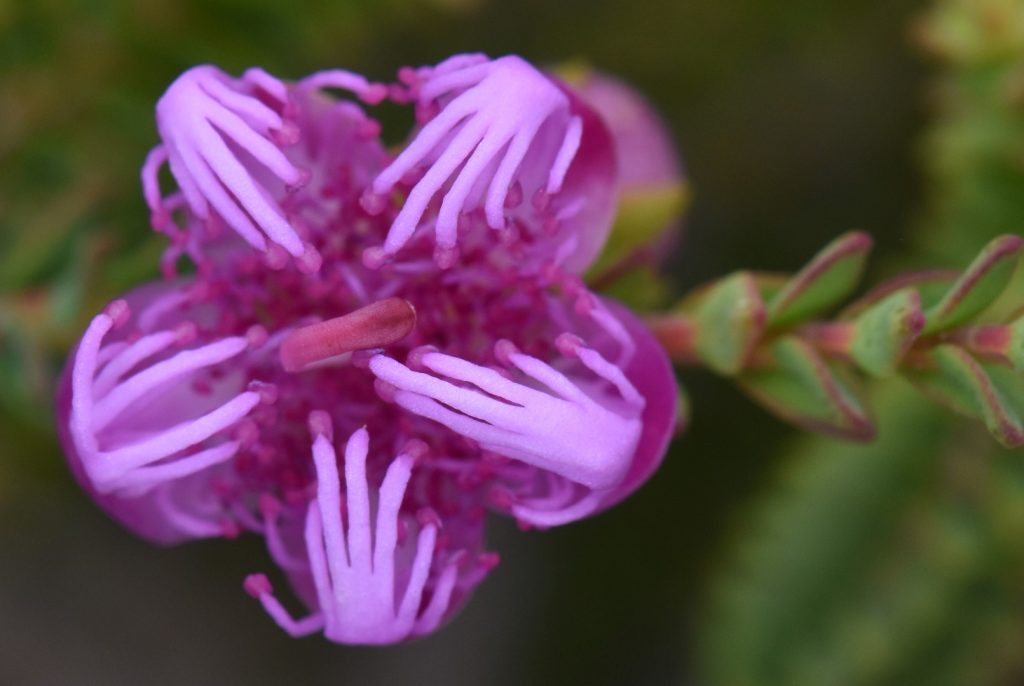
Crazy pink hands flower
So you always need to try at least a couple of different flowers/nuts/plants when you are after a nice shot, just in case there’s a blemish or spiderweb mucking up your perfect image. And flowers at different stages of opening can be completely different in looks.
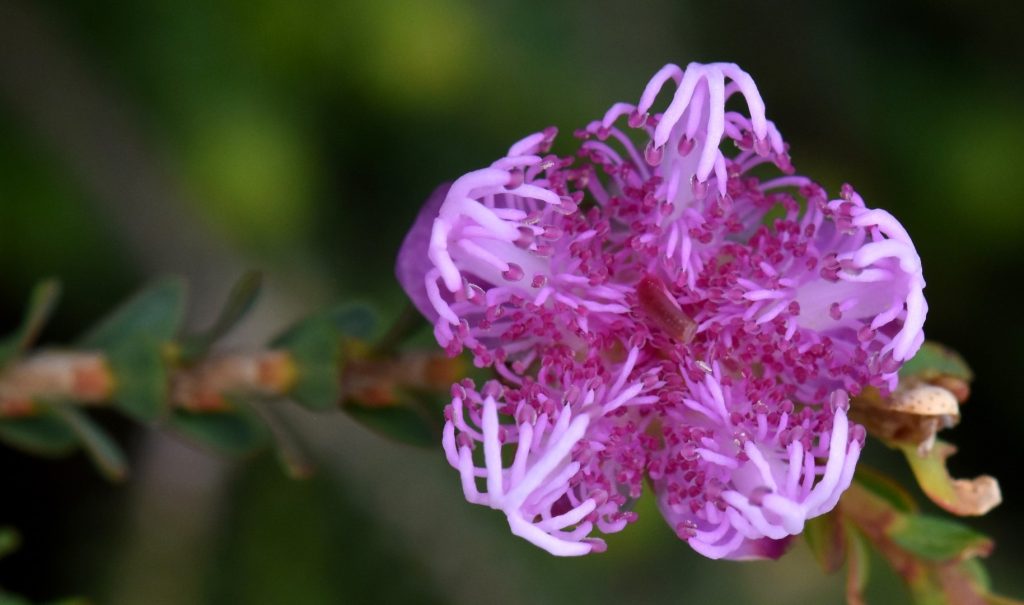
Sarlacc
Why have I called that photo Sarlacc you may ask? If you’re a star wars fan you might know.
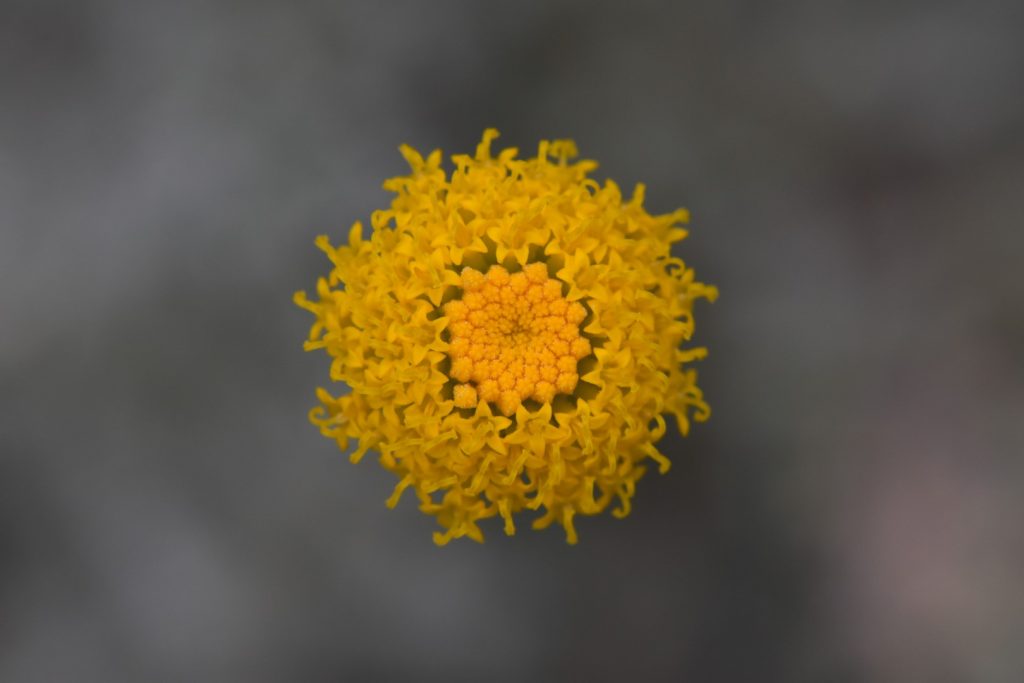
Yellow
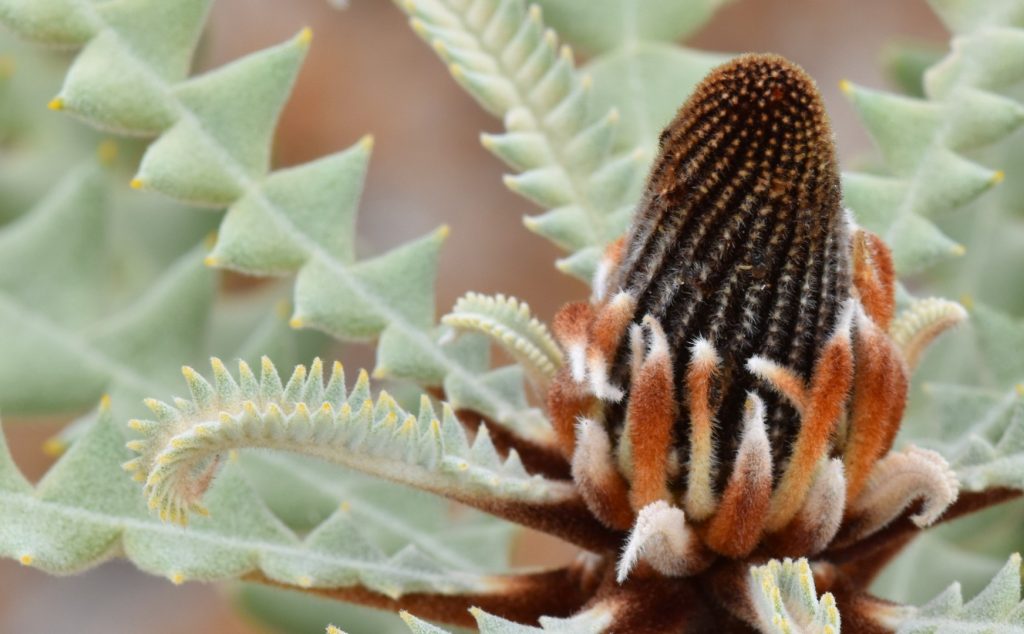
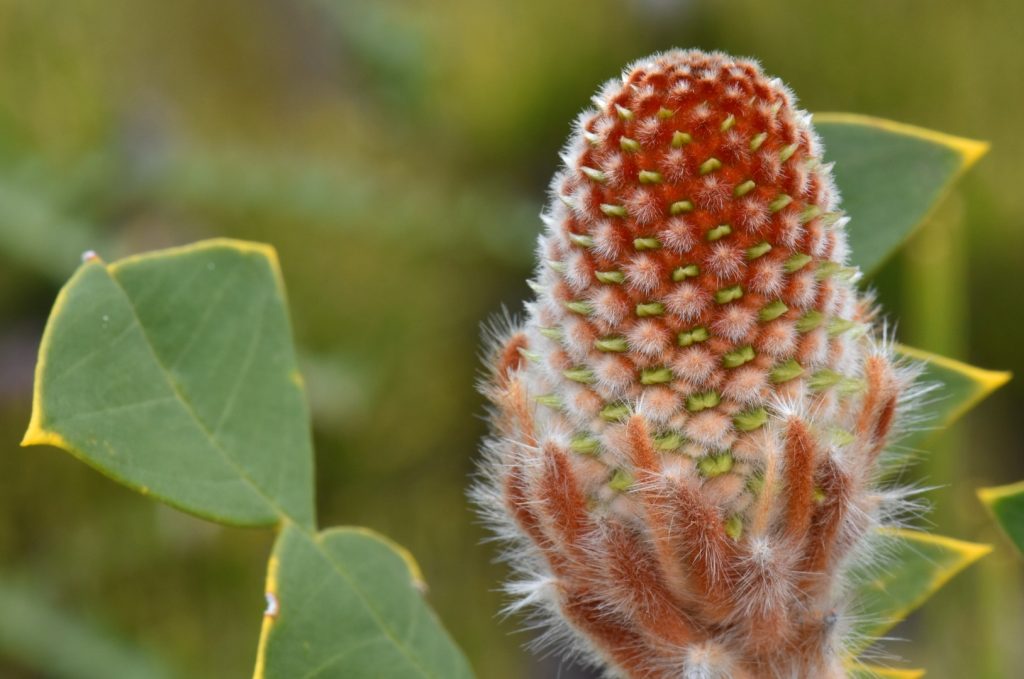
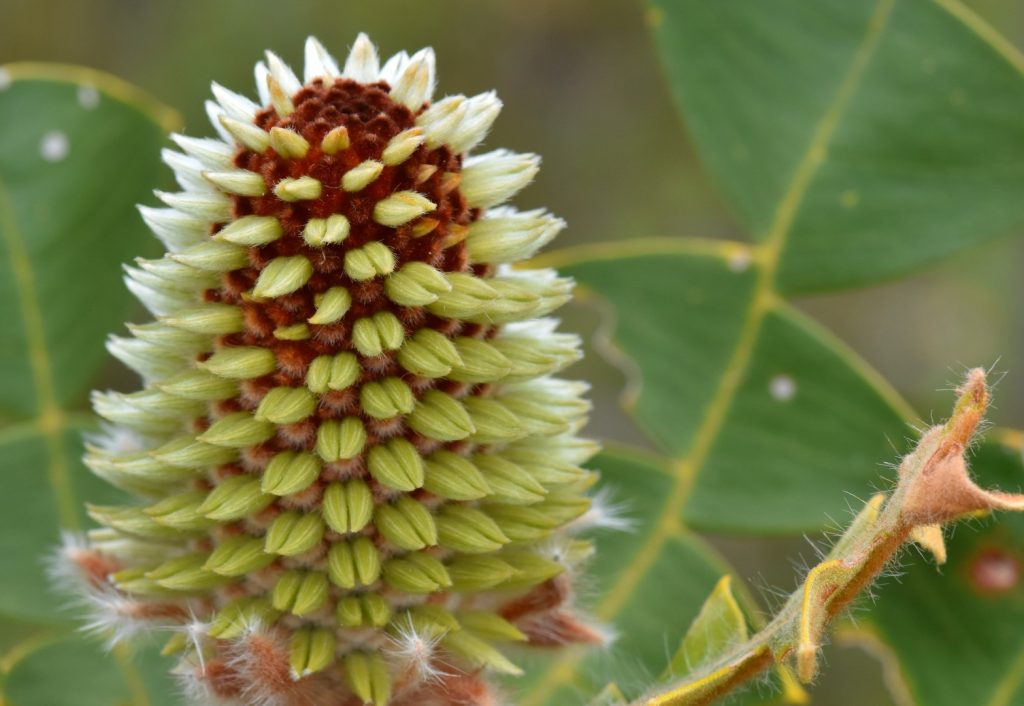
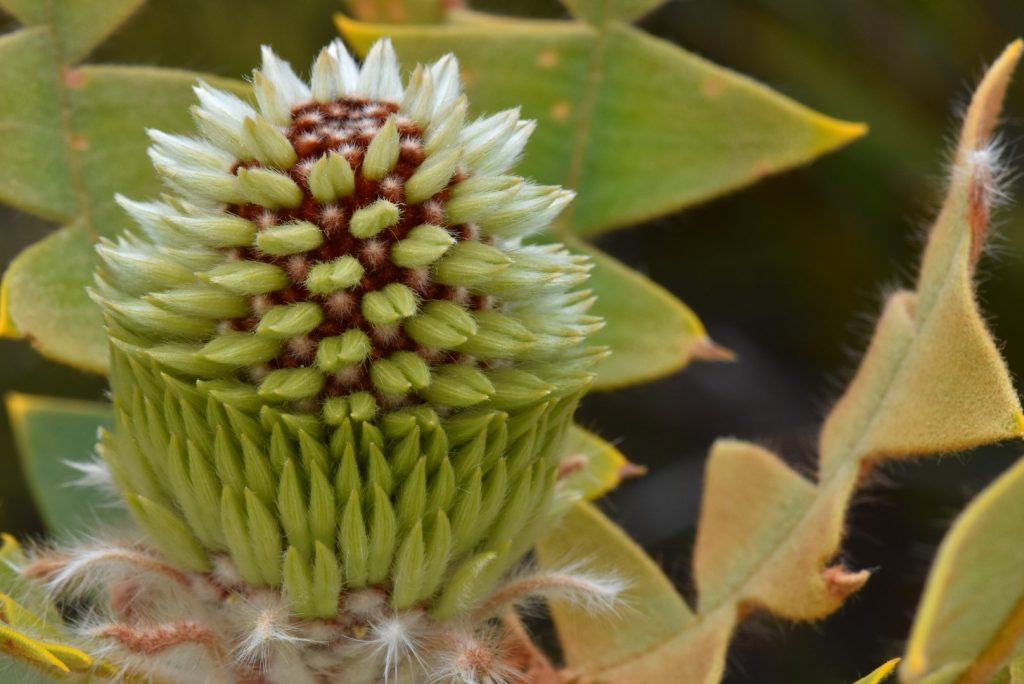
This post is getting long and there are still a lot of photos I need to post, here’s a progression of some local Banksias, lovely furry things. There are two different varieties here at different stages of flowering.
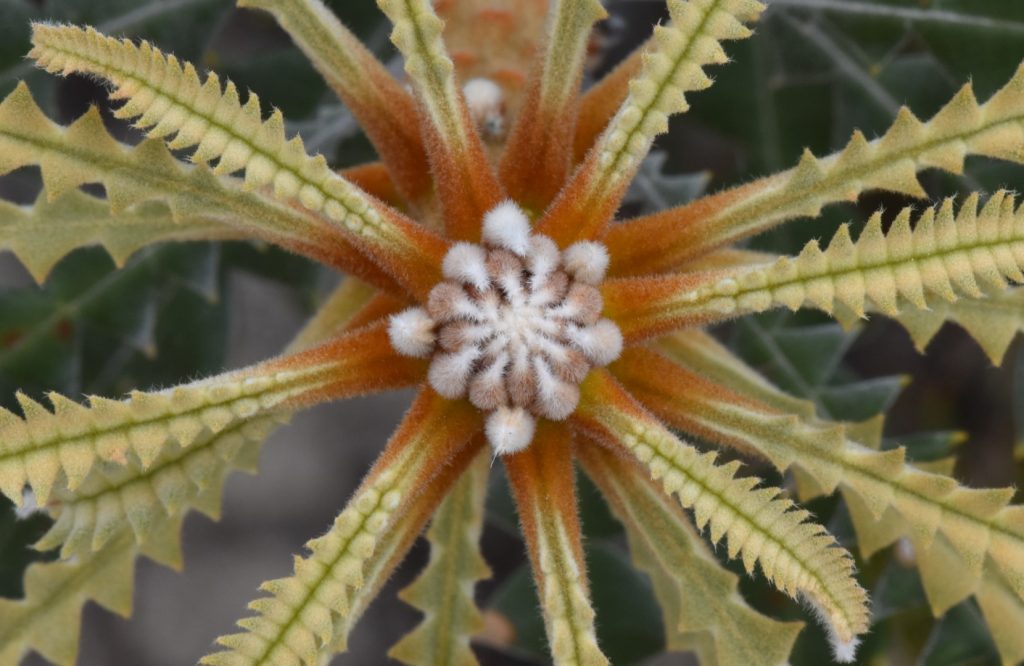
Banksia
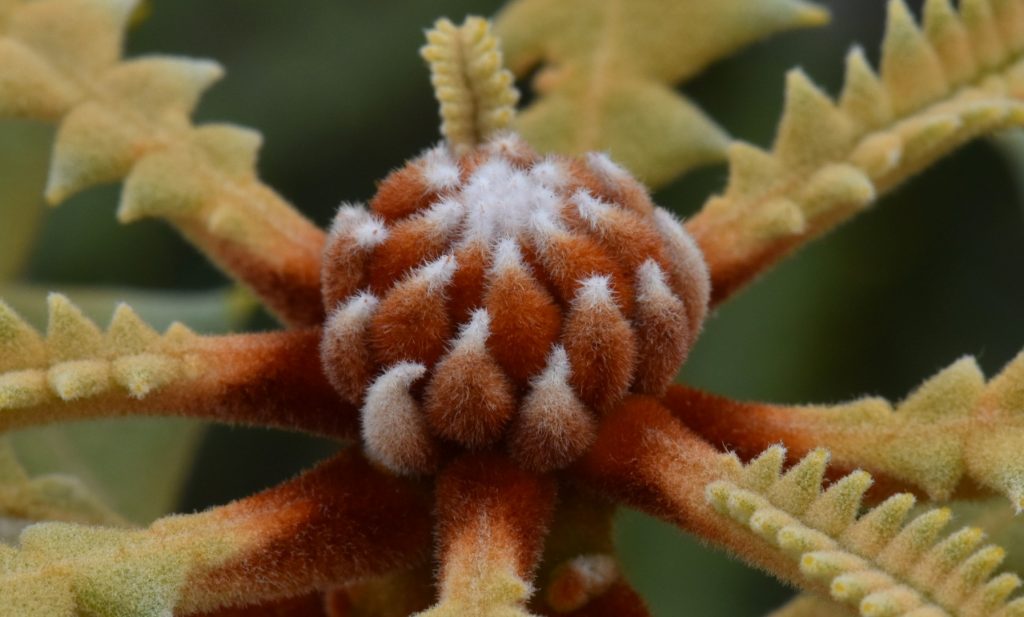
Banksia
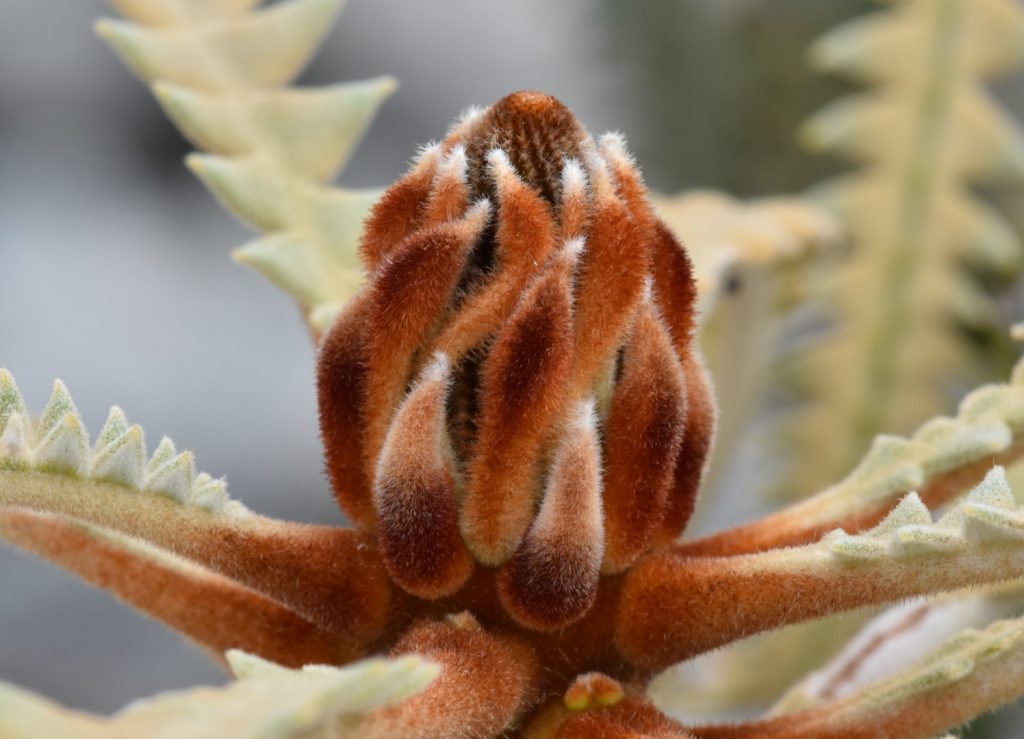
Banksia
Banksia
Banksia
Banksia
Banksia
Aren’t they just too cute? Even when they start to get a bit horny and evil looking.
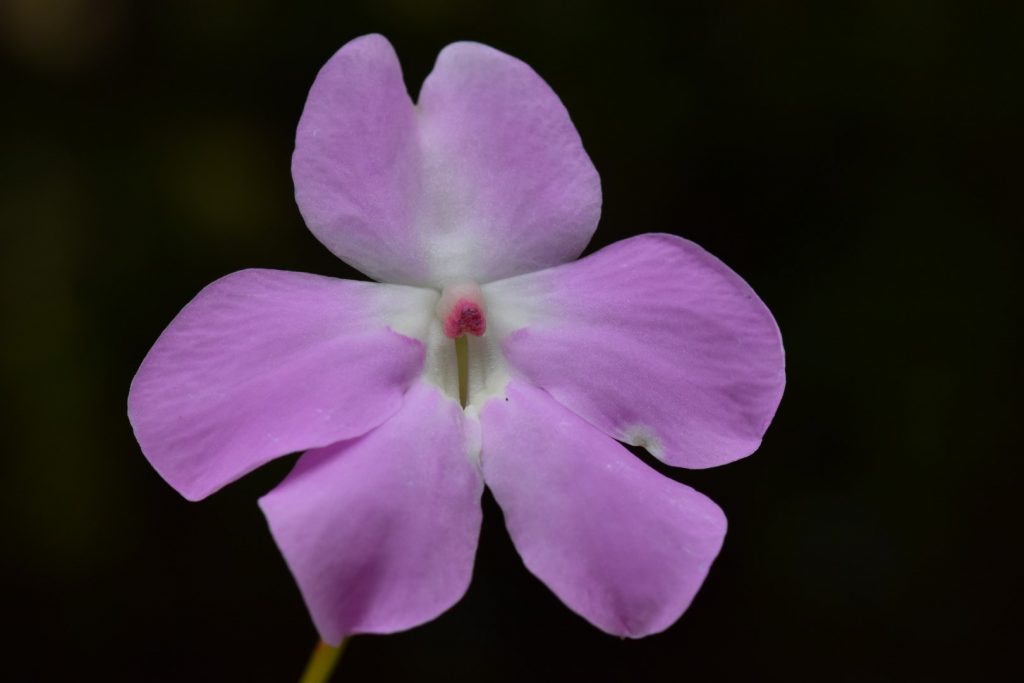
Pink
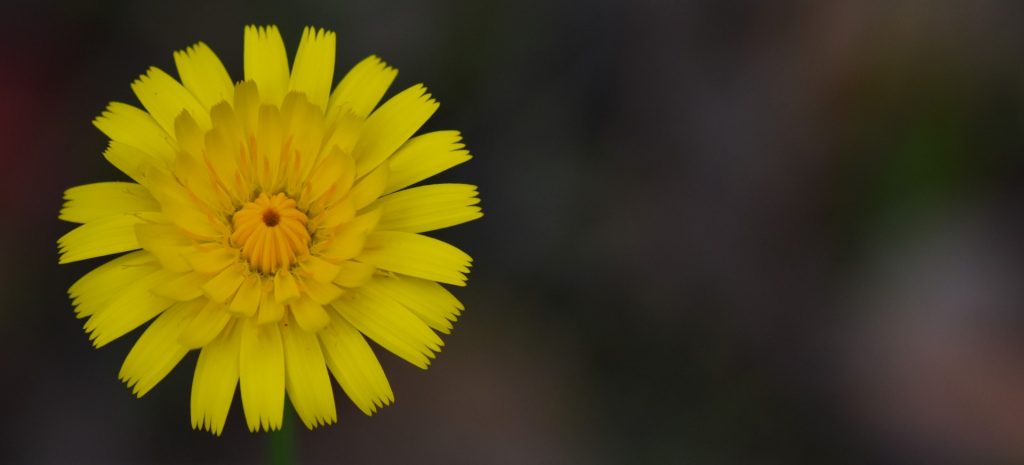
Dandelion
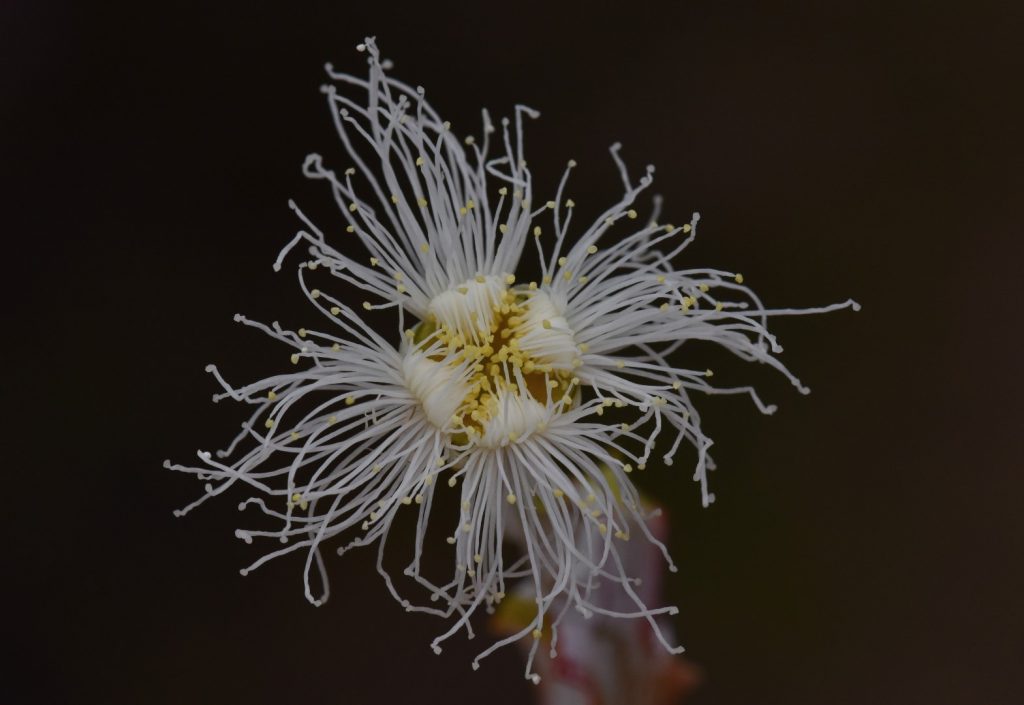
Shaggy
Ahhhhh, so many pictures.
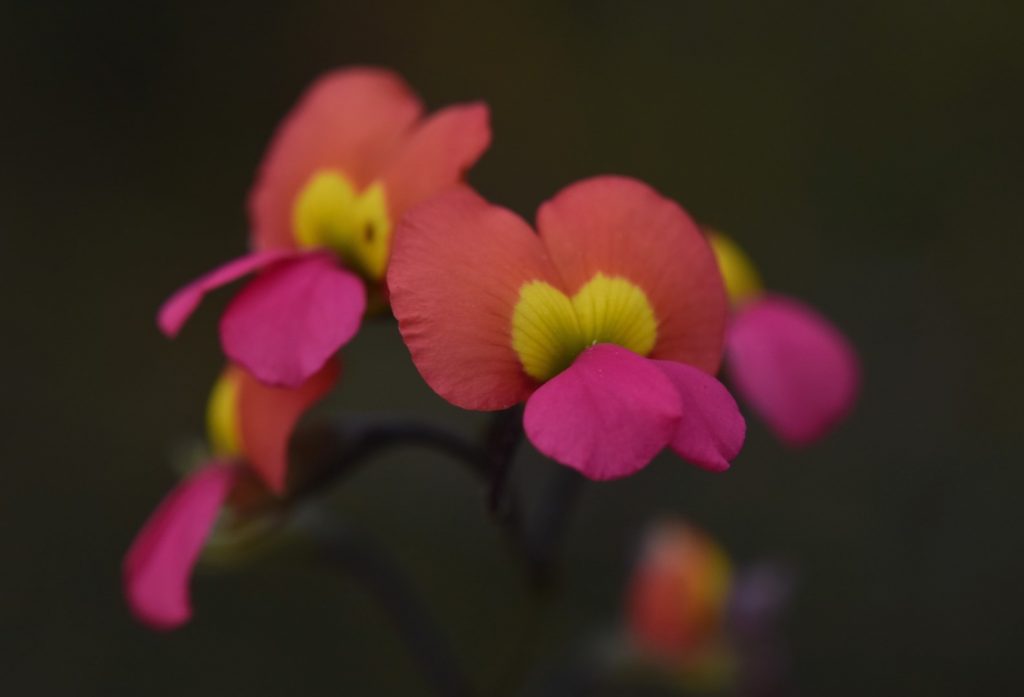
Pea flower
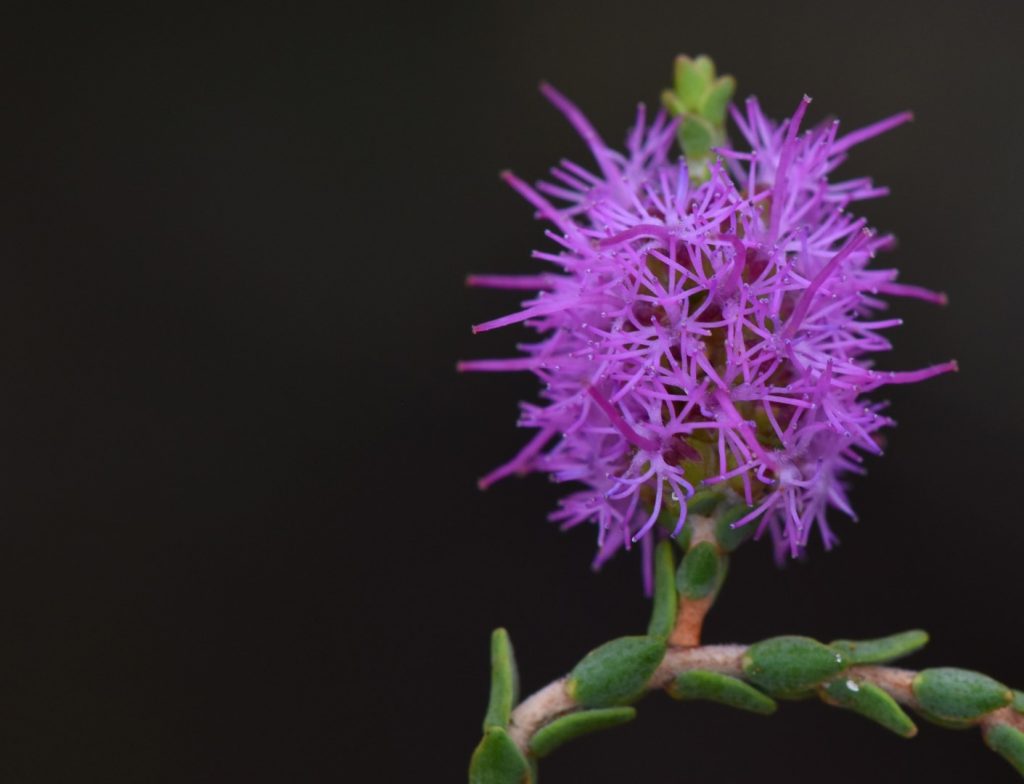
Flower
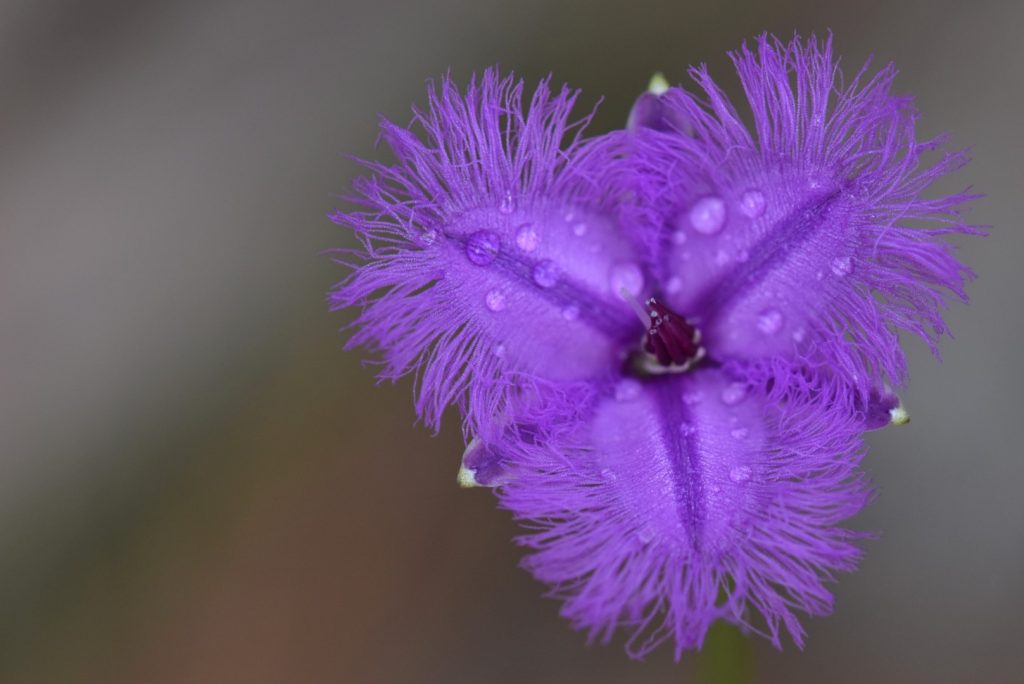
Shaggy again
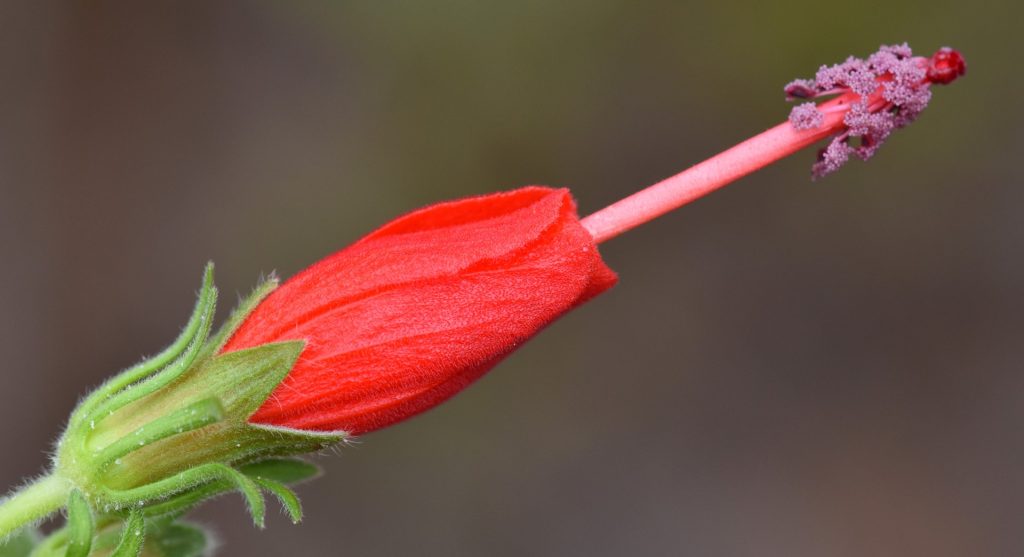
Red
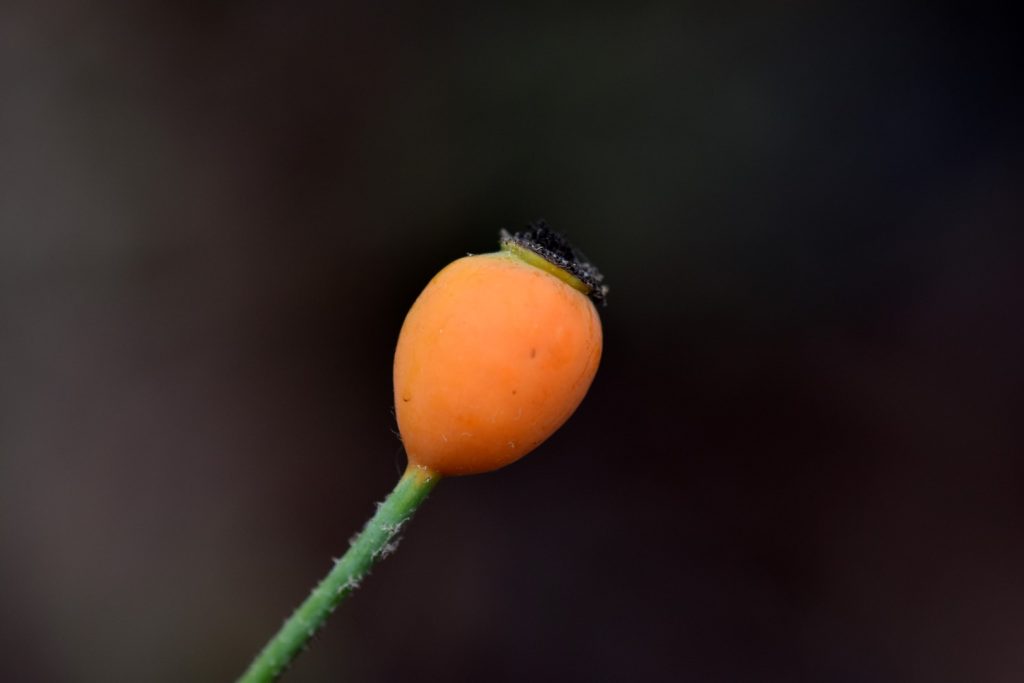
Rose hip
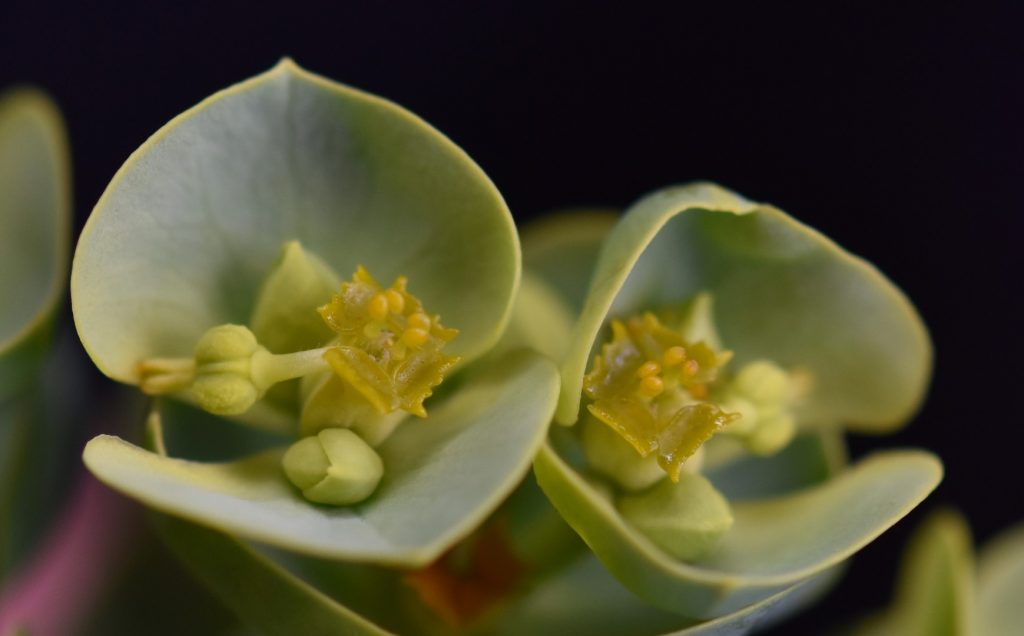
Weird
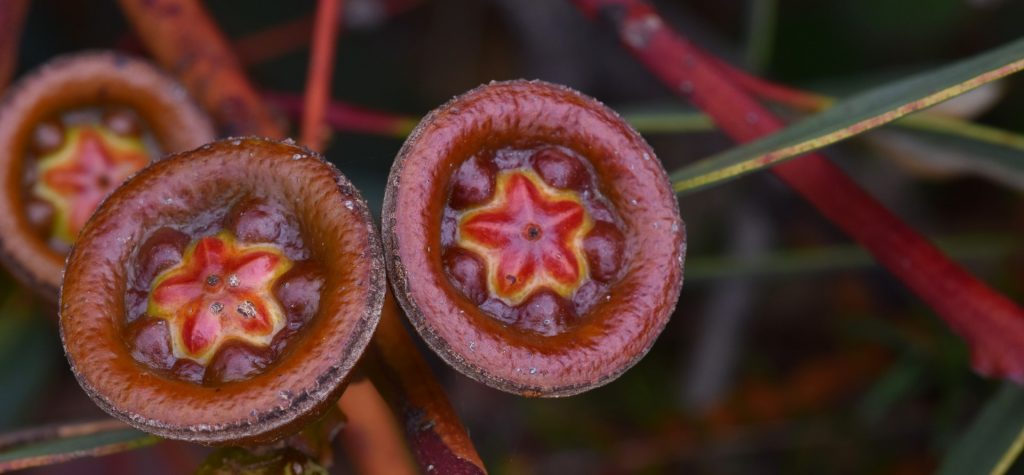
Eucalypt
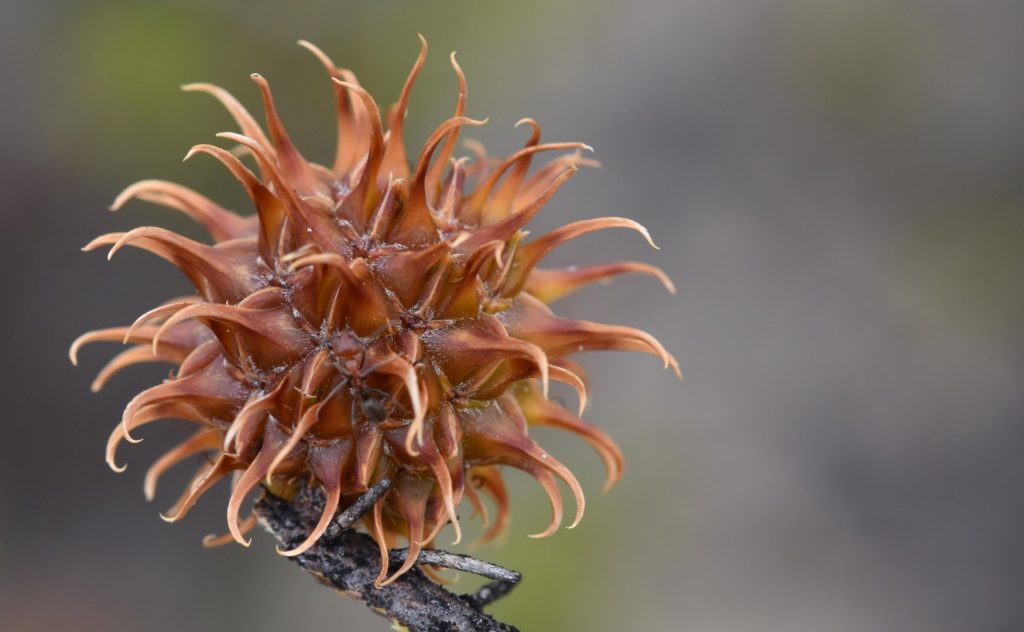
Hmmm
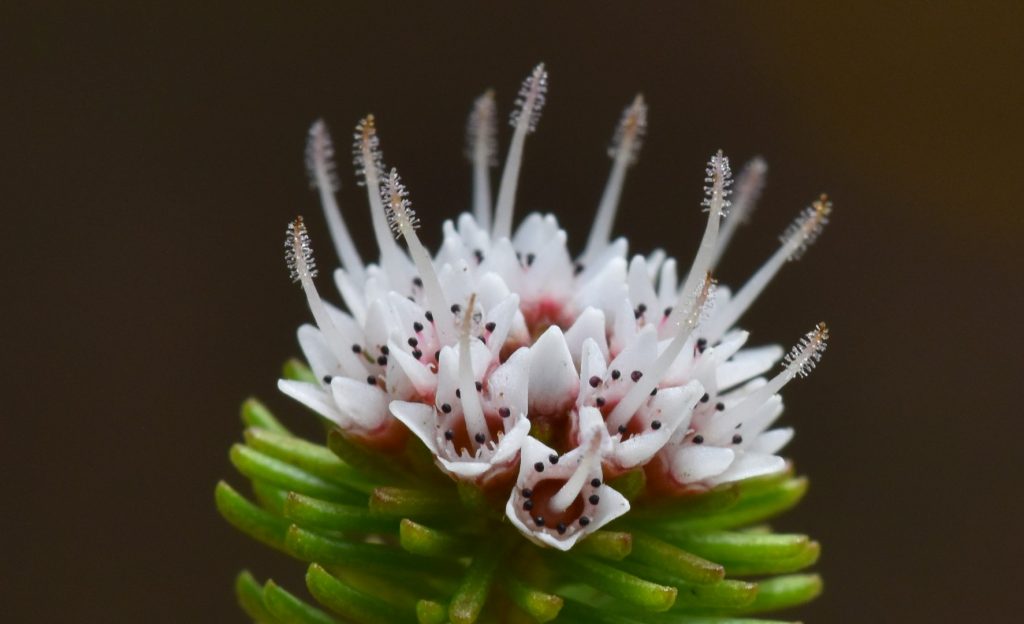
Cute
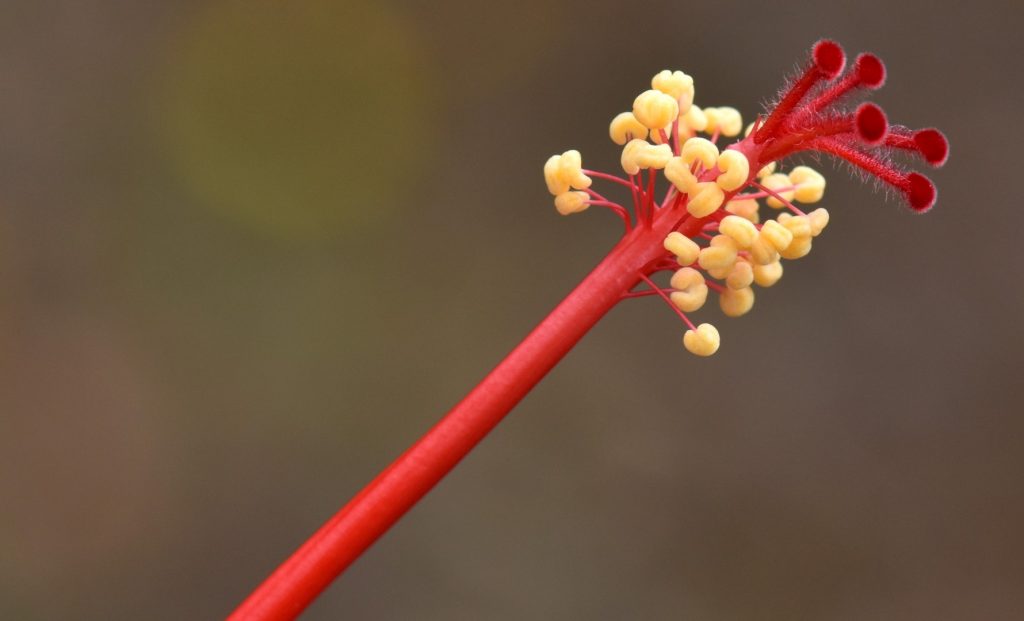
Hibiscus
OK, I really just need to stop now, there are still many photos to go but this is getting out of hand. So many photos!

No Comments