
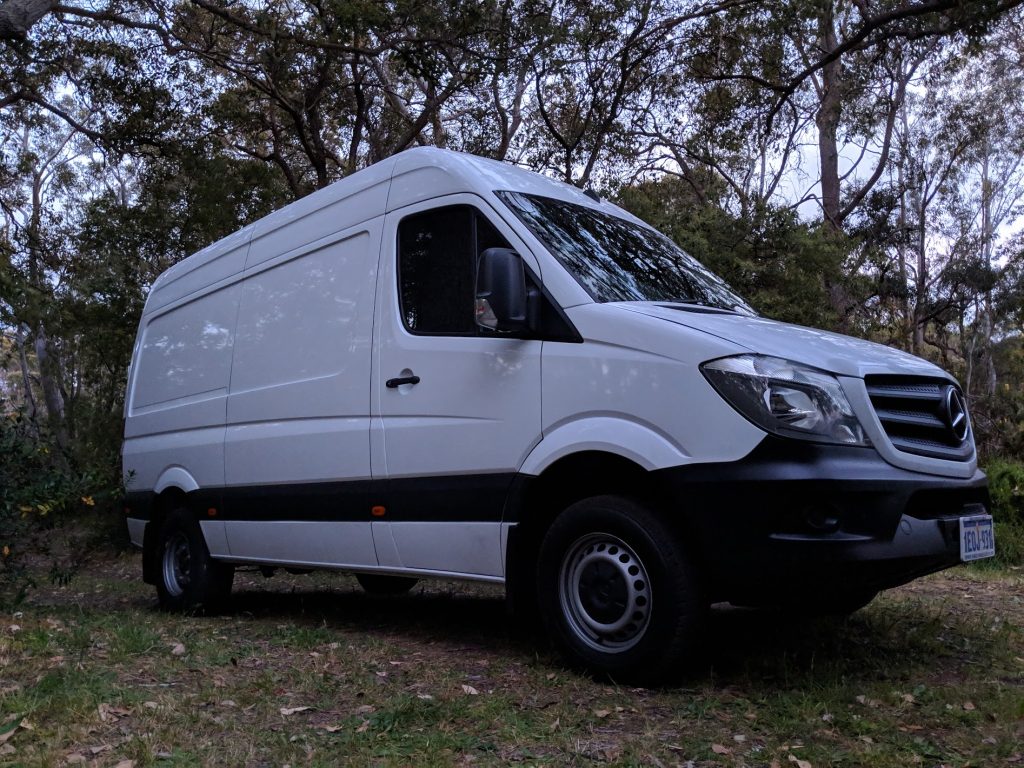
So it begins. I have a blank slate of a van, empty, like completely empty, no internal body lining or flooring apart from a rubber mat on the steel floor. I have about 137,672 ideas about how I want to convert it and what I want to turn it into, yet no real set idea or plan and basically no skills in this department. Should be an interesting journey, certainly a different experience and hey isn’t that what life is about, experiences.
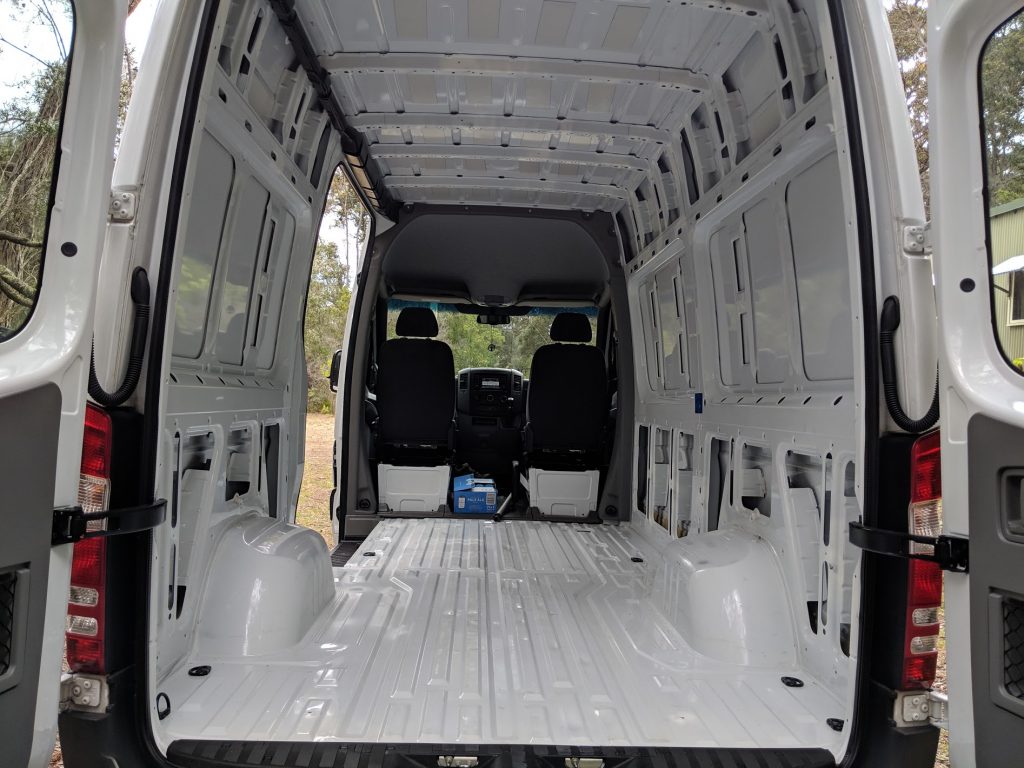
Empty
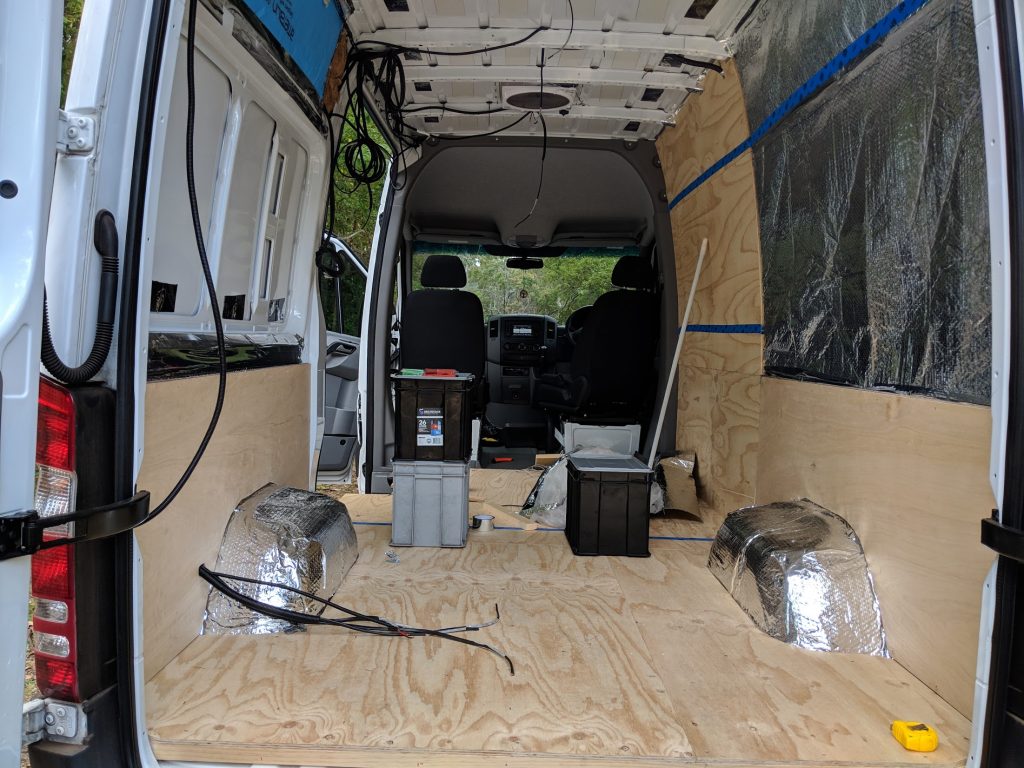
I’ve been reading and researching online for months now and recently it’s reached a crescendo as I try to cement some firm ideas about what I’ll do with the van to turn it into my home. Somehow I need to turn this empty metal shell into a comfortable home that will fit all of my possessions and allow for some form of a normal life. It’s pretty hard to visualize when I look at this empty space. Hmm, storage, sleeping area, water, power, cooking, washing, seating, it can be a little daunting, so I think the easiest thing is to just get started on the basics and see how things develop over time. Fix any rust spots, plug holes, treat any spots with metal primer.
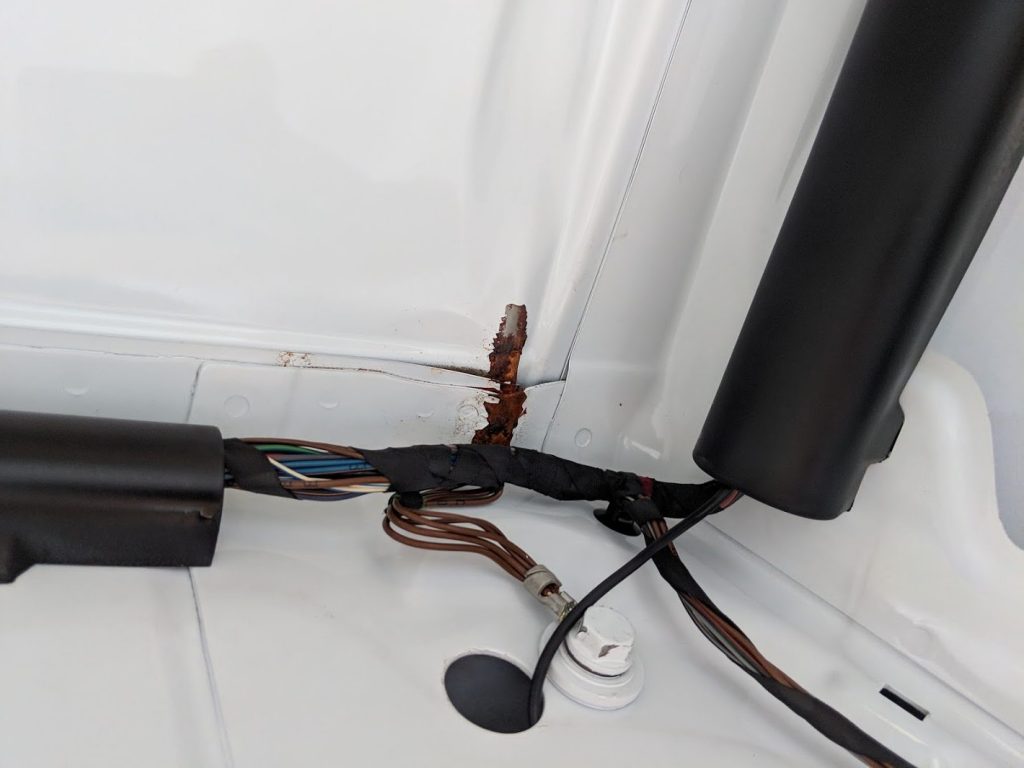
Roof dent
I discovered a dent in the roof which was hidden behind a cable cowling, this was a pretty major dent on the corner of the roof where there was a metal join and it leaked water. A quick trip to the local panel beaters and a couple of hundred bucks later, problem solved, they did a nice job fixing it and repainting. There were numerous other spots needing attention, the original owner had welded shelving into the vehicle and their removal had been fairly poorly done, looked like it had just been literally ripped out. Bit of banging here and there with a hammer, liberal application of metal primer to stop rust and it’s all good, most metal will be covered up at the end.
Leaking
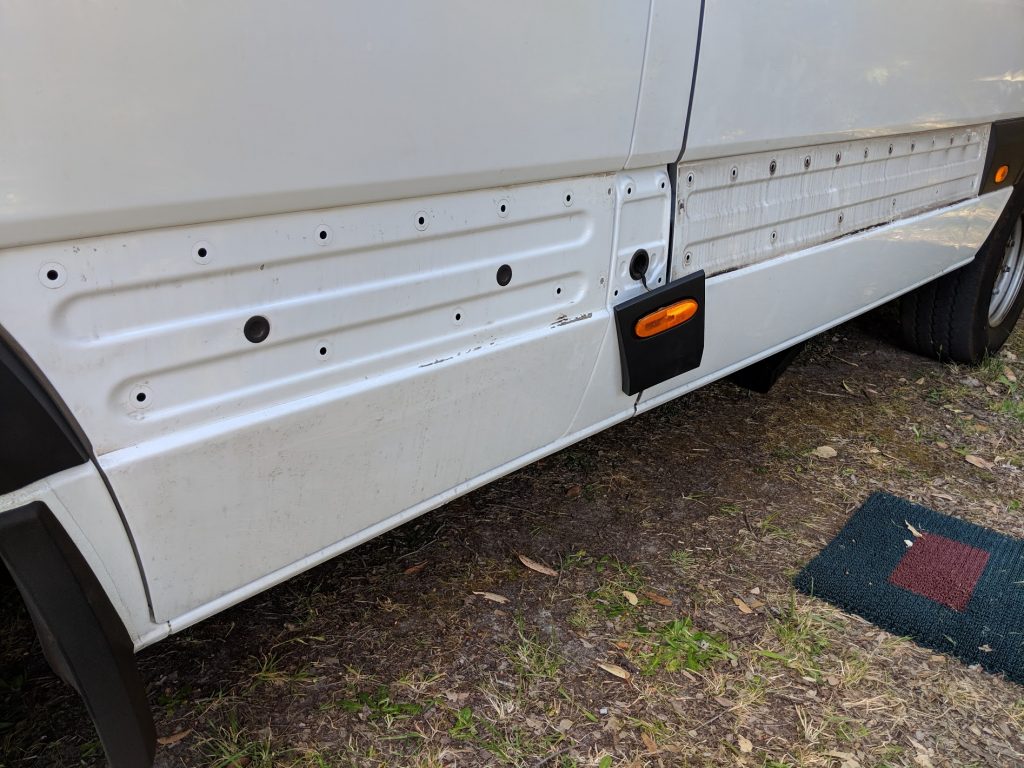
Next issue too deal with I knew about as a standard issue which needed fixing, I’d read online about how the exterior trim clips tend to leak and in the image above you can see where water has been dribbling down the inside of the van. Not too much of an issue usually as there are drain holes in the bottom of the panel. But for me, time to pull off all the exterior trim and seal up those holes.
clean up n seal
Bit scary getting the trim off as it takes a lot of force but I managed to lever it all off using some trim removal tools and a fair amount of skin from my knuckles and fingers wile only breaking two of the trim clips. Bit of a quick clean up and then some liberal application of automotive sika sealant on the clips.
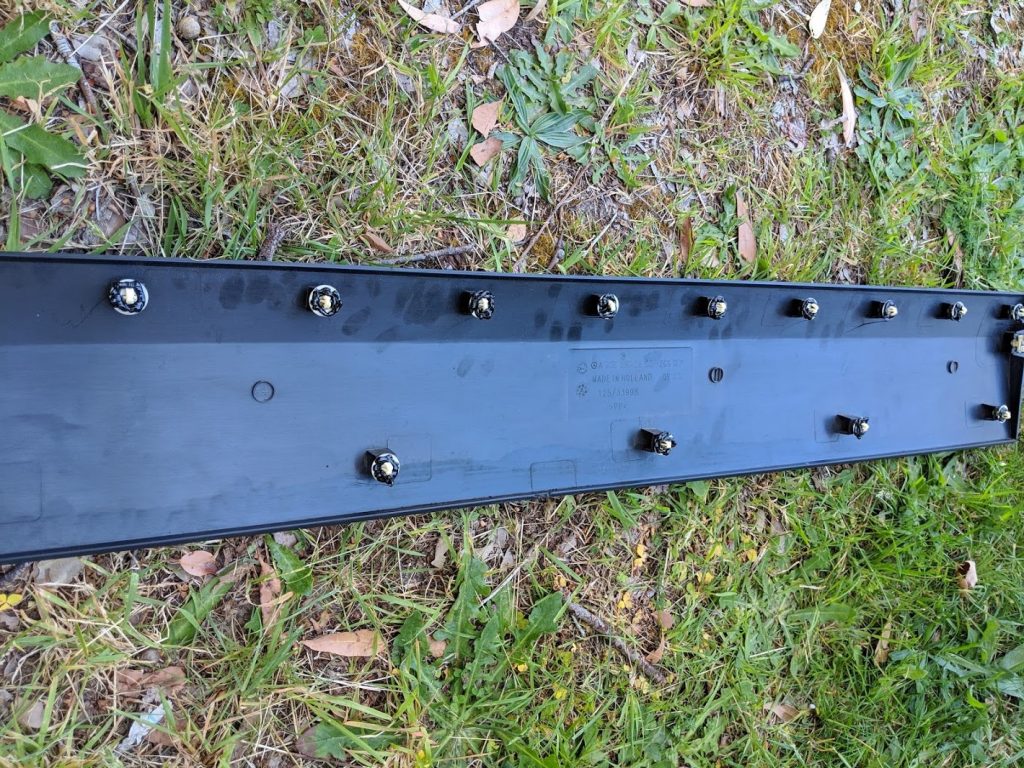
Sika’d clips
Reapply trim by liberal banging with fist to ensure all clips are inserted and the jobs done. Checked the areas inside where I could see the clips and it looked they they all had a good seal with sika oozing in. This part of the process was fairly important because I wanted to insulate these internal panel spaces and if water leaked in the insulation would become sodden, go mouldy and things would start to rust.
Sound deadener and insulation
Another early step in the process here is the application of sound deadening material, driving in this thing at the moment is a bit like being inside a drum kit and any stones that flick up in the wheel arches makes a hell of a racket. I covered the wheel arches completely with Dynamat and applied numerous pieces to other panels leaving spaces where future windows will be.
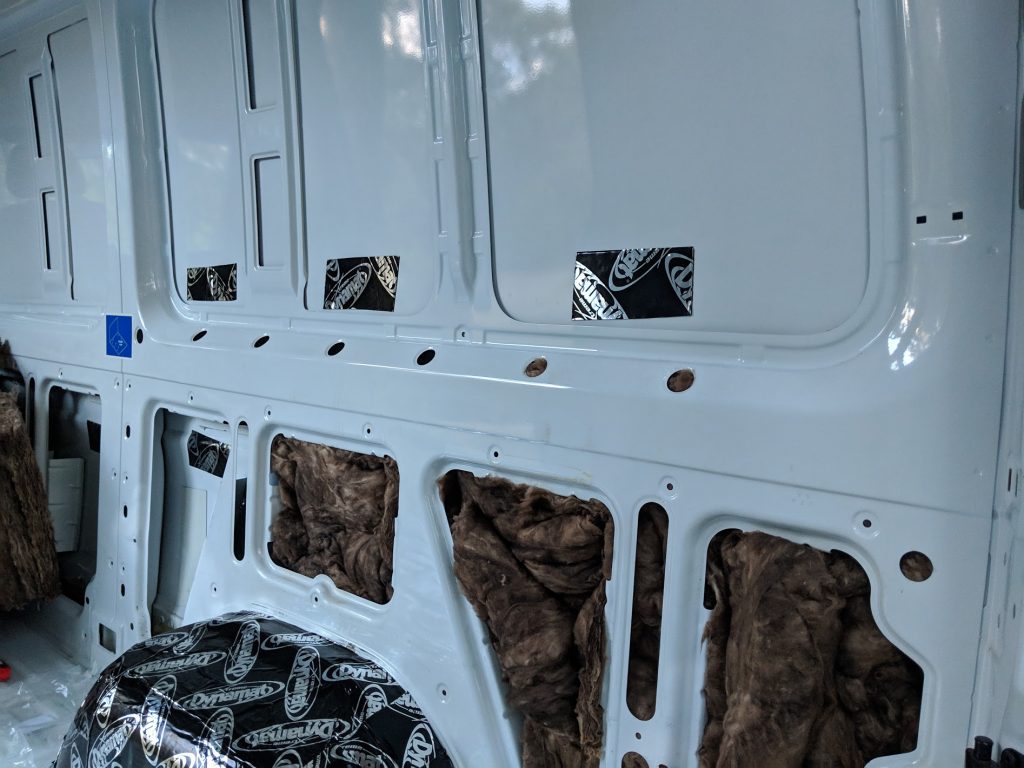
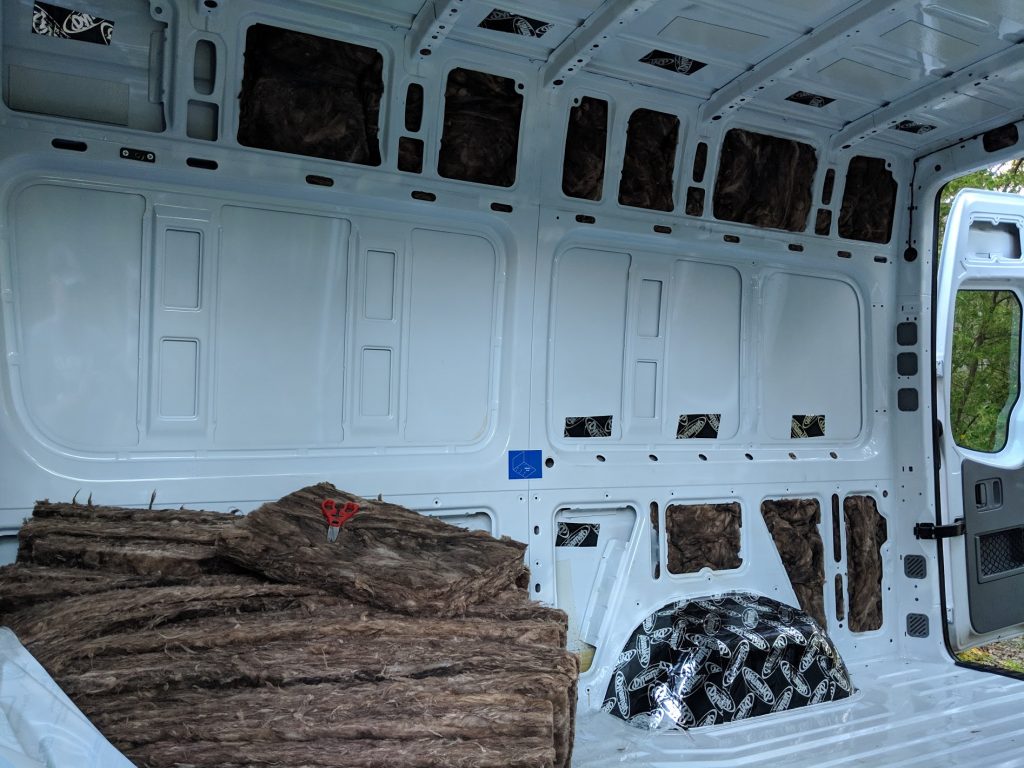
Insulation
I’d decided on a combination of insulation being Rockwool or Earthwool and foam sheeting. These wall cavities where fairly easy to fill with the bats, just cut roughly to size with scissors and push into gaps. The tricky bits were jamming into the tiny gaps and spaces, notice the row of round holes? This involves cutting many smaller bits of the insulation and inserting piece after piece until it seemed reasonably well filled, there are many tiny gaps around the van which just seemed to eat the insulation pieces as you push them further into the gaps with your fingers.

Wiring
This is also the time for all wiring to go in, you need to have the majority of wiring in before filling all the cavities with insulation, though some people run wiring within their cabinetry but I wanted the majority to be hidden out of the way. Now this adds a whole new level of complication for me, I needed to know the layout before knowing where the wiring was going. Time to get serious and firm about my items, location of items and layout. Also, I would need some items purchase now so their wiring could be installed, the classic example of this is the heater, I was going to install a diesel heater under the passenger seat, so I needed to buy it now to install it’s control wiring harness as the control panel would be back near the bed.
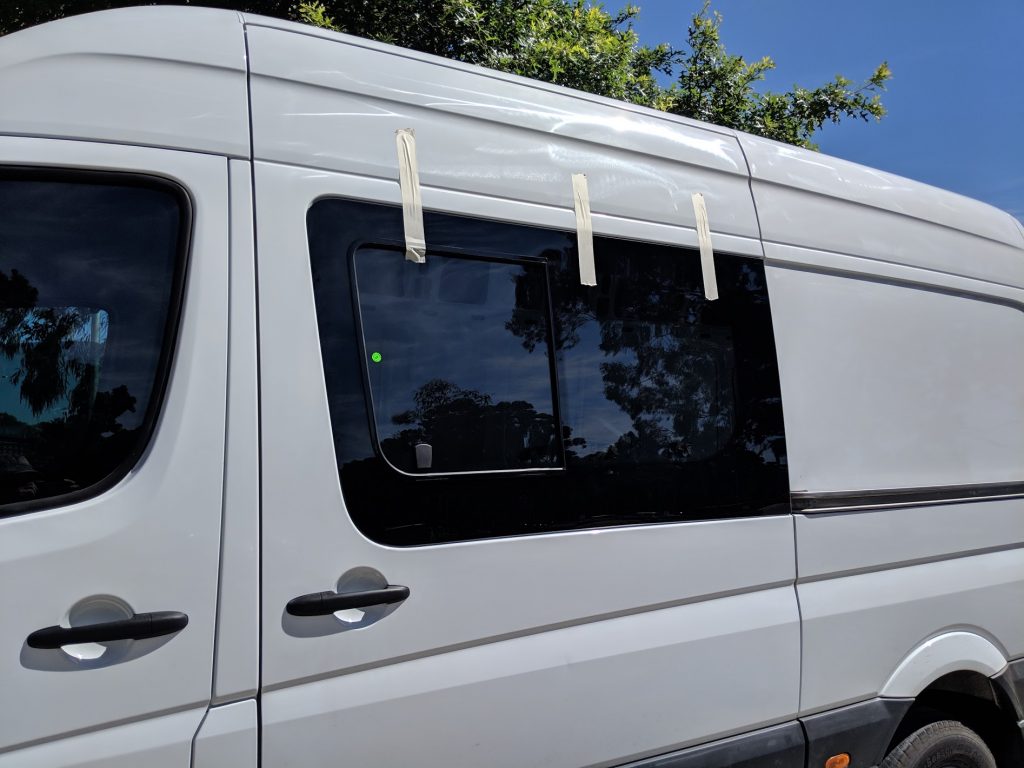
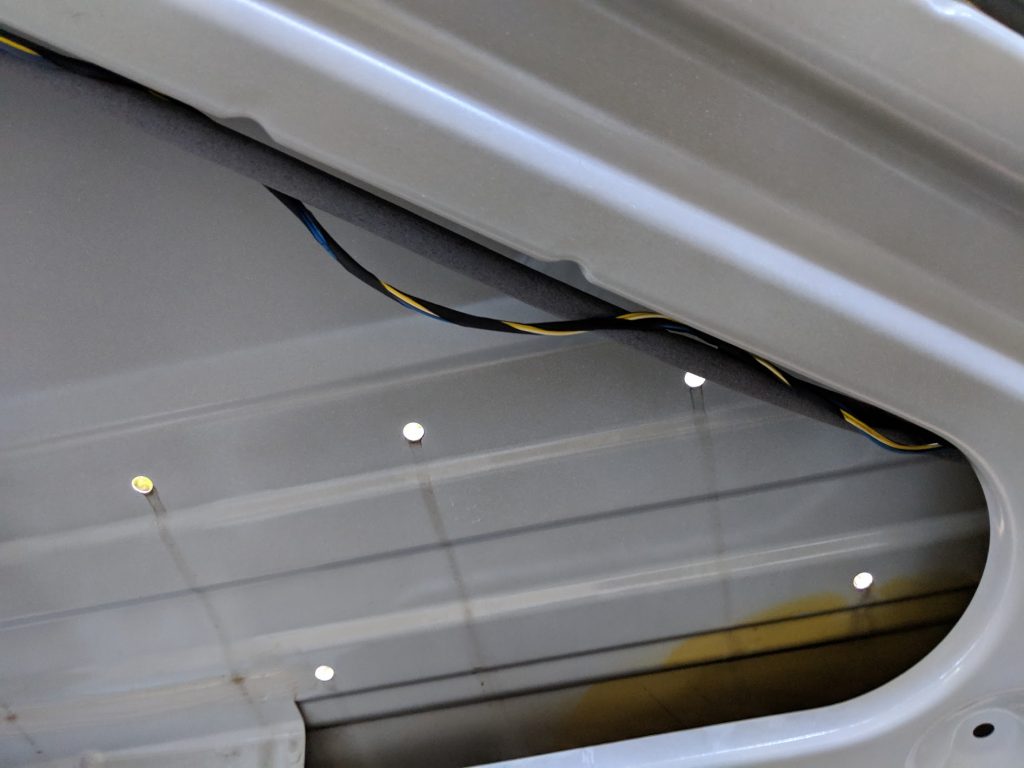
Window
Had a window installed in the sliding door, this was a great addition as visibility while driving is seriously restricted without a window in this spot and having an opening window is even better. I paid for it’s installation but I won’t do that again, $500 to cut a hole then sika it into place, they did a pretty rubbish job too, didn’t treat the freshly cut metal even though I asked them specifically about it before hand. Oh well, guess I’d better do the next windows myself.
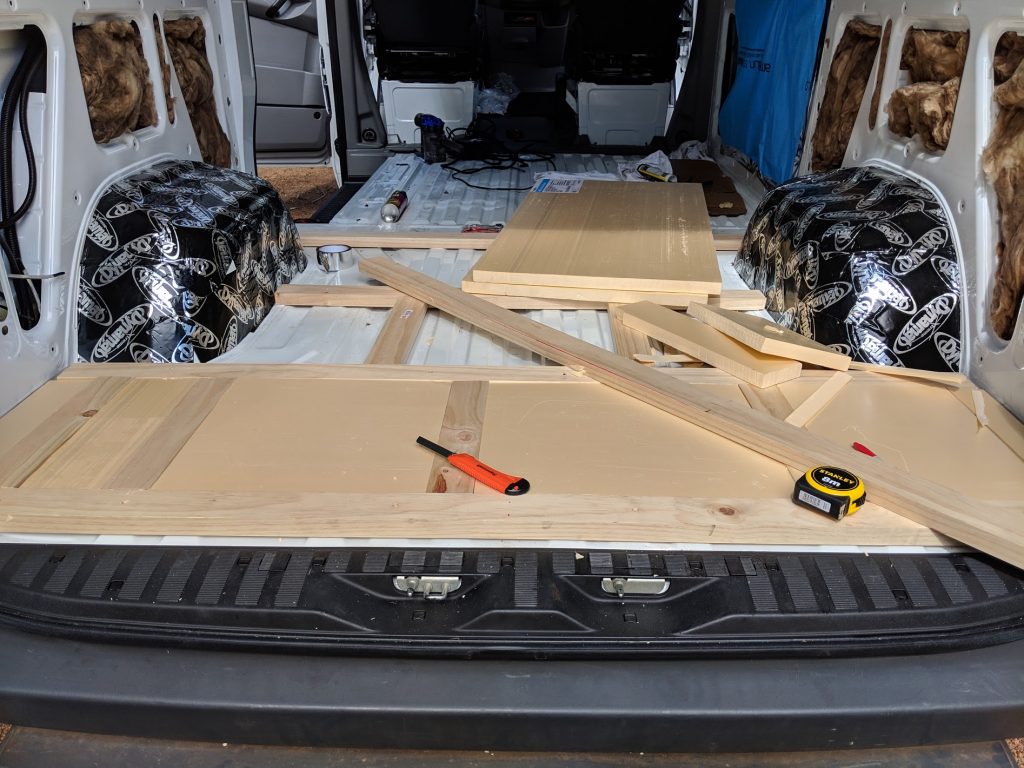
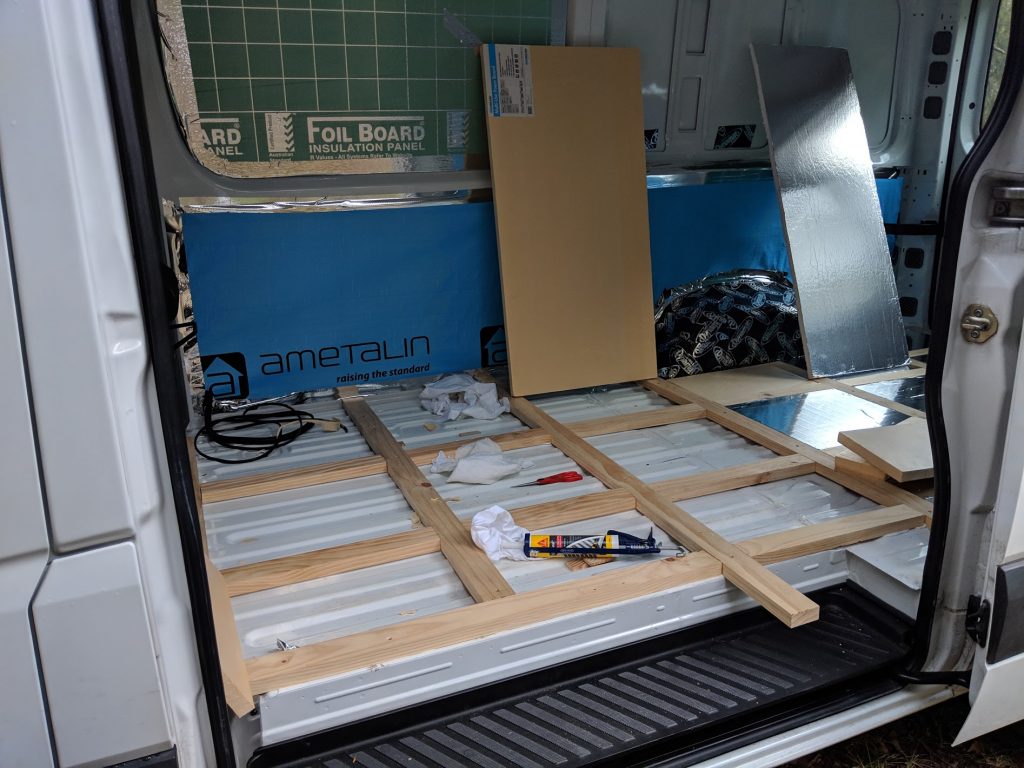
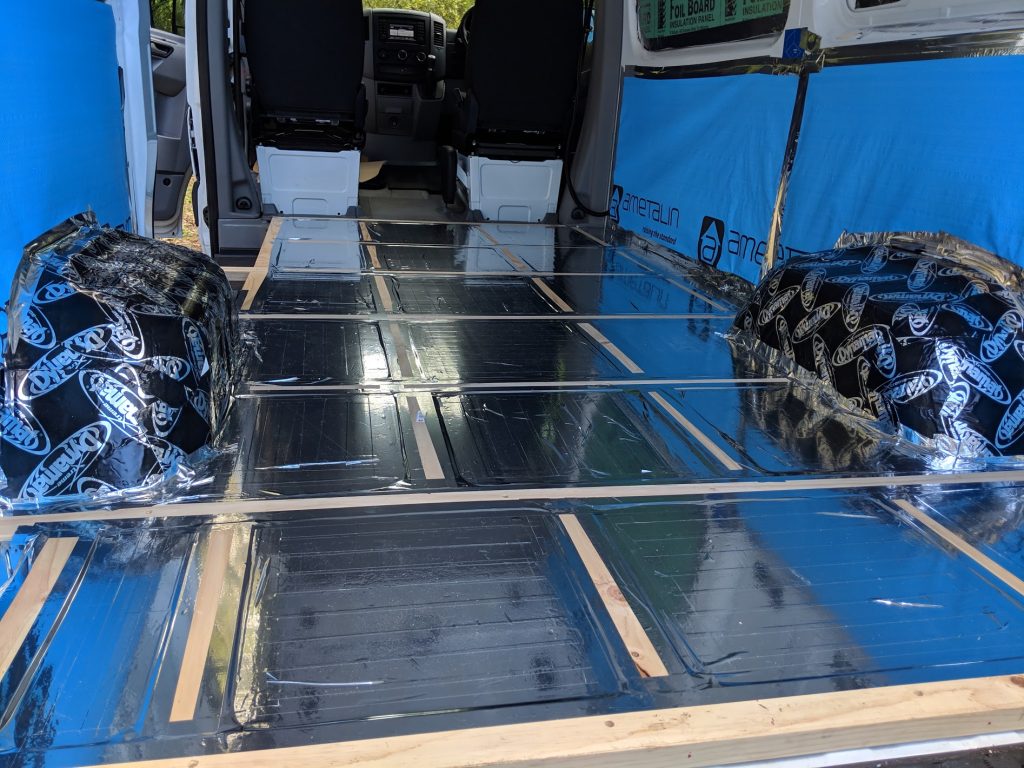
Flooring
Onto the floor, there was enough internal height in the van to install some insulation on the floor so I started laying out some 30x70mm pine battens before squirting sikaflex between them and screwing the battens down to the floor. Before screwing anything I checked carefully under the van to ensure I wasn’t going to screw into any essential bits. Bunnings also had some 30mm polystyrene foam with a very high density, kneeling on this stuff only puts small dents into it but it’s easy to cut up blocks with a sharp knife to fit into the gaps between the battens. I added an extra batten at the rear left because the batteries were going to be installed here.
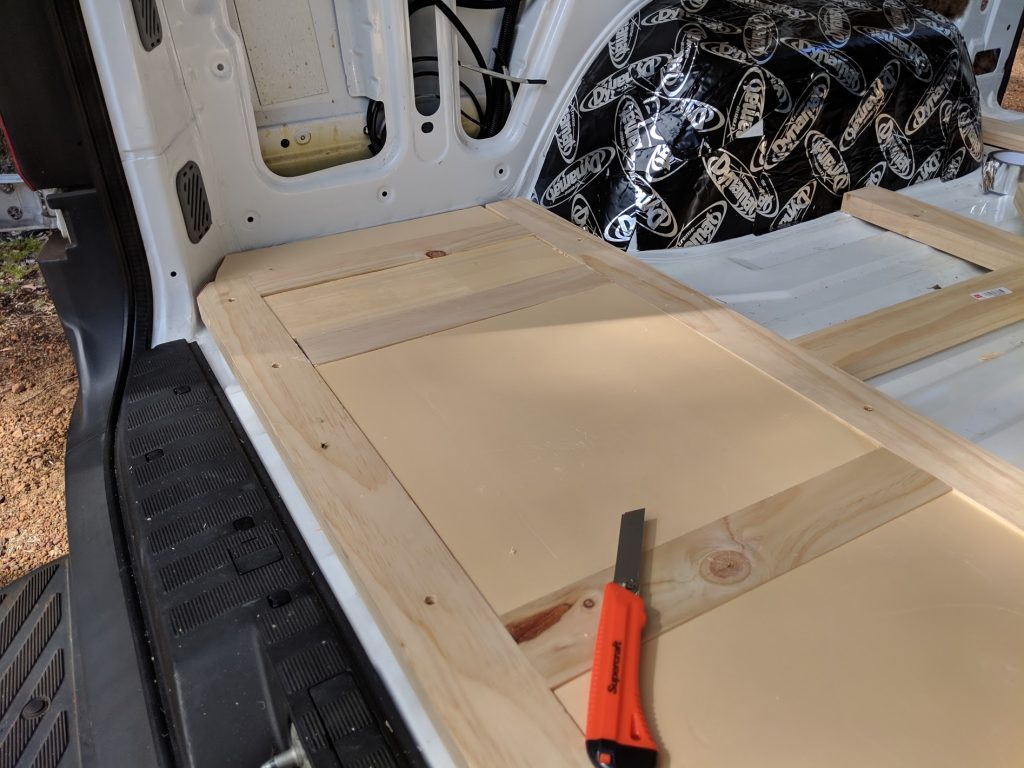
Flooring
Things were coming along nicely. Hah, I say that now it’s all over and I’m recounting the process. There was a lot of mucking around trying to get the floor organized, I’d bought normal polystyrene boards and these were way too soft to go under the flooring so I searched for days trying to find a hard foam board, even tripping up to Perth but had no luck. Still randomly in the end I found some smaller boards of 30mm hard foam so bought 30mm timber to match.
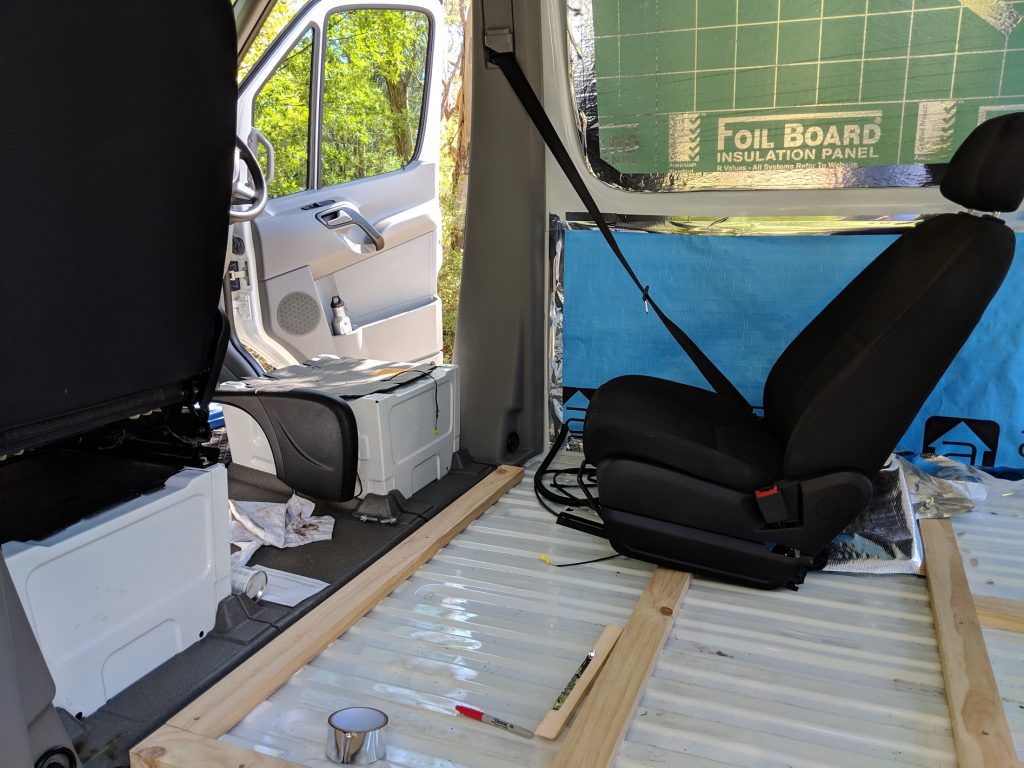
Ahhhh.!
I sealed up the side panels to stop fibres of the insulation floating around and my swivel seat bases had arrived so time to install one and see how it works. You notice in the image above I’ve installed one of the polystyrene foam boards in the wall cavity too, this was a large gap and suited the rigid board insulation rather than the earthwool batts.
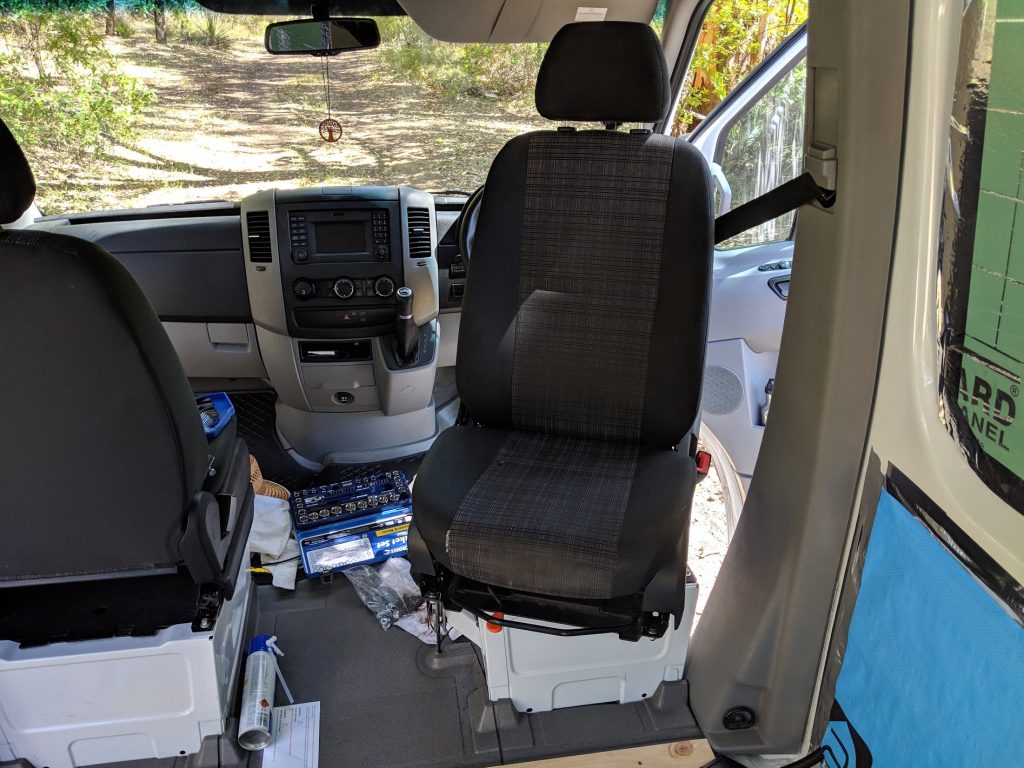
Wrong way around miss Jane.
This is an essential component of life in this tiny van, swiveling seats will help to make such a tiny space livable by extending the living space right forward into the cab. The living/cargo area of this van is only 3.2m long and at the floor about 1.7m wide, though it bows out in the middle a little then curves in at the top to about 1.4m. Thats 5.4sqm of floor space. The average bathroom in Australia is 4.8sqm so I’ll be living in a space only slightly larger than the average bathroom while your average house being built at the moment is 233sqm, thats 43 times larger than the space I have. OK, enough math and stats, having these swivel around as my main “lounge/dining/working” chairs, means I don’t need to try and fit seats within the rear cargo area.
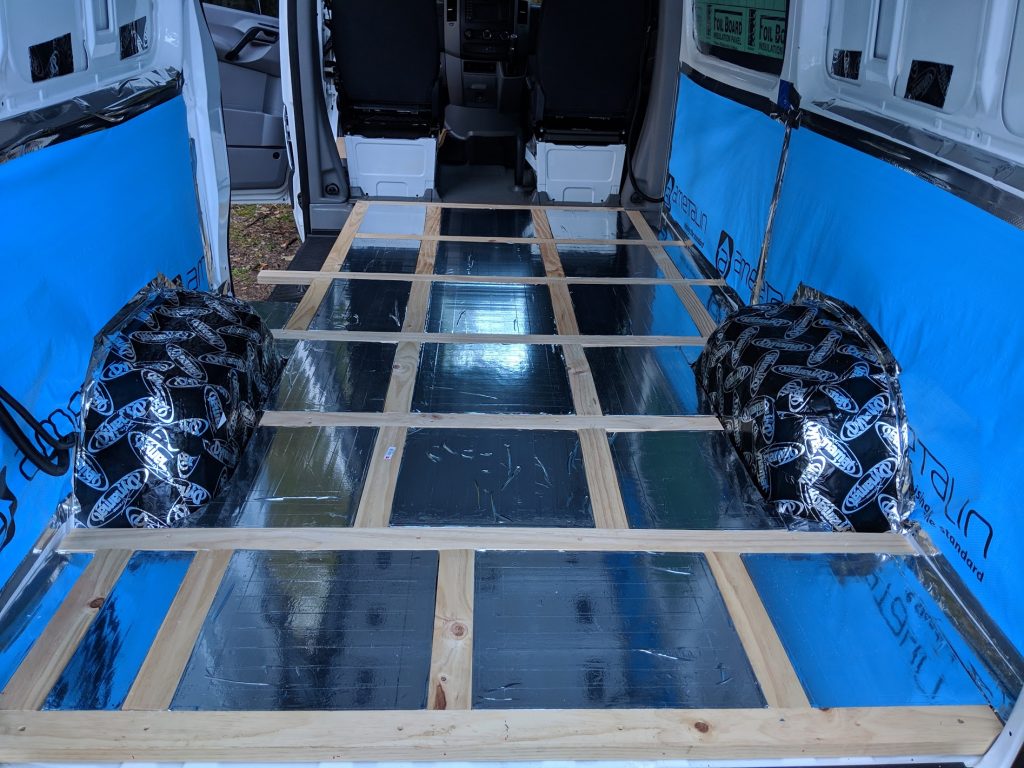
More floor
The battening continued though I discovered that the foam squares squeaked against the timber and the metal floor, that would drive me crazy so I had to try and cover the foam, starting with the silver tape I had handy, I ended up covering the whole boards with the tape which added an interesting look to the floor, though this will be hidden in the finished product.
Silver tiles
Almost seems a shame to cover it up.
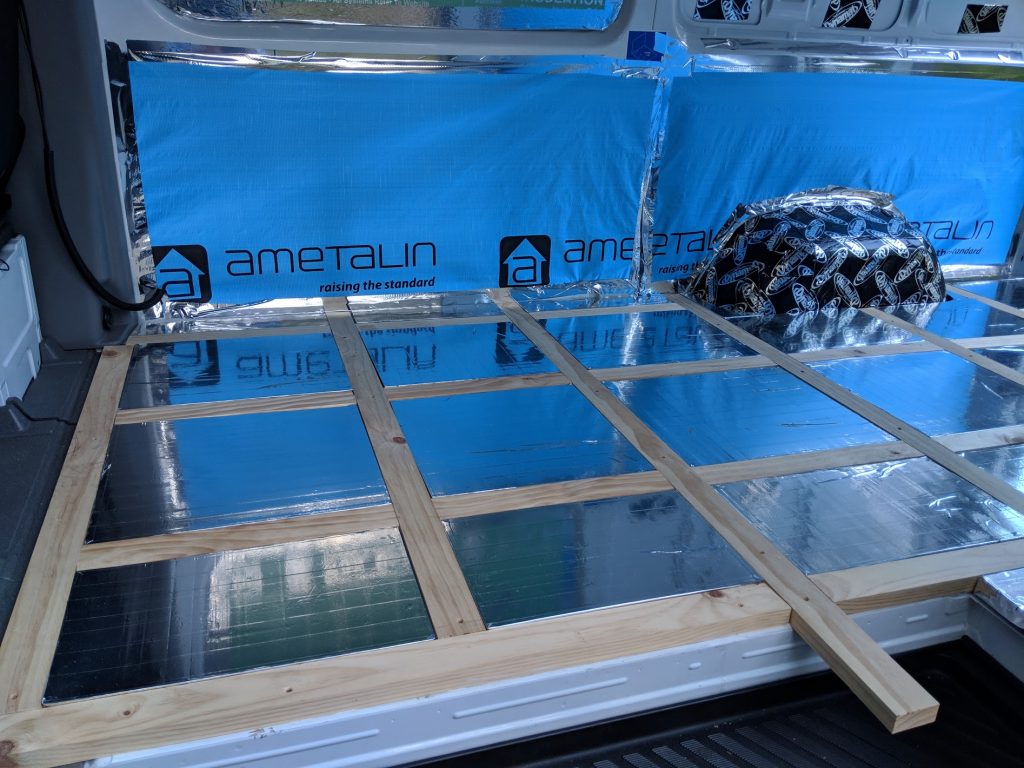
More floor
To finish the sub-floor I taped the insulation panels to the timber battens and taped it all to the metal sides of the van trying to create a reasonably waterproof barrier in case of internal spills.

More floor
Silver floor
While completing the sub-floor I cut the 12mm ply to fit as the main flooring, this took quite a bit of fiddling to get a reasonable fit around the wheel arches. I also paid careful attention to ensuring the joins between sheets were on main battens. This took 4 sheets of ply because of the sheet sizes and having the joins meet on timber battens.

Floor floor
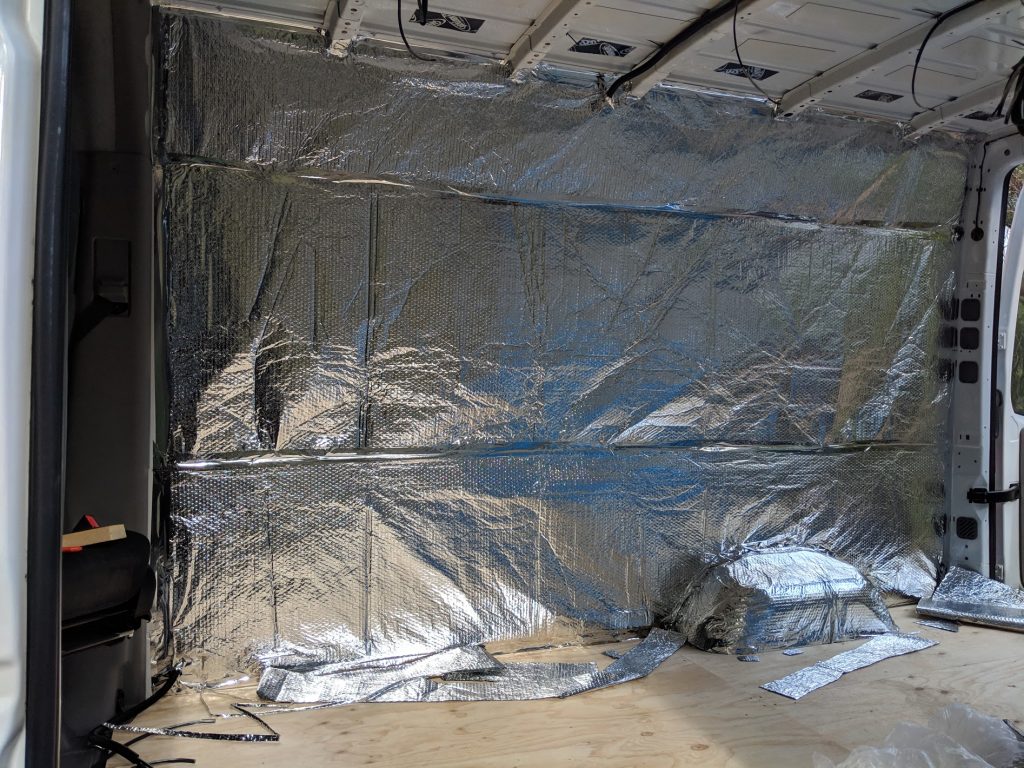
With the ply screwed down to the battens I concentrated more on wall insulation using expanding foam to fill the gaps around the polystyrene panel and further sealing up the wall panels with silver foil bubble wrap. This silver bubble wrap layer adds another level of insulation and also a bit of a vapour barrier.
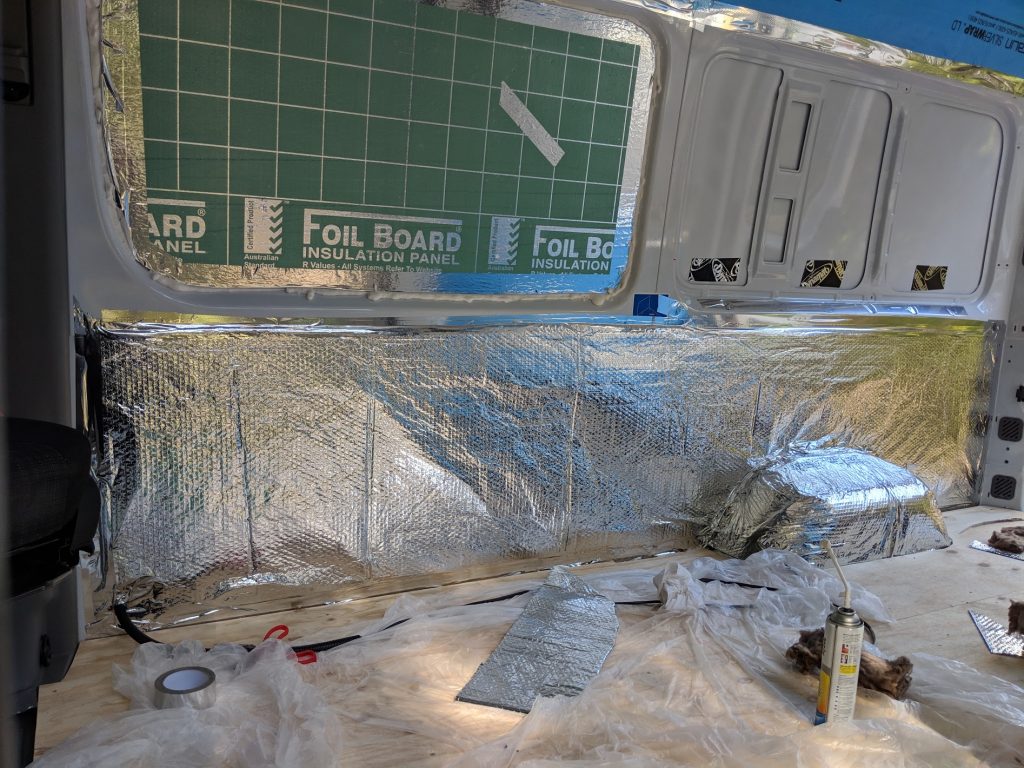
foam fill
Now vapour barrier is a term you’ll hear a lot about if you are researching information about converting your van. There’s a mass of information out there, one of the great aspects of the internet is the fact that everyone can share information but this also means you get a lot of dud information. One aspect you’ll often read about is people putting a layer of the silver bubble wrap glued against the metal of the vehicle. Now this bubble wrap only works as a radiant insulation barrier and needs to have a large air gap between itself and the hot surfaces so using it hard up against the metal is useless. Another aspect you hear of is vapour barriers, “you must have a vapour barrier to to stop any air getting from inside your van to a metal surface as this will cause moisture to condense on the cold metal surface and you’ll get mould in insulation and ultimately rusting of the metal.”
Sexy silver wall
Sound fair enough, makes sense right? Or does it. See trying to seal the metal from any air is pretty much impossible. It looks fairly well sealed in the image above except in the bottom of those panels on the out side of the vehicle there are drain holes, then there’s all the area within the cab, there are nooks and crannies everywhere and you can’t hope to seal up all the areas behind the dashboard, or all of the areas within the doors, you can’t vapour barrier seal those areas. So the way I see it, number one defense against condensation and long term issues associated with it is to try and stop the condensation in the first place, treat the cause not the symptoms. Good ventilation and heating when cold within the vehicle, or perhaps even dehumidifiers in the van. But number one is ventilation!
Wall panel
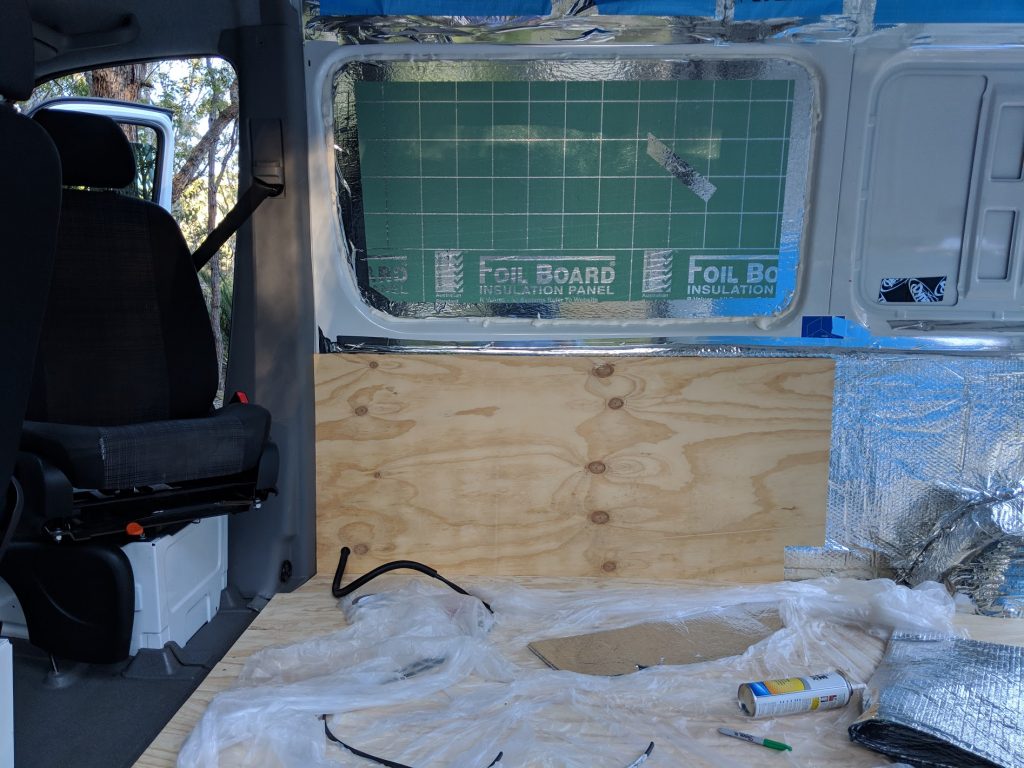
Rant over and first wall panel in place, going for 9mm structural ply cut into sections that meet where the main metal beams are, this allows for good fastening to the wall and cutting into three sections will give it a nice curve up the wall. Now I followed this advice from a guys youtube channel and it’s good advice, but there’s plywood and then there’s plywood. This 9mm structural ply I bought at bunnings is made from pine and probably could have been bent right up the wall to follow the curve. As my luck would have it, they ran out of 9mm and I shopped around trying to find more.
Marine ply
In the end I bought 9mm marine ply at twice the price and did the back rear sections but when I cut the middle and top sections I ran into problems, the ply was far too stiff to bend to the shape of the walls, the bottom section was fairly straight but I needed the soft pine plywood to bend into shape for the rest of the wall. I found some at another hardware store but although it was just a general structural ply it was made from hardwood and also wouldn’t bend to the shape of the walls. Argh..!
Onto other things, my roof vent fan and my rear side windows had arrived, time to cut some holes… And time to post this then begin a new one.
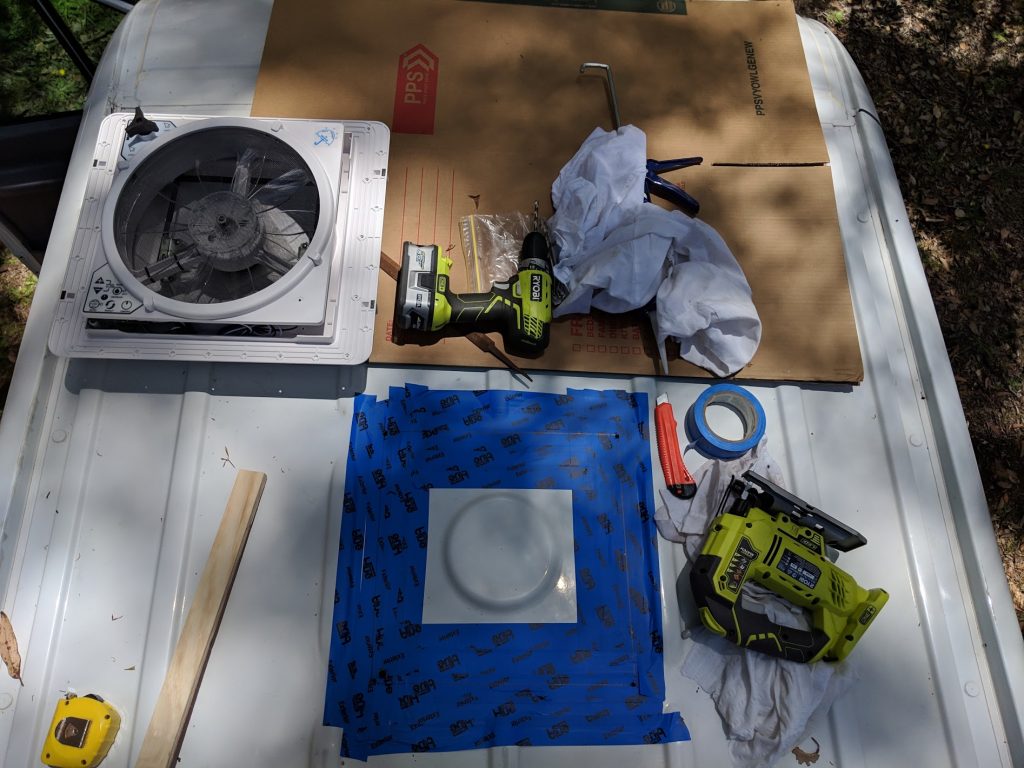
Ruining a perfectly good roof
No Comments